Cessna 172G
Menu
1966 Cessna 172G
Here is an interior refurbish on a 1966 Cessna 172G. The original interior had been removed and replaced with a kit interior some years ago. The plastic remained the original orange color. Although, we didn't do a complete instrument panel replacement for this one, we did do a pretty significant clean-up. Enjoy !
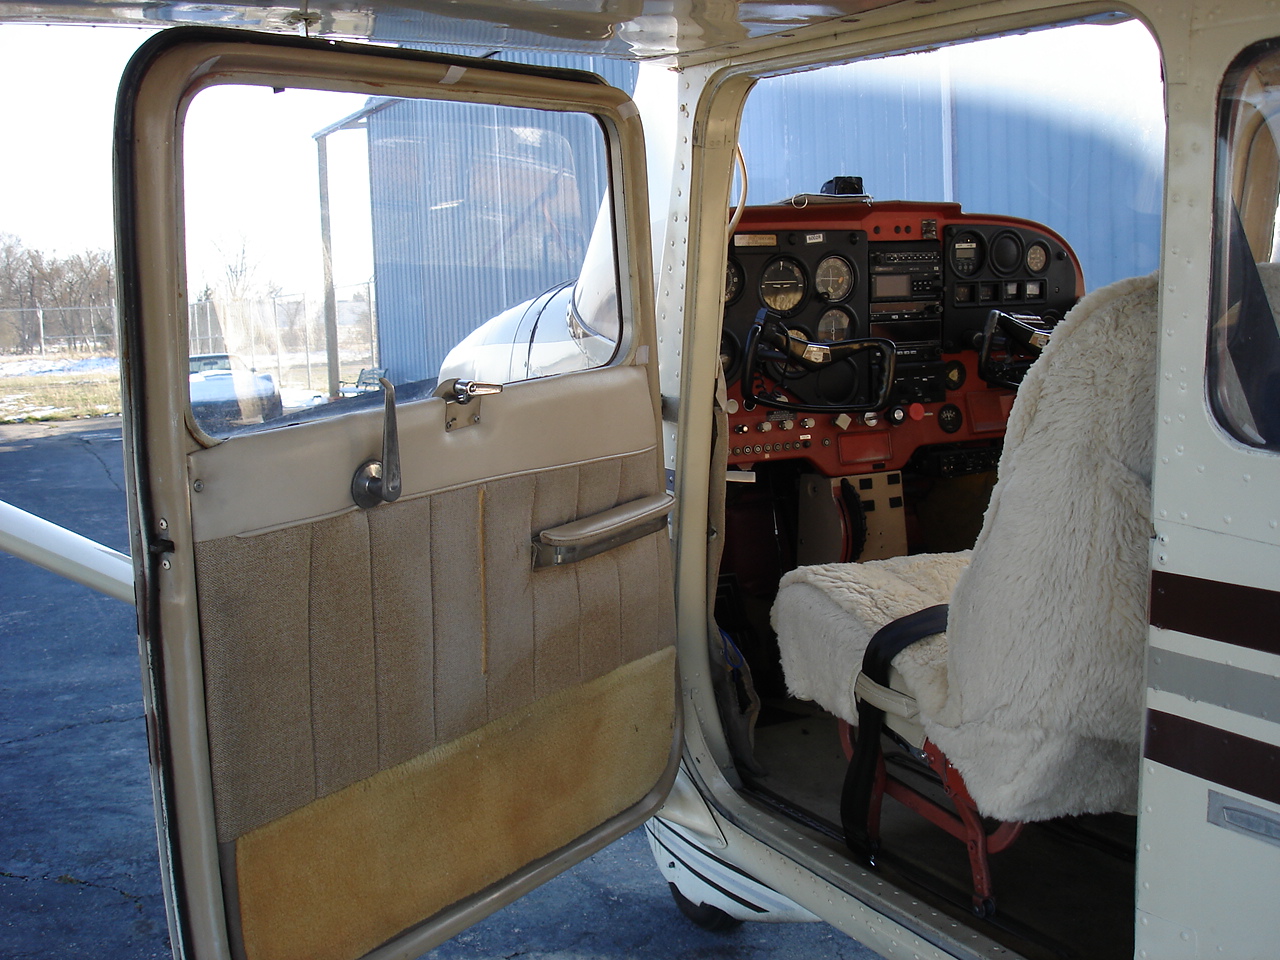
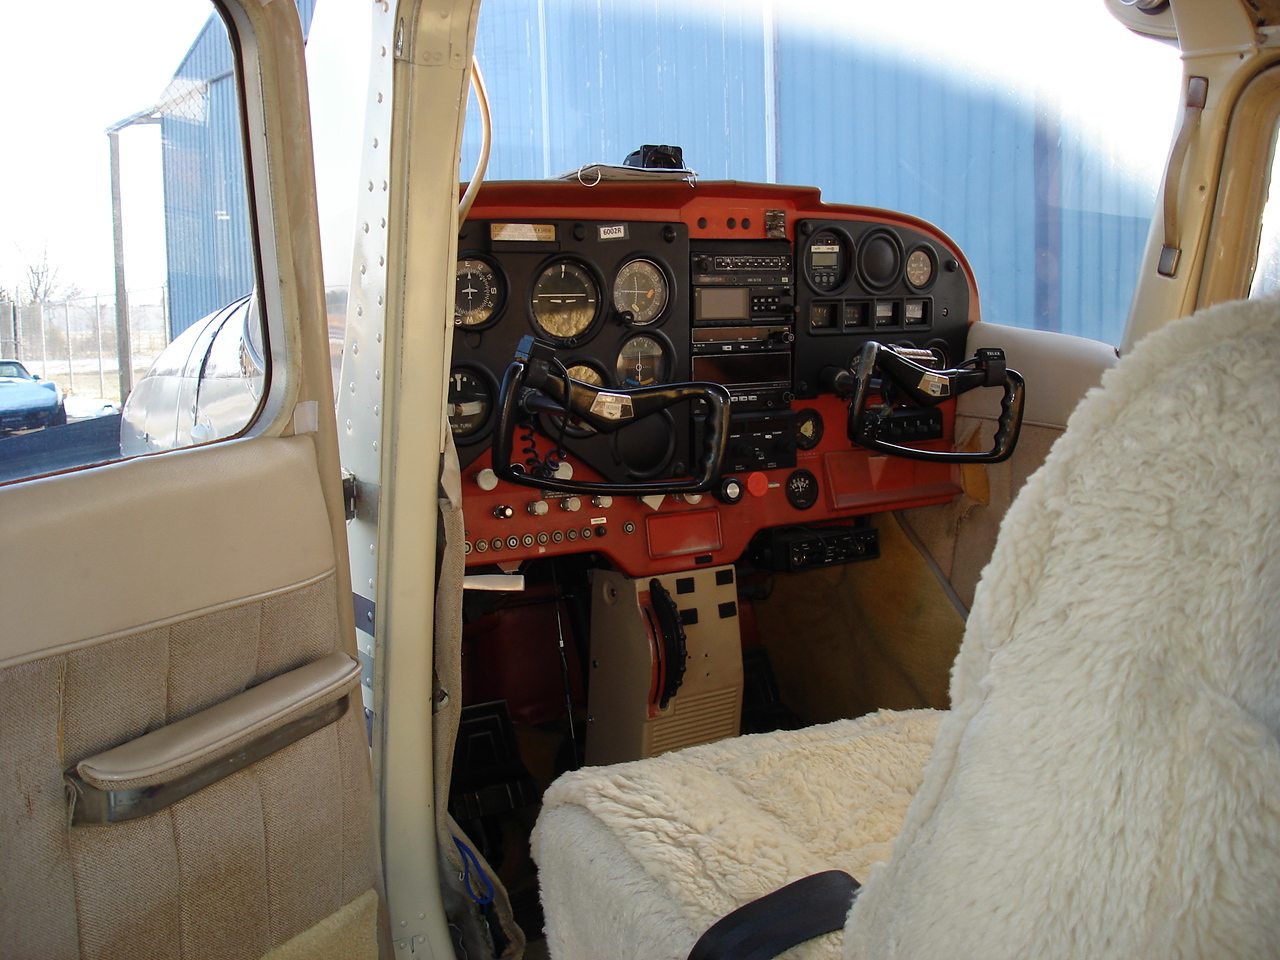
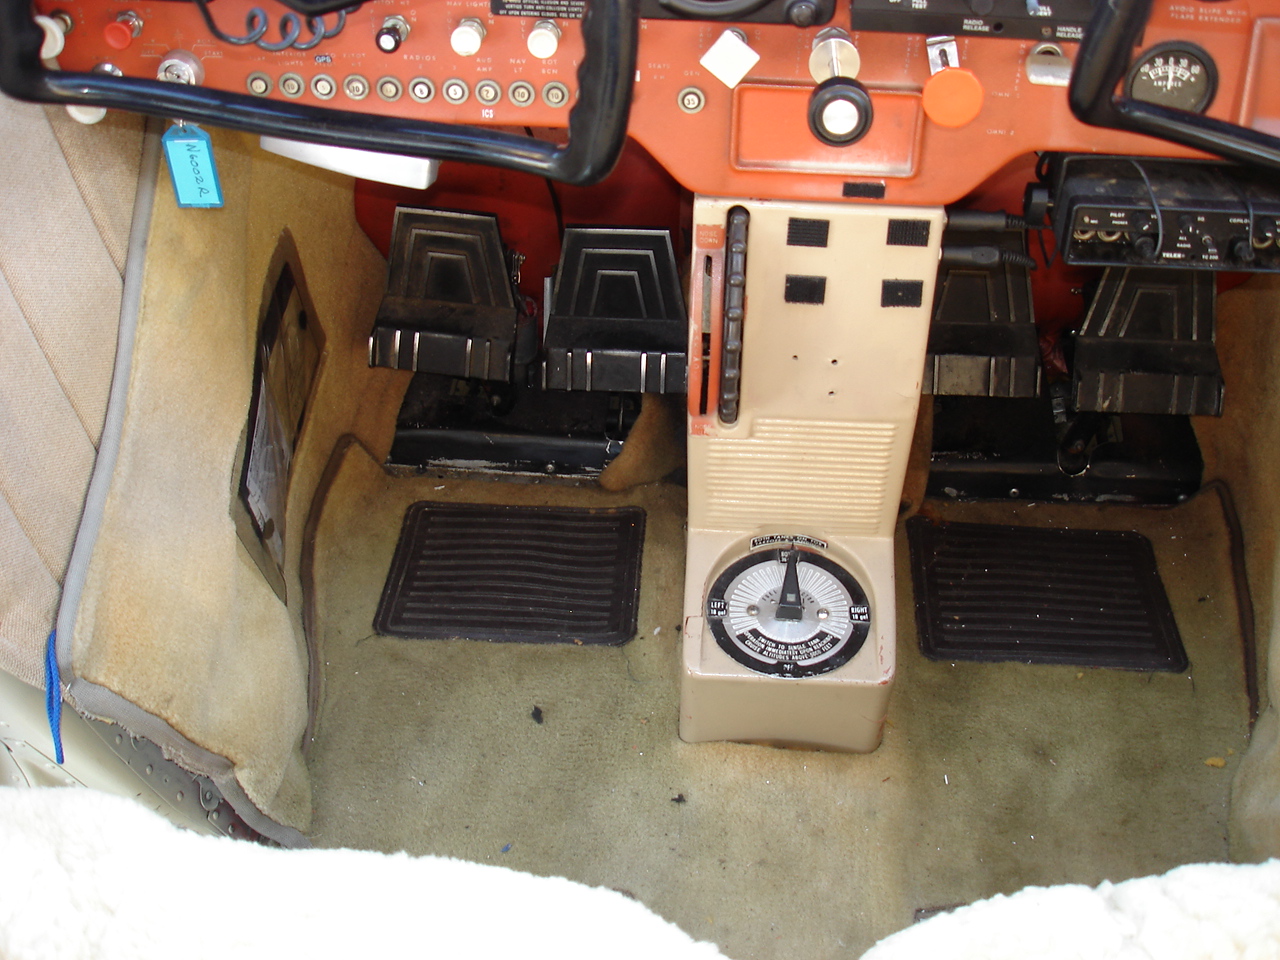
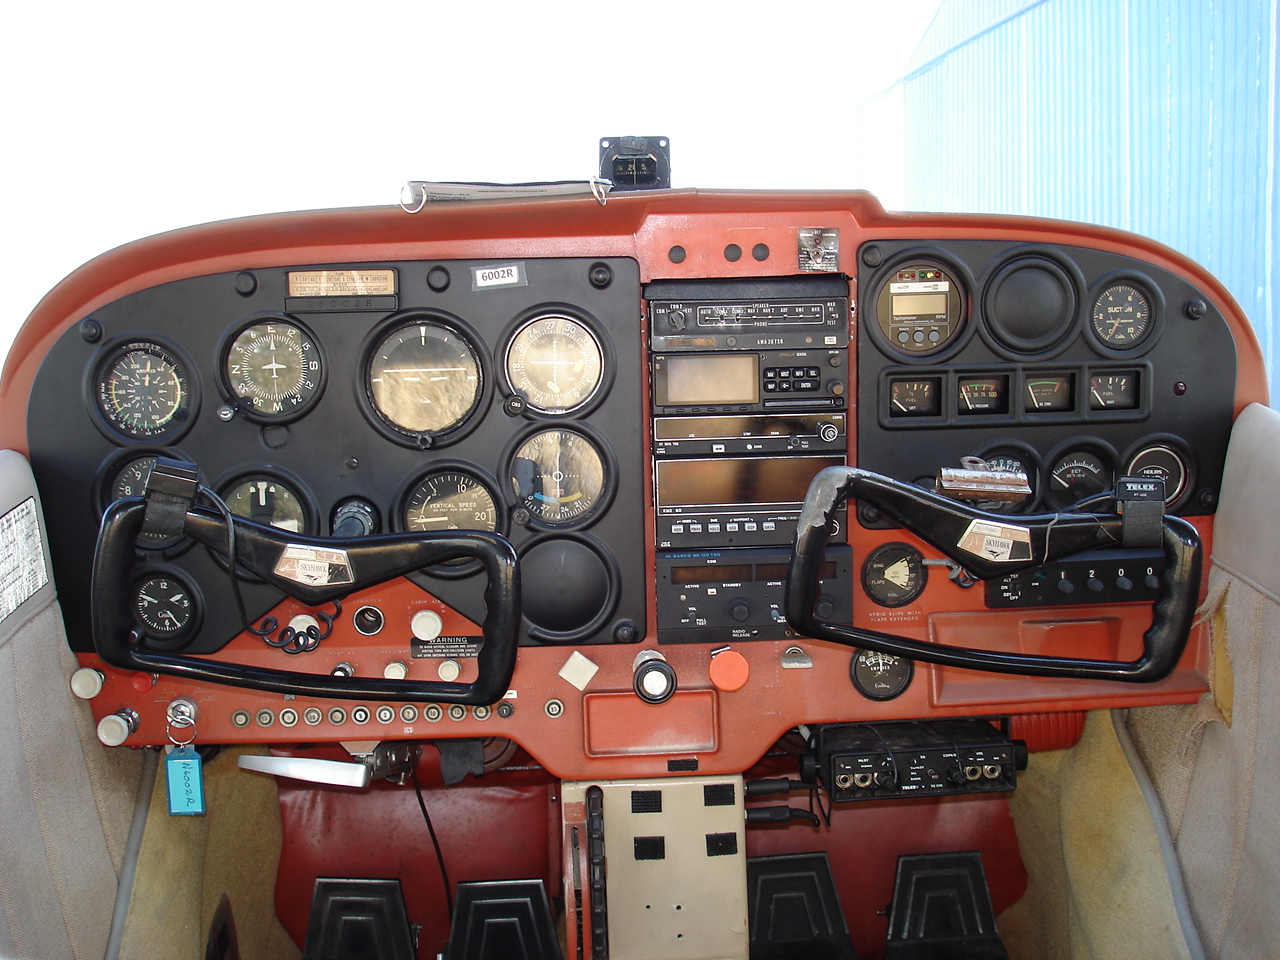
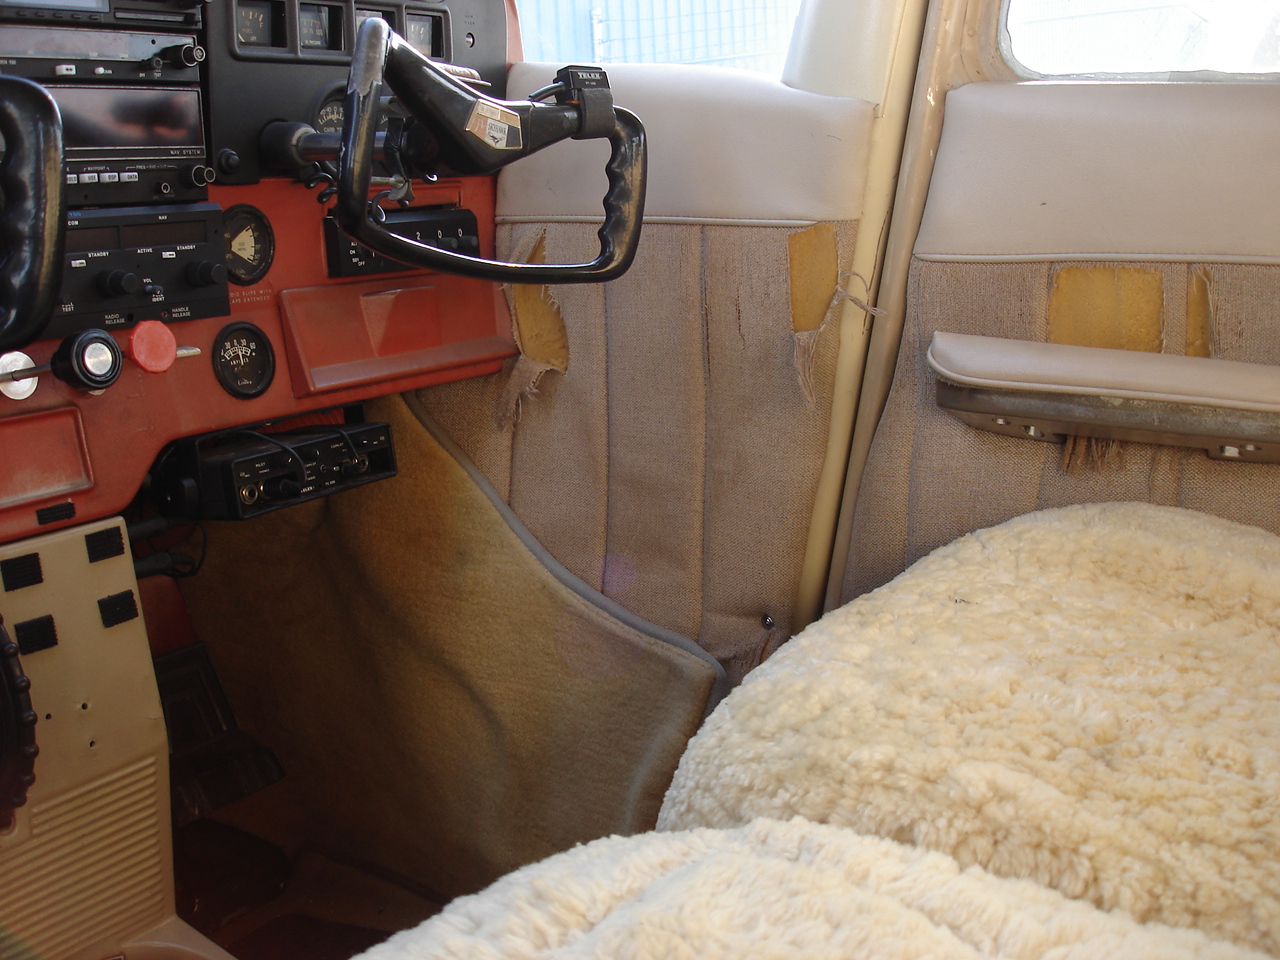
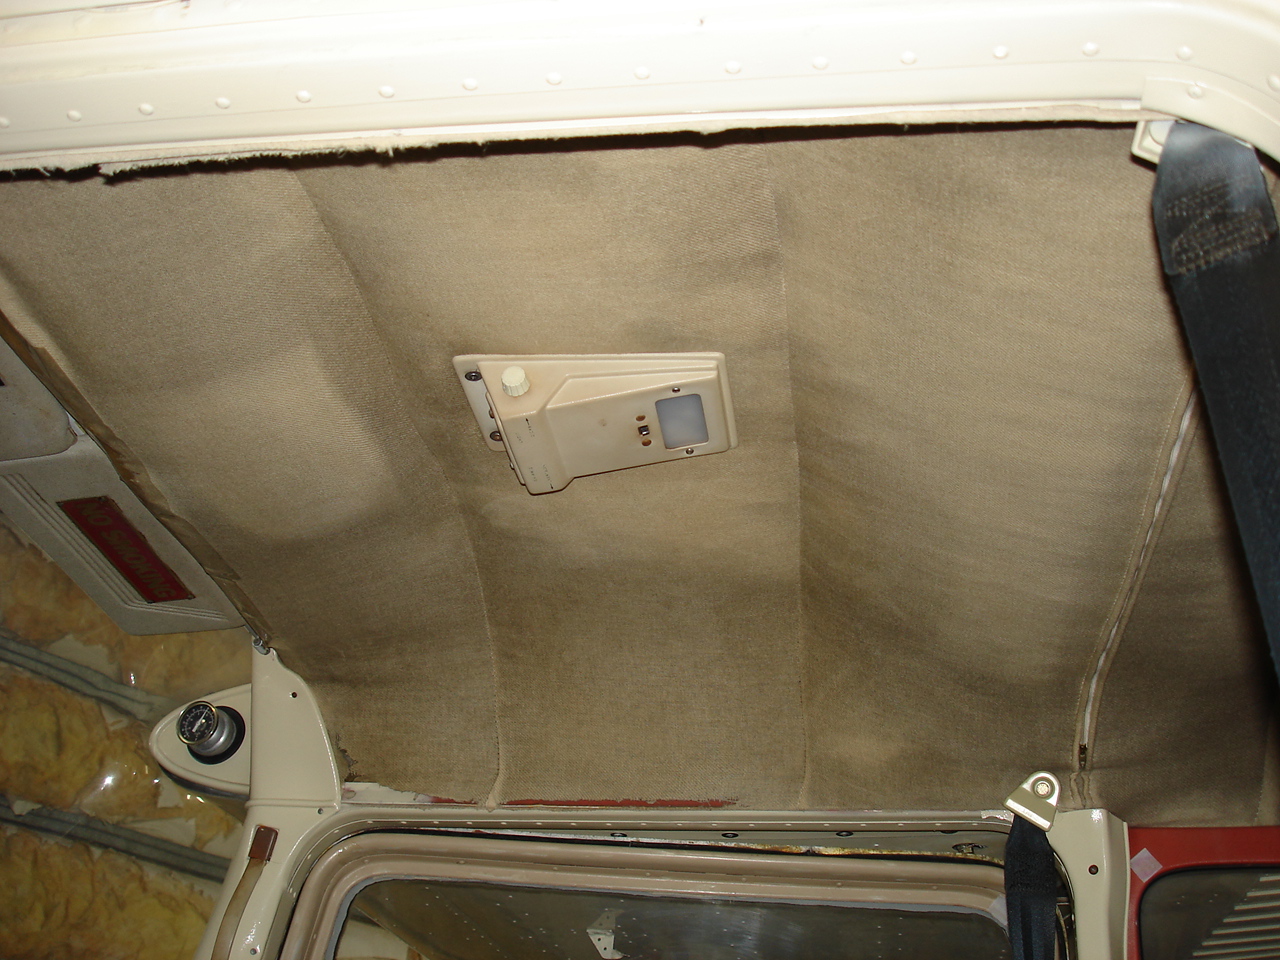
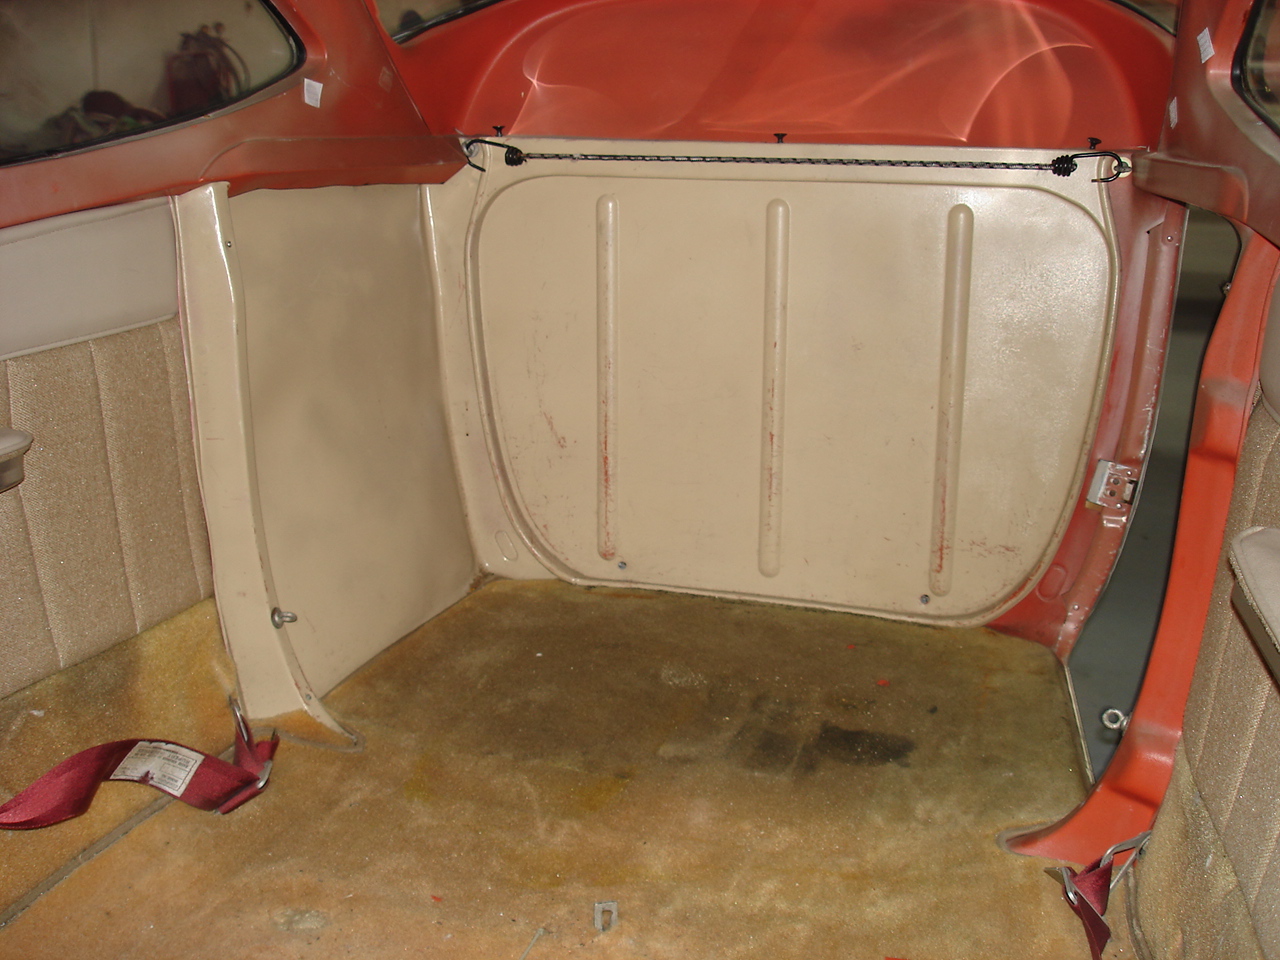
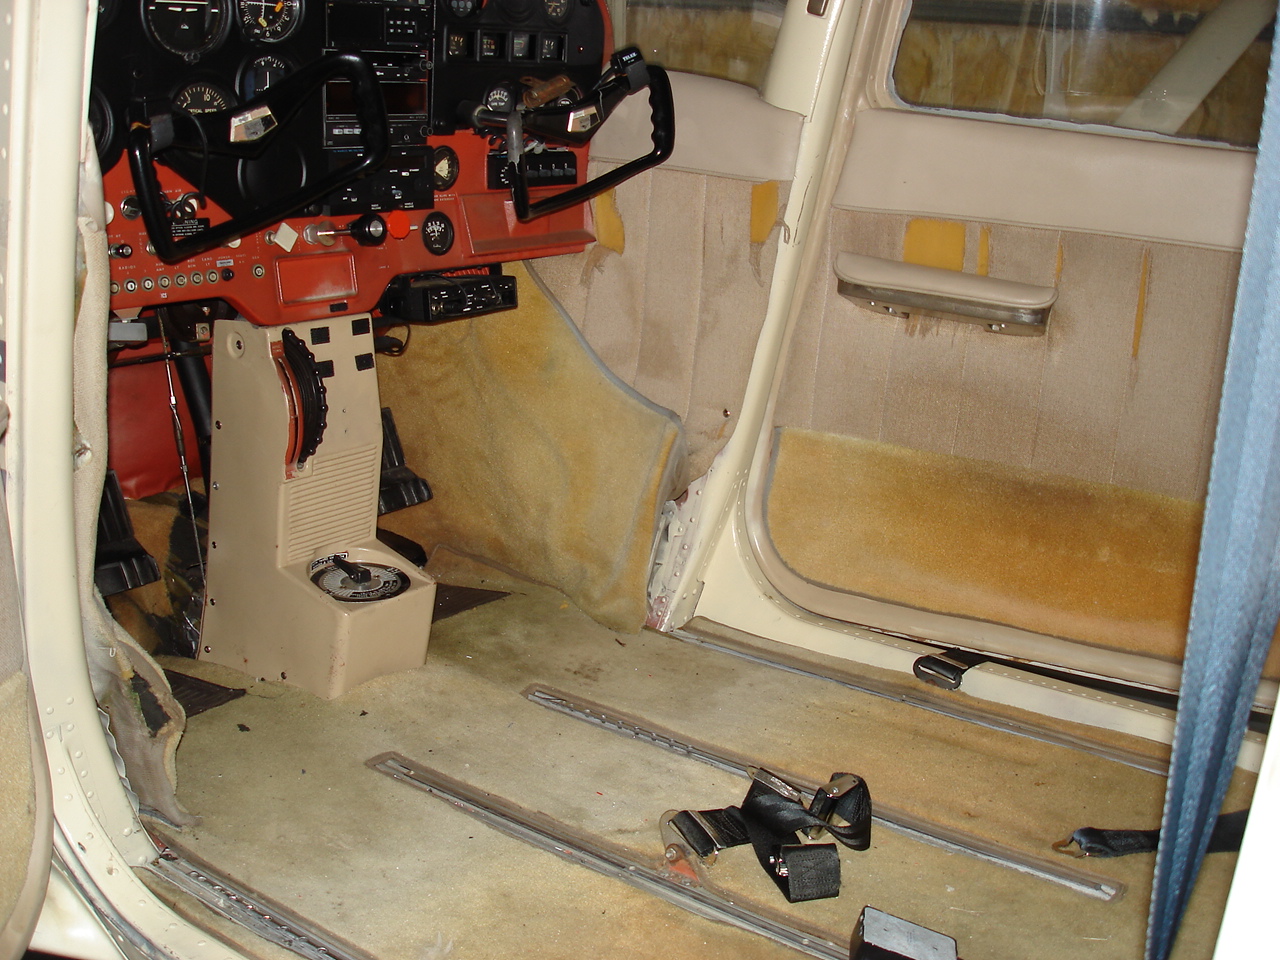
Here are a few intial photos. As you can see, this isn't getting replaced before it needed it !
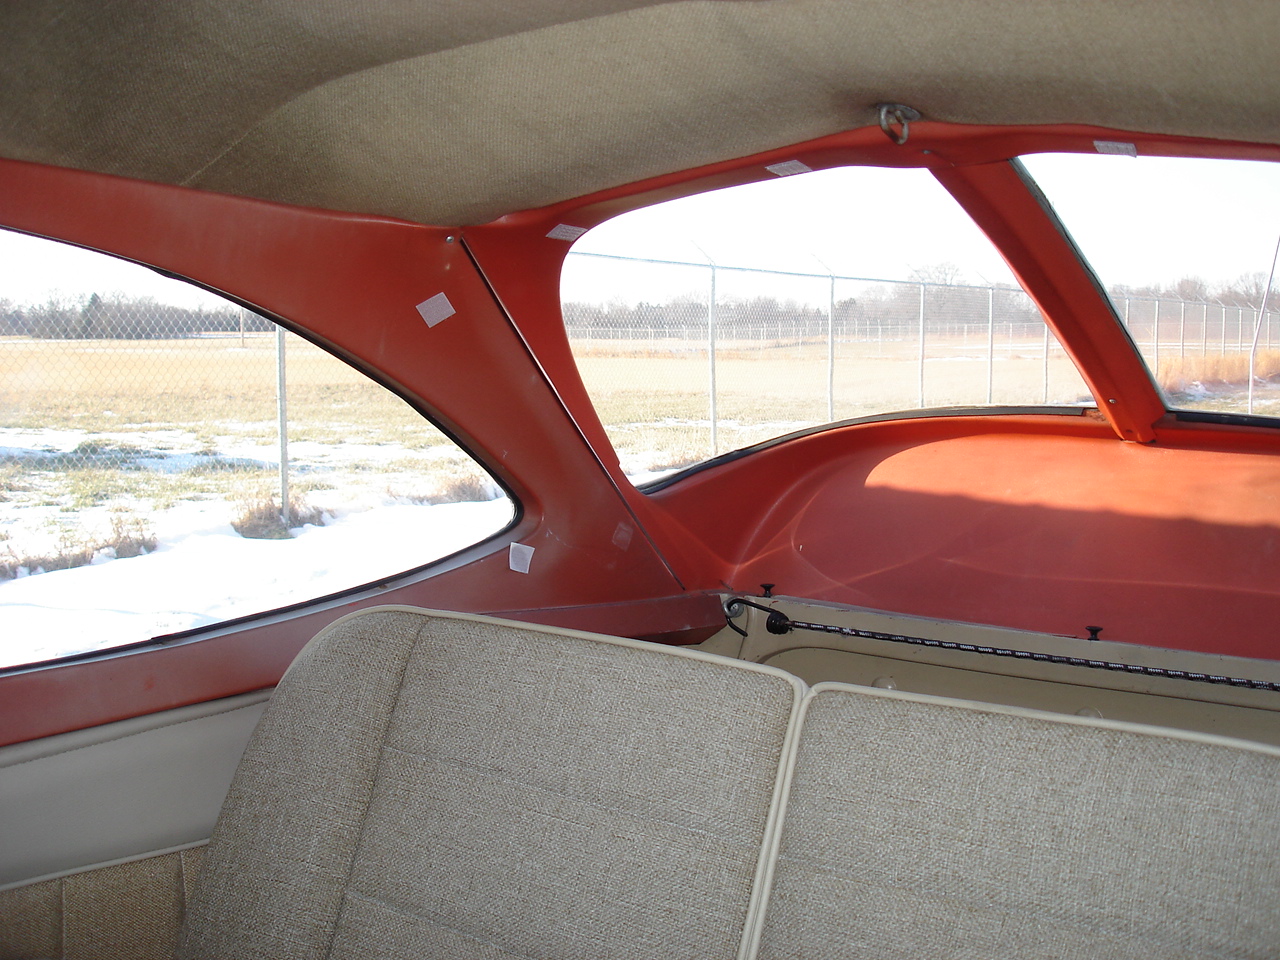
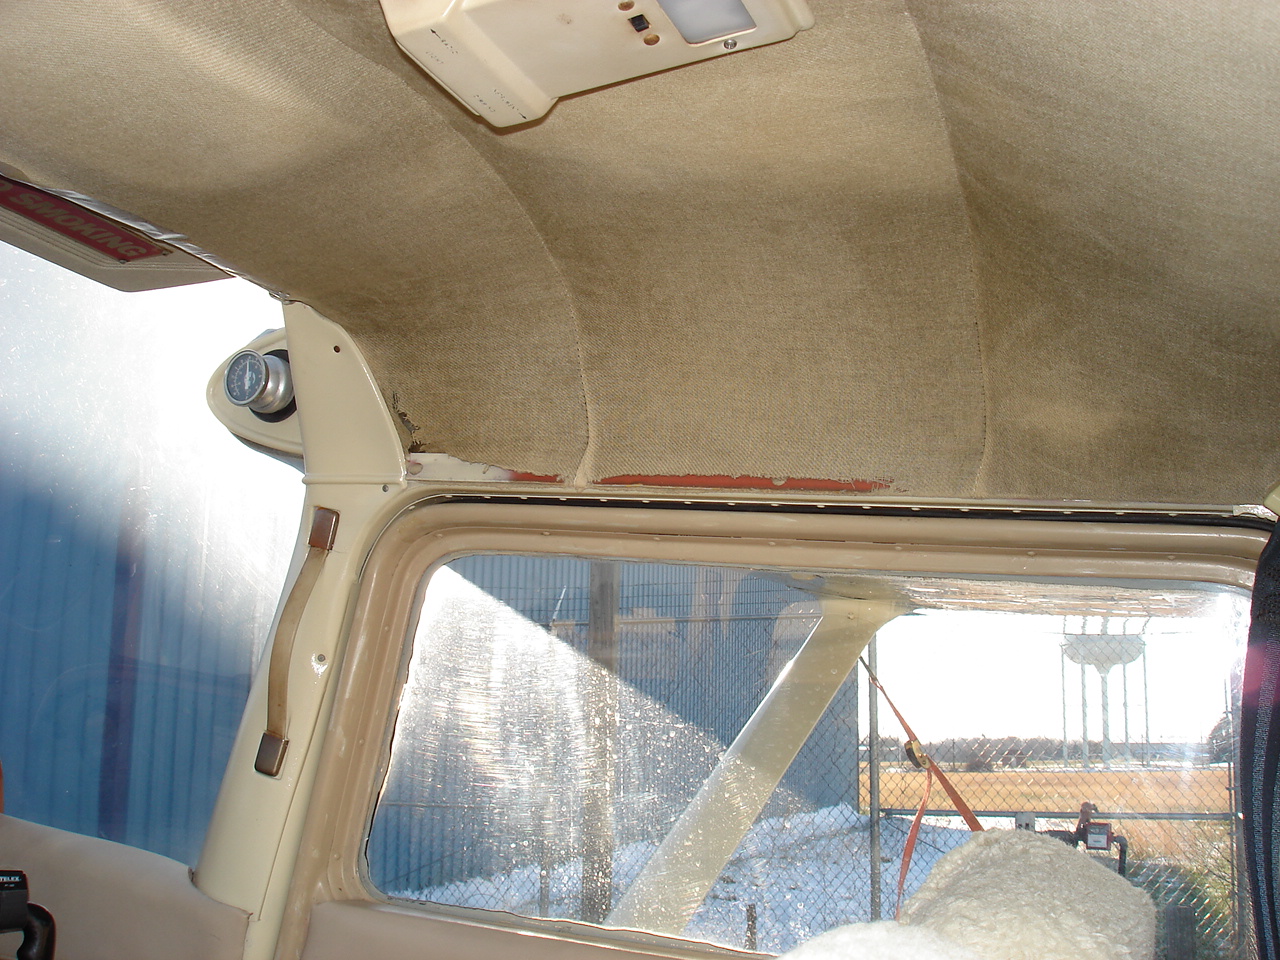
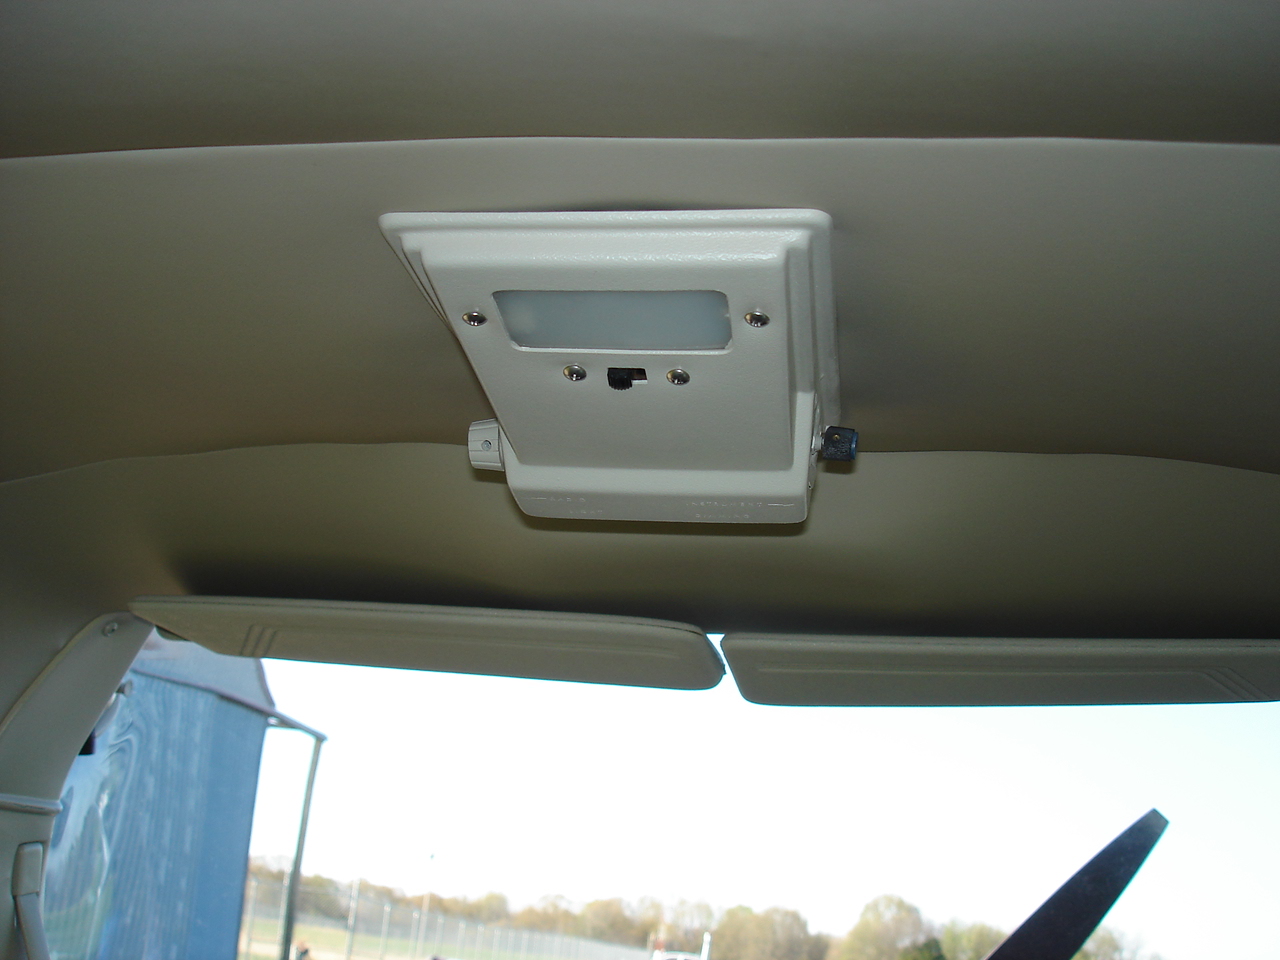
The headliner was some sort of cloth that was just about to fall on the passenger's heads.
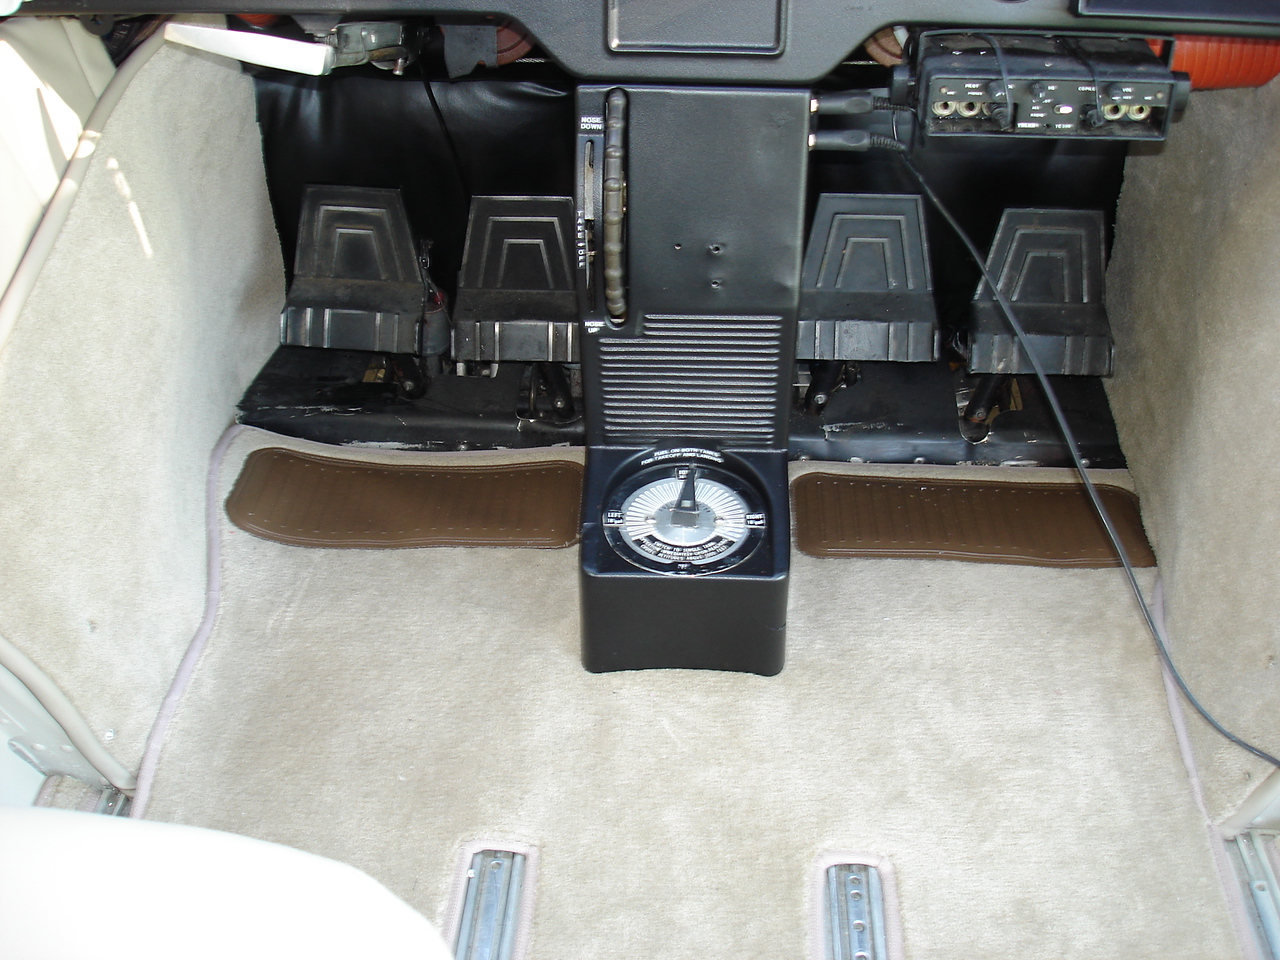
The carpet was a foam & fuzz type that was badly discolored and rotting away.
Here we see the original Cessna orange plastic window trim. Also on the instrument panel and eyebrow. We'll take care of that !
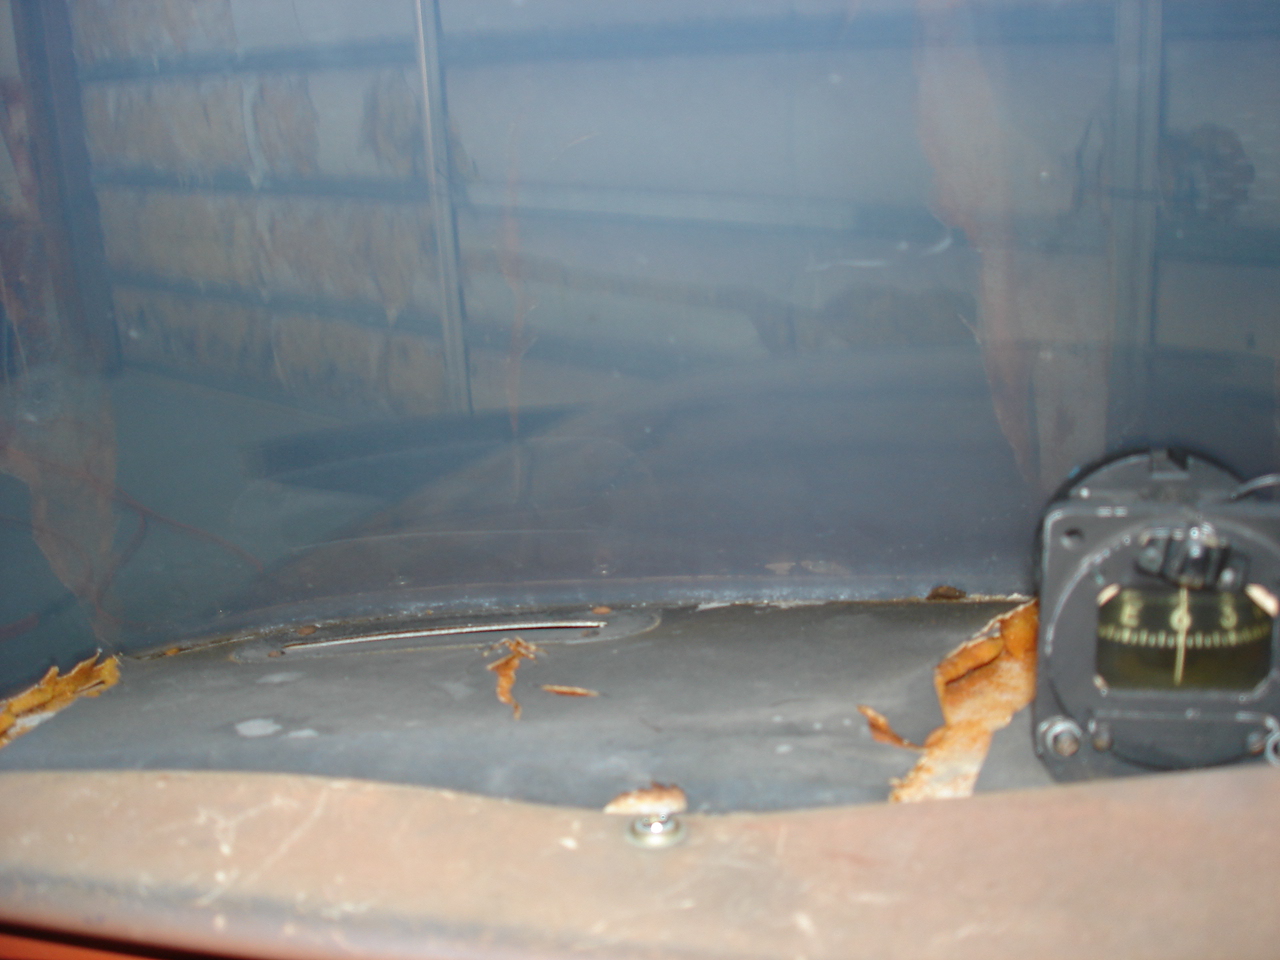
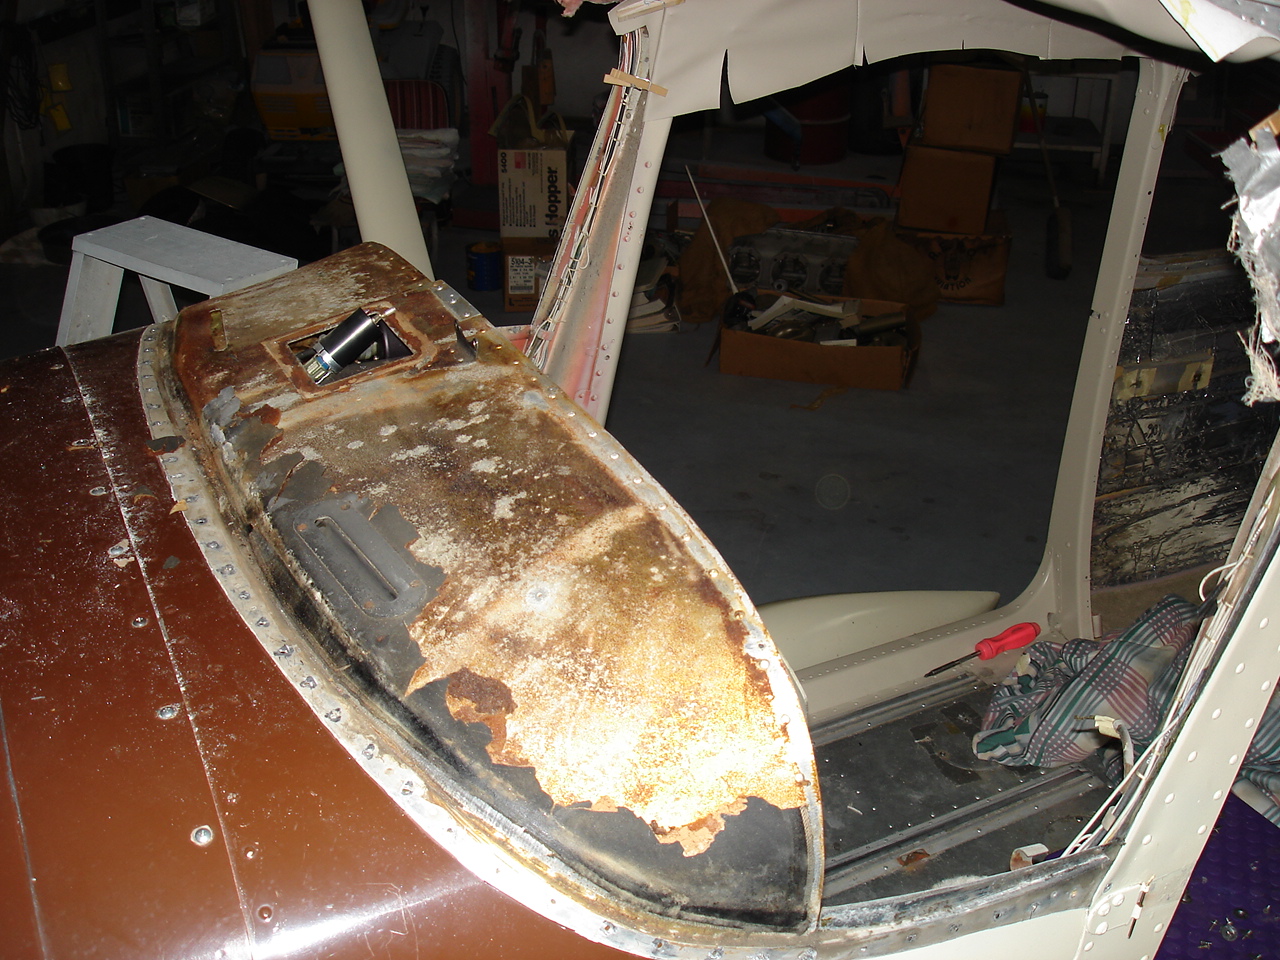
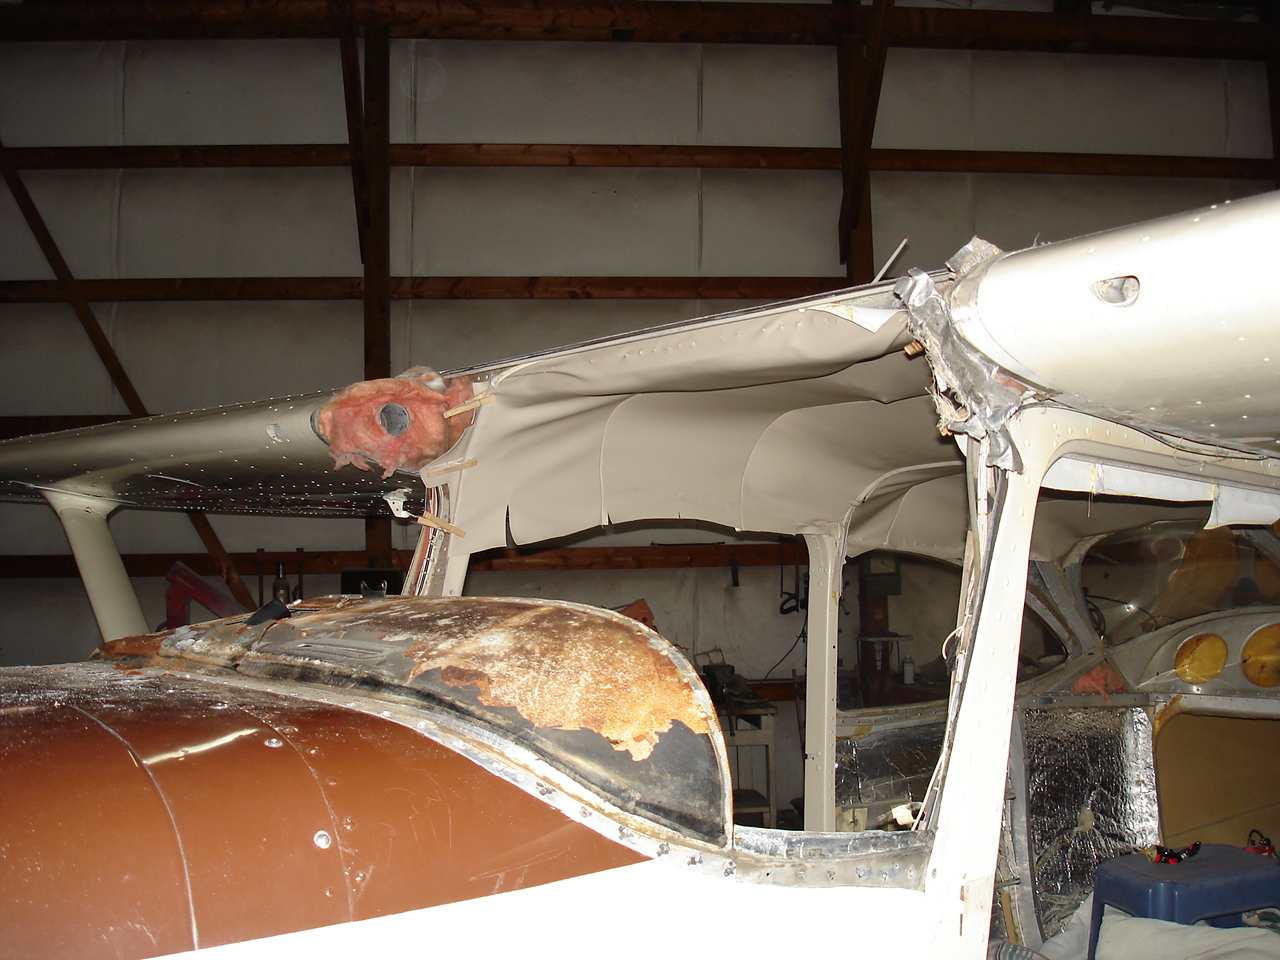
After initial disassembly, the clean up begins. One of the first things on the list is the glareshield and eyebrow. Here we see the glareshield and milky windscreen.
With the windshiled removed, we can now clean up the glareshield deck. Also, started the installation of a new ultra leather headliner we fabricated in our sewing room.
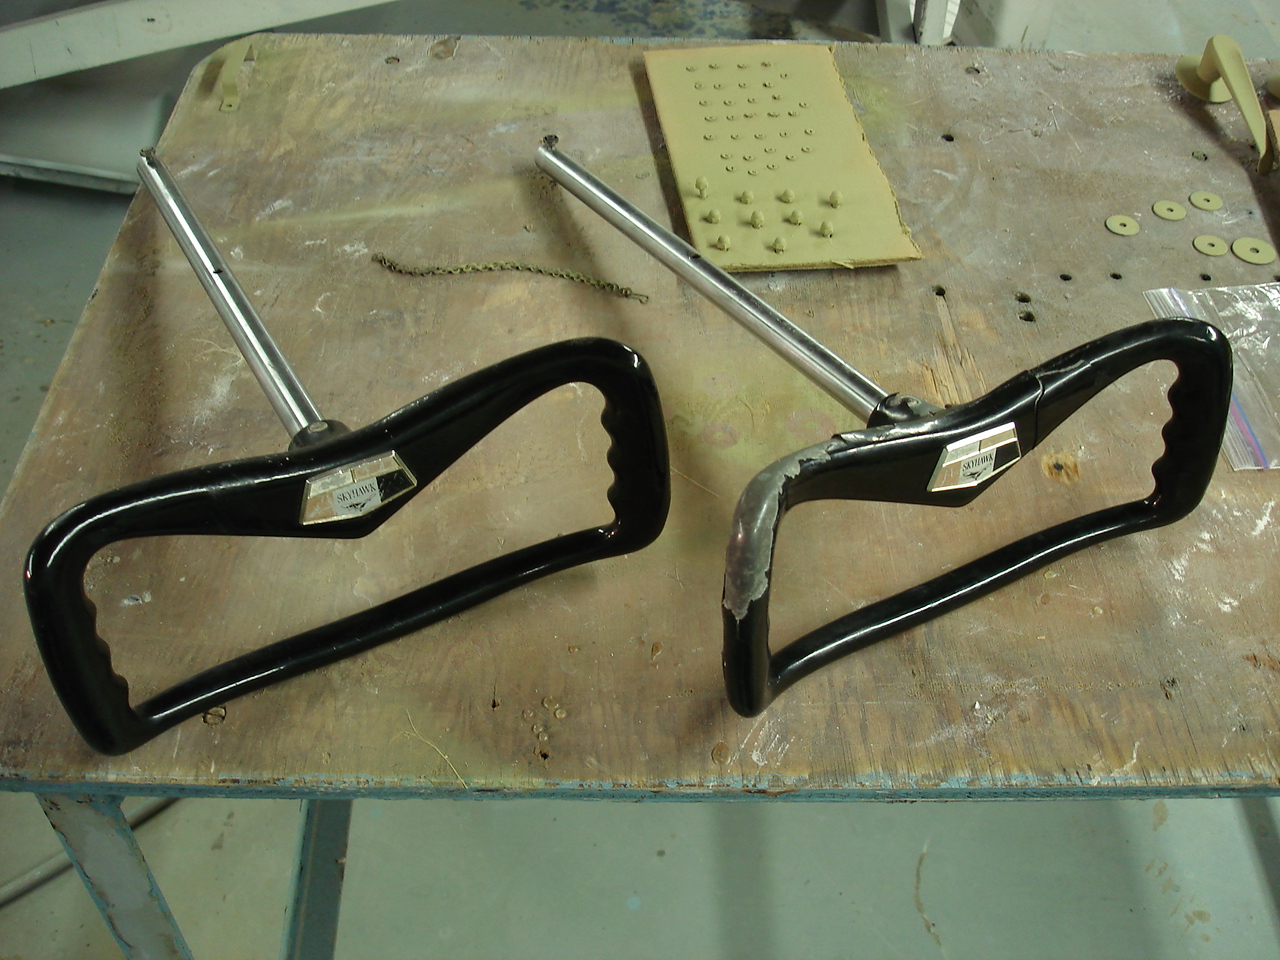
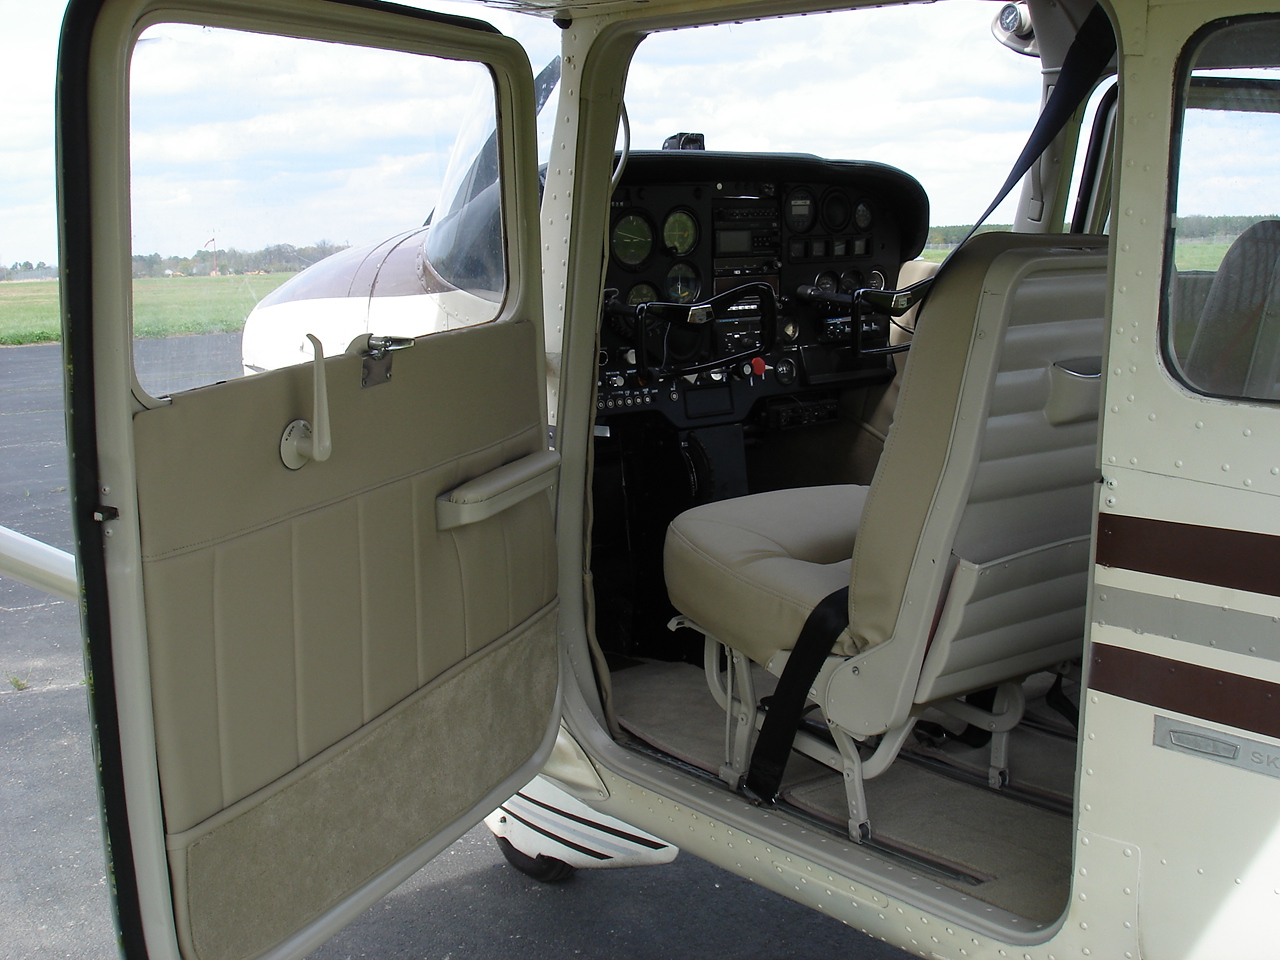
Cleaned the glareshield area down and when I tried to decide what to do about the broken, orange eyebrow, I thought it might be time for an upgrade. So I decided to build a new eyebrow assembly just like the later model Skyhawks on one of the molds I have. I molded the new eyebrow and we covered it in black leather with some nice top-stitching for an accent. Next, I refinished the lower instrument panel in black. Also, powder coated the control yokes with mirror black while I was at it. Also, installed a new windscreen.
With the plastic all removed, I cleaned it down, and repaired it where necessary. Next, I followed it with a nice Jet-Flex finish. Ready for install now.
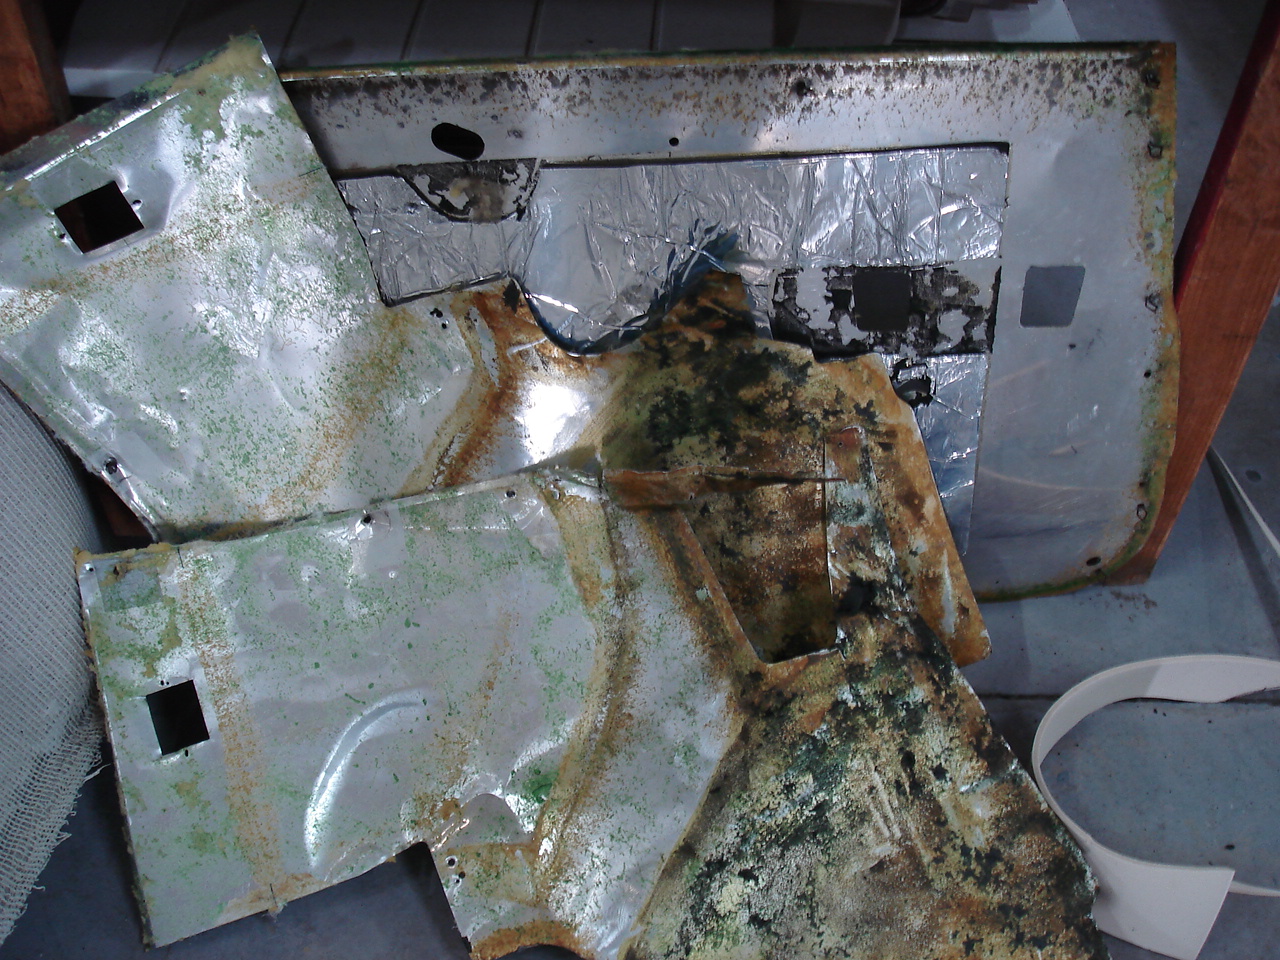
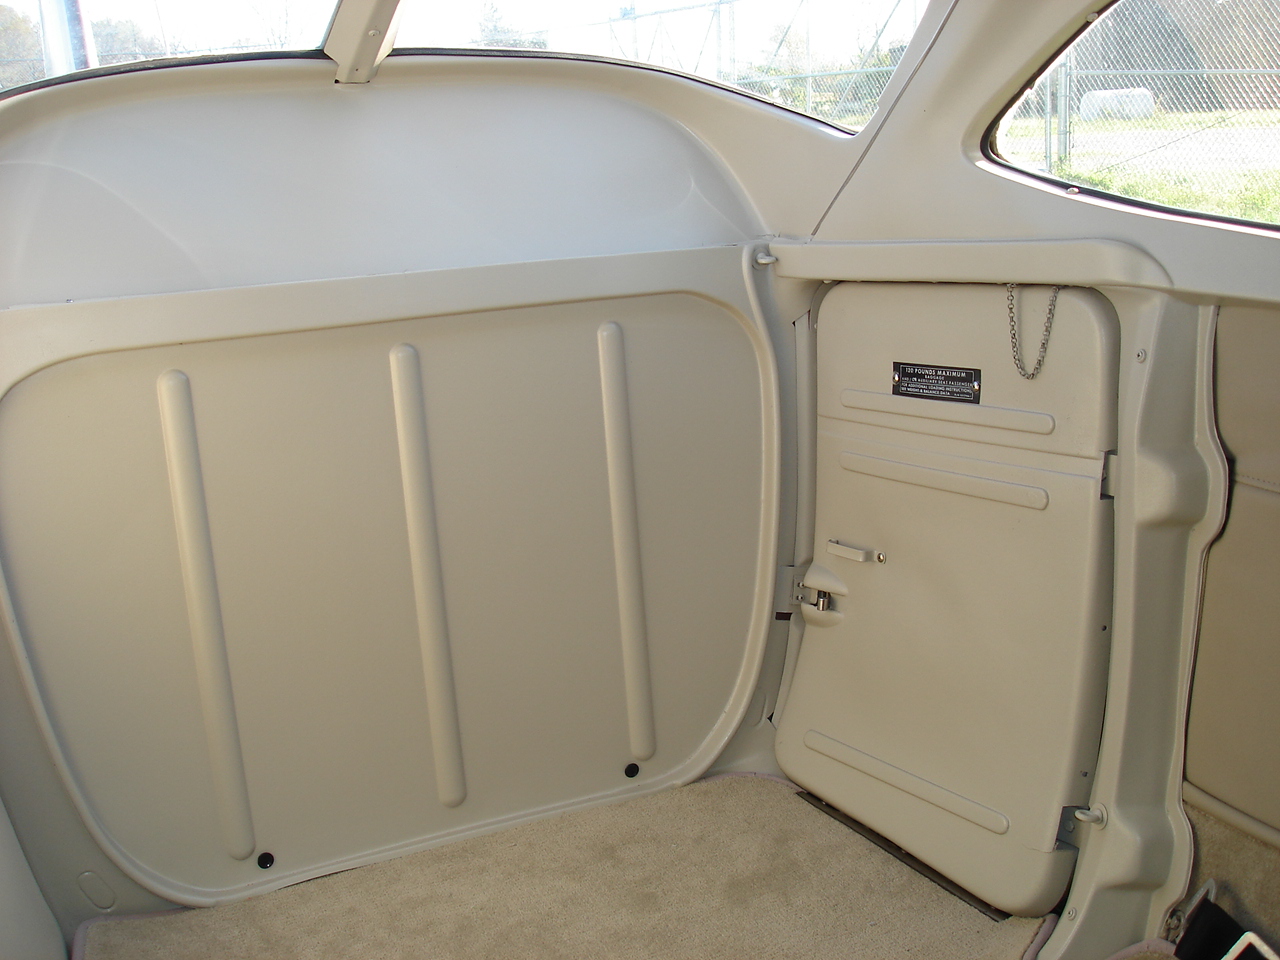
Now that the plastic is all finished, we can concentrate on the wall panels. Removed the kit interior upholstery and found plastic sign board for rear panel substrates. So, I just fabricated some new panels from 2024T3 aluminum for a permanent fix. The rest of the panels were original cessna sheet metal, so a good clean down and reupholster worked well for this.
Now we begin to see it all come together. The new ultra leather headliner, matching Jet-Flex plastic finish and the new Eclipse imitation leather wall panels are really shaping up.
Removed the foam and fuzz kit carpet and fabricated all new carpet in the later model floor design. Durable, cut pile nylon carpet with the woven scrim backing on it. No more black foam !! Also, bound all the edges with a matching mesh carpet binding. Also did the deluxe styling where the lower fourth of the wall panels have carpet sewn in.
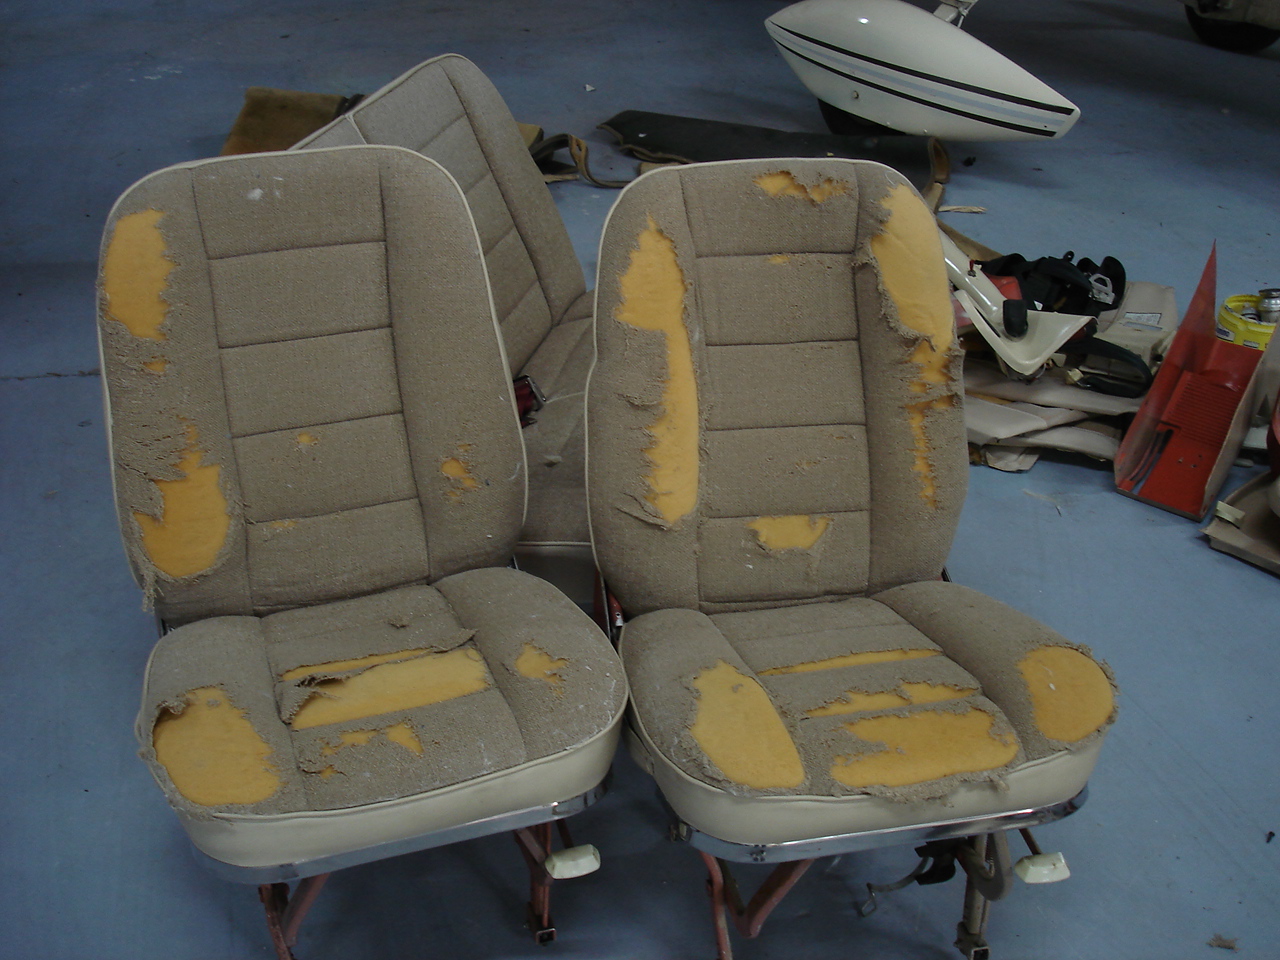
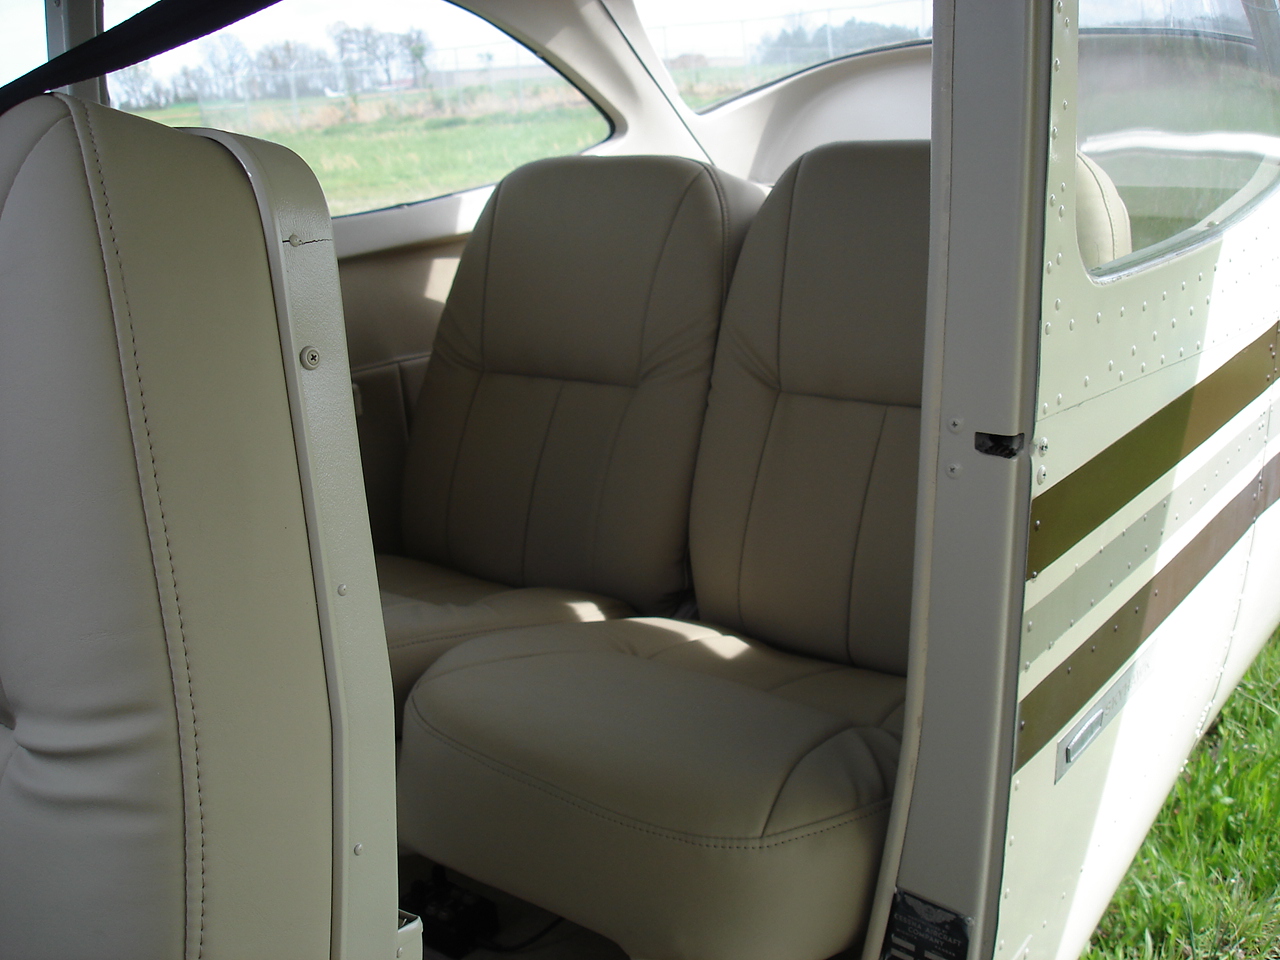
What about those crappy seats ? We aren't done yet.
Here we get to see it come together. The best part about this project was that we prefabricated everything before the aircraft ever got here. Saved some time and frustration later on in the project and allowed us to do some extras.
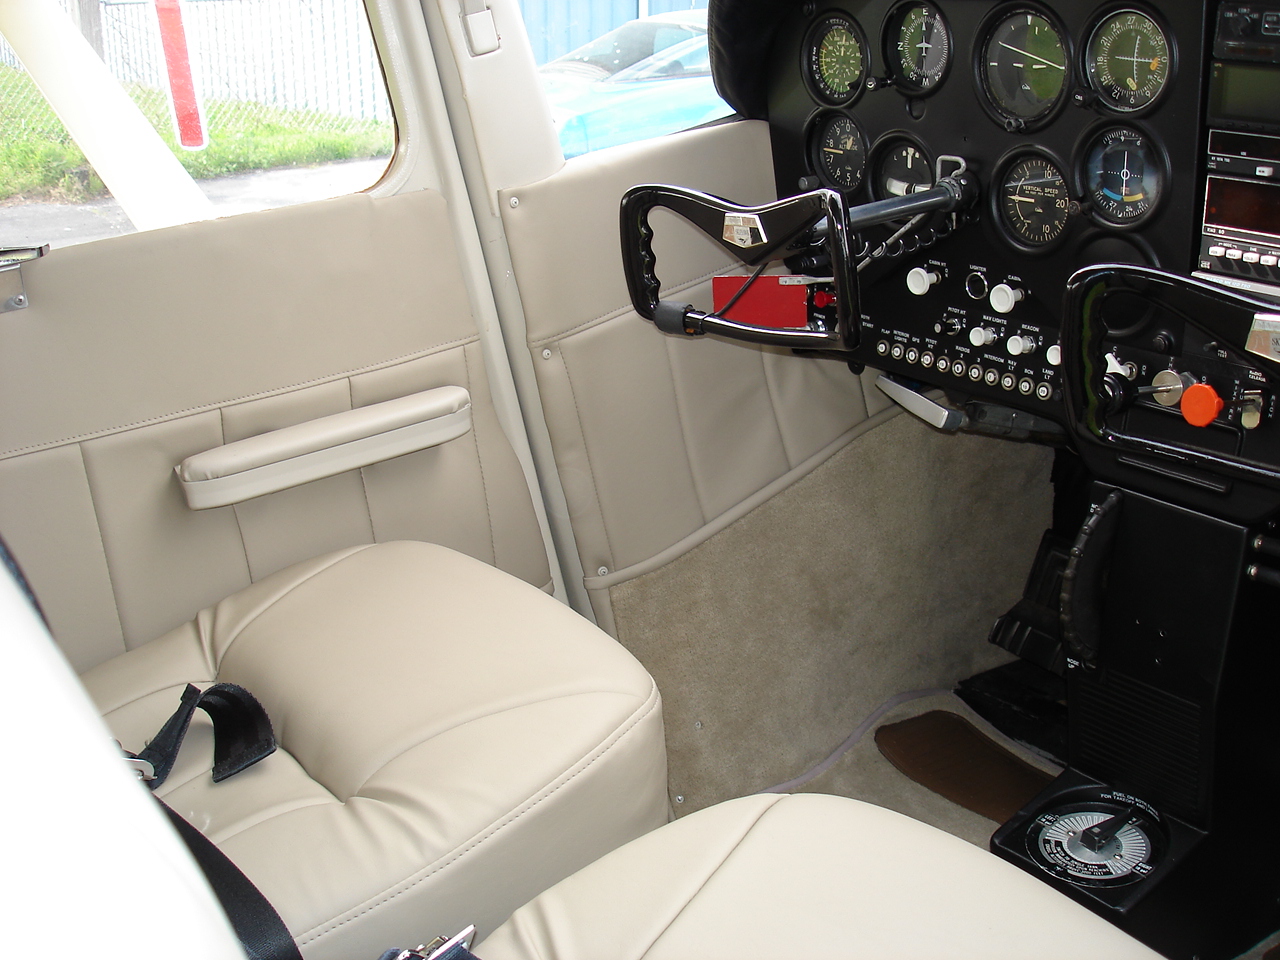
Now for those all-important "before & after" shots. Here we go :
Before
After
Before
Before
Before
Before
Before
After
After
After
After
After
Hope you enjoyed this one !