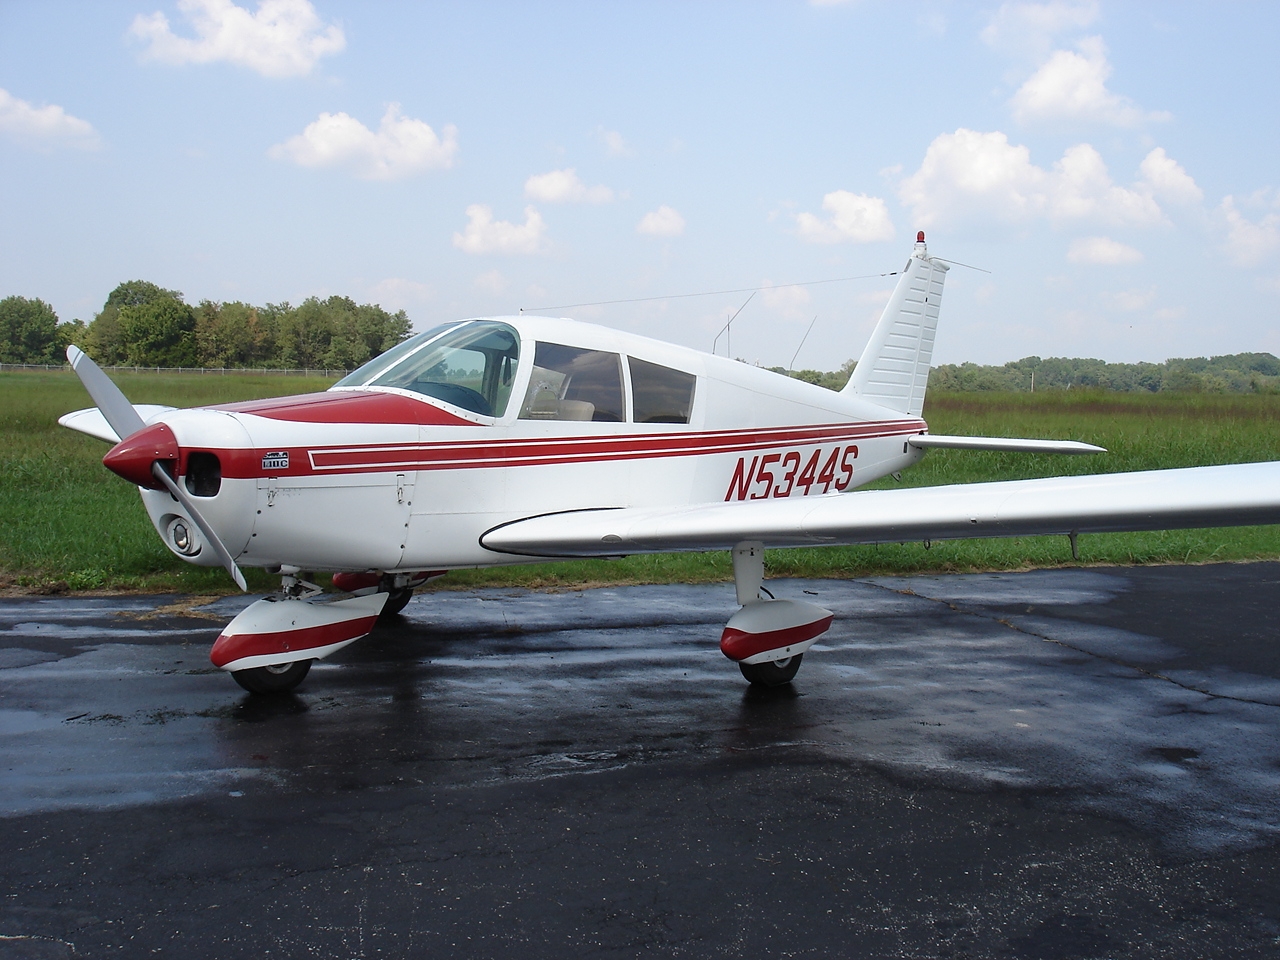
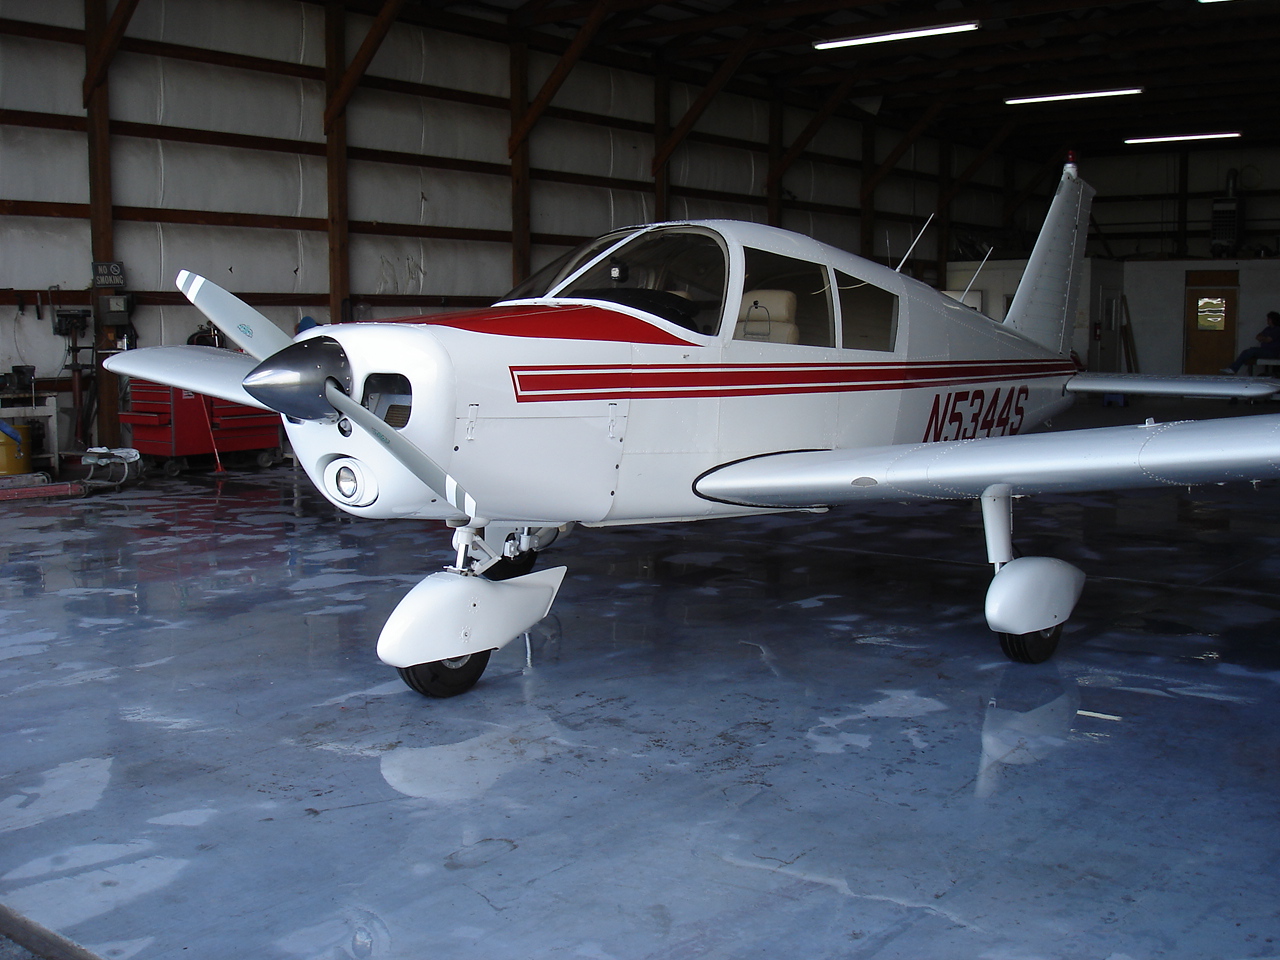
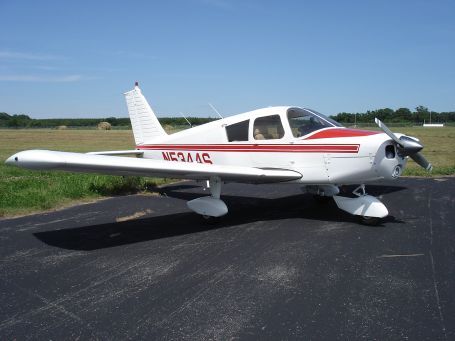
N5344S
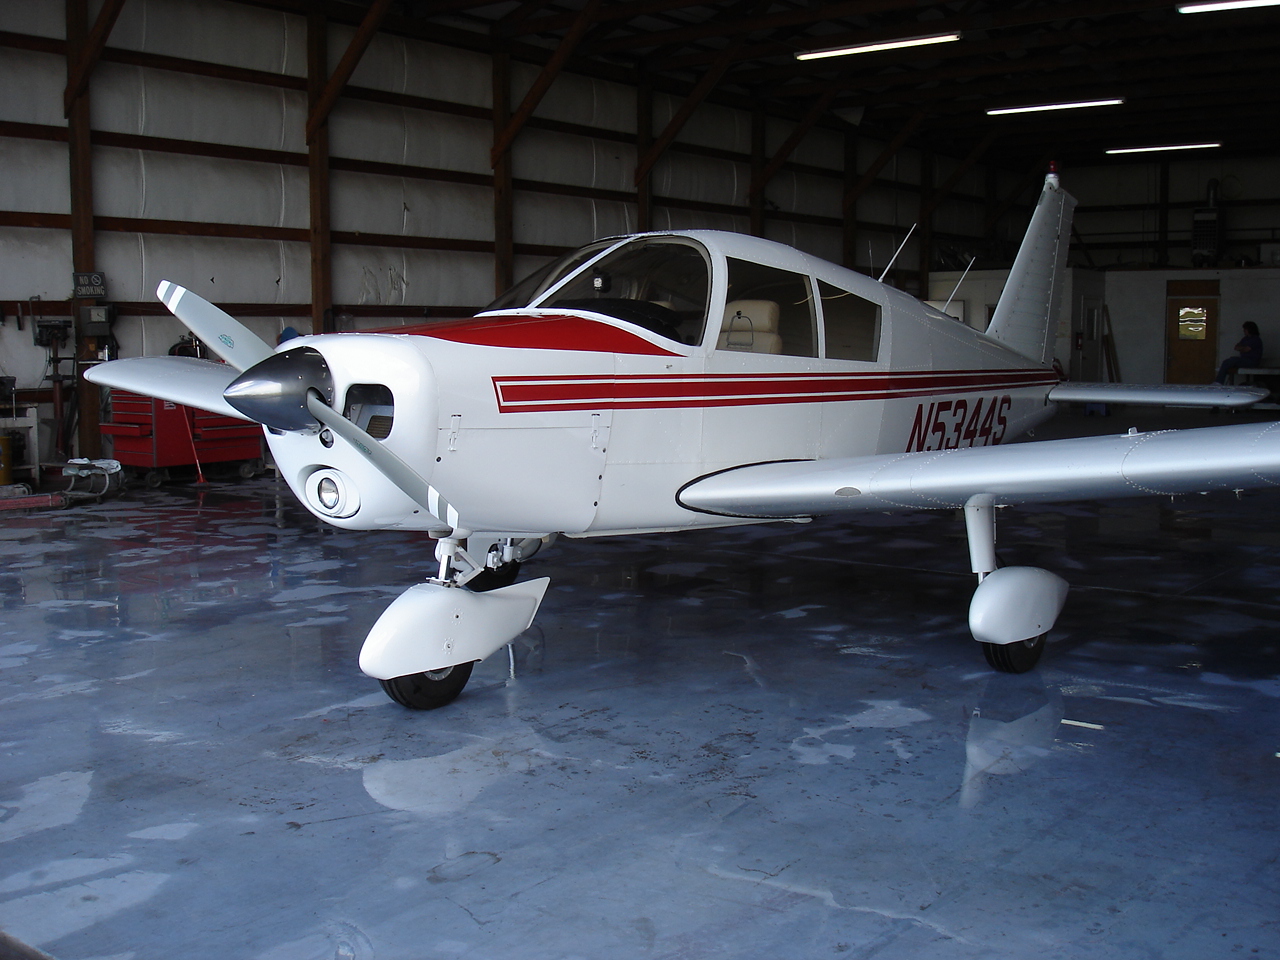
1970 Piper Cherokee 140C
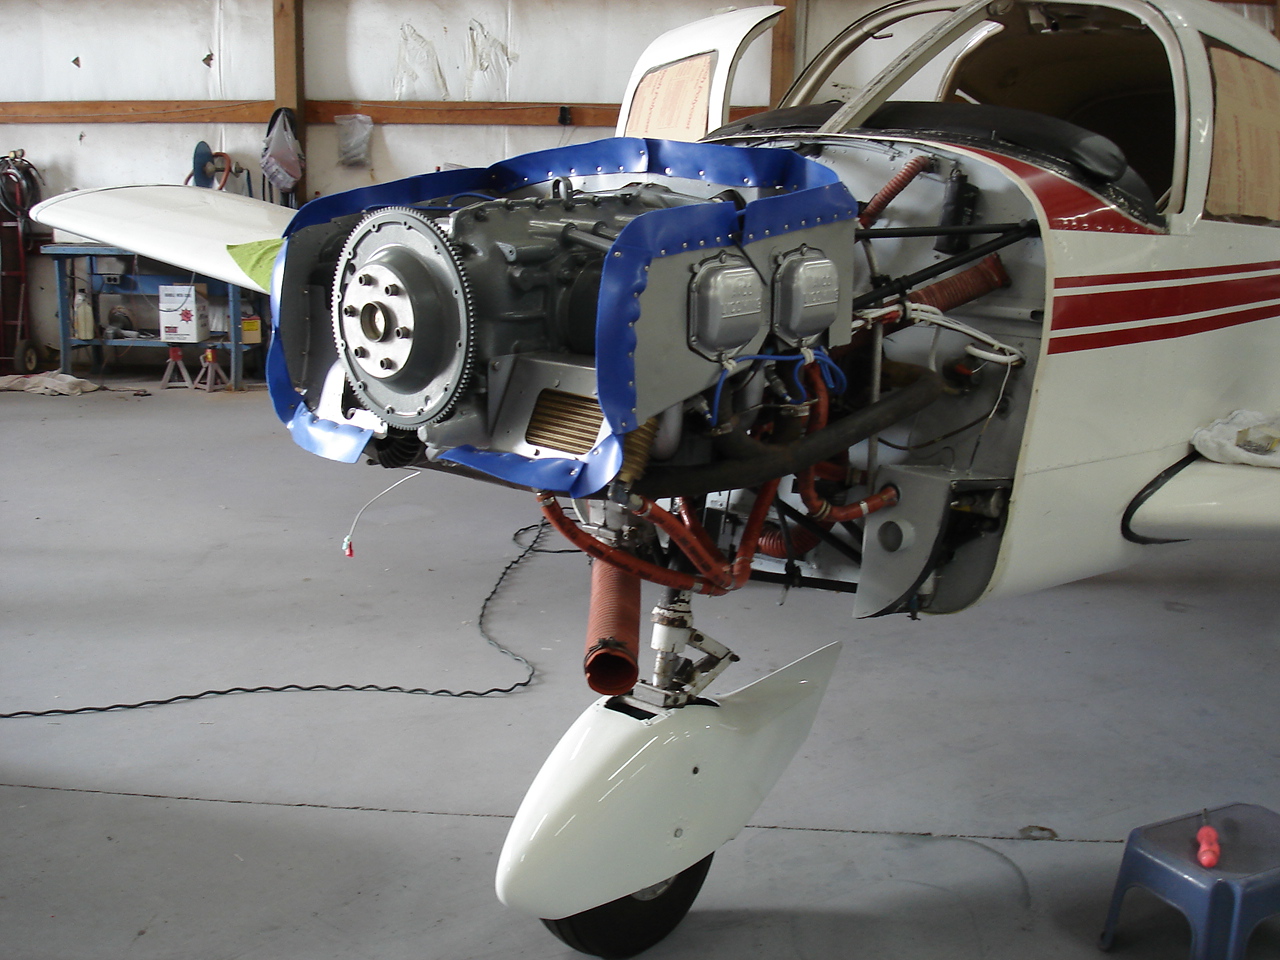
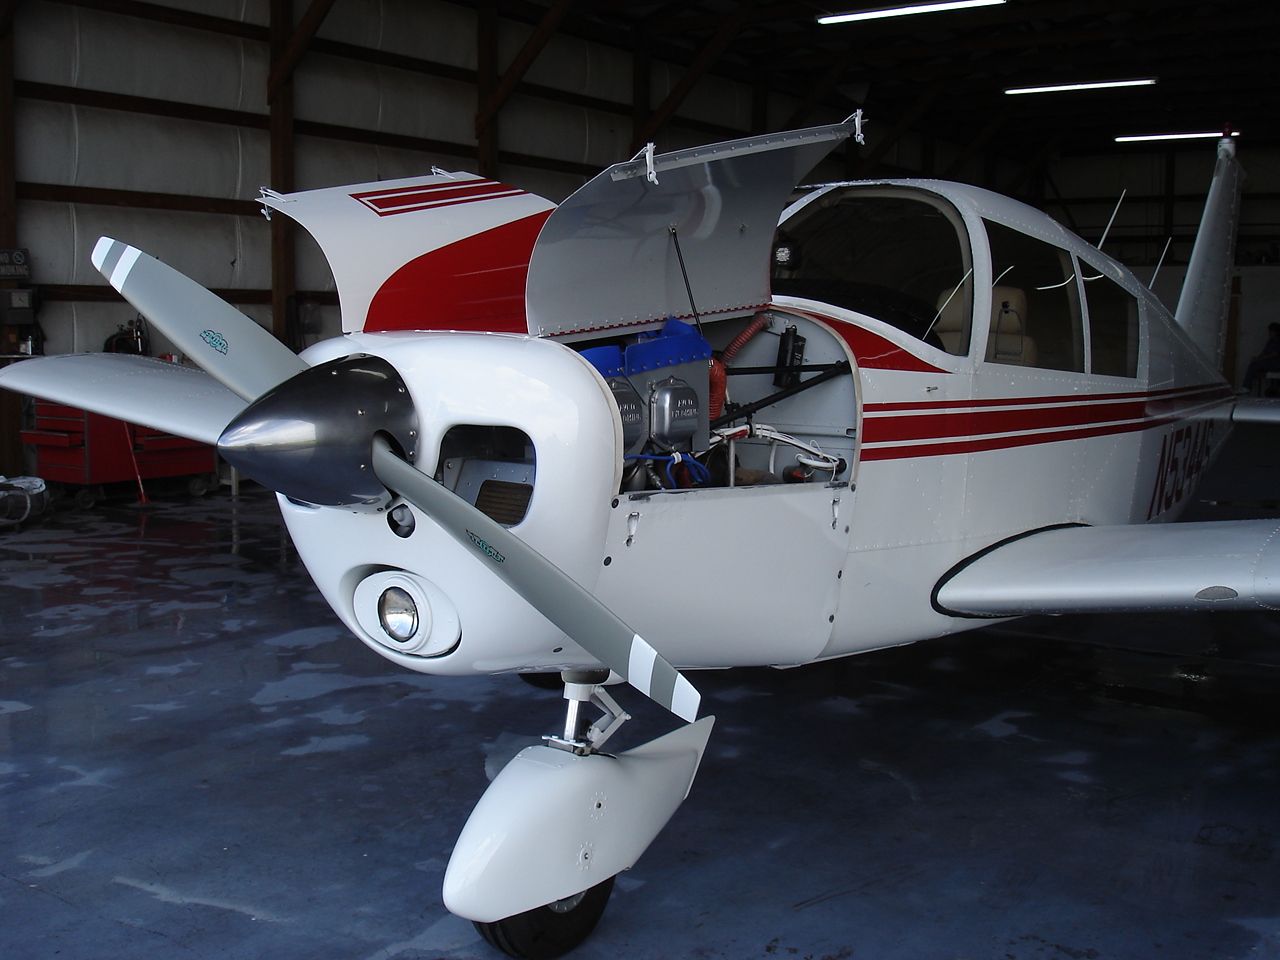
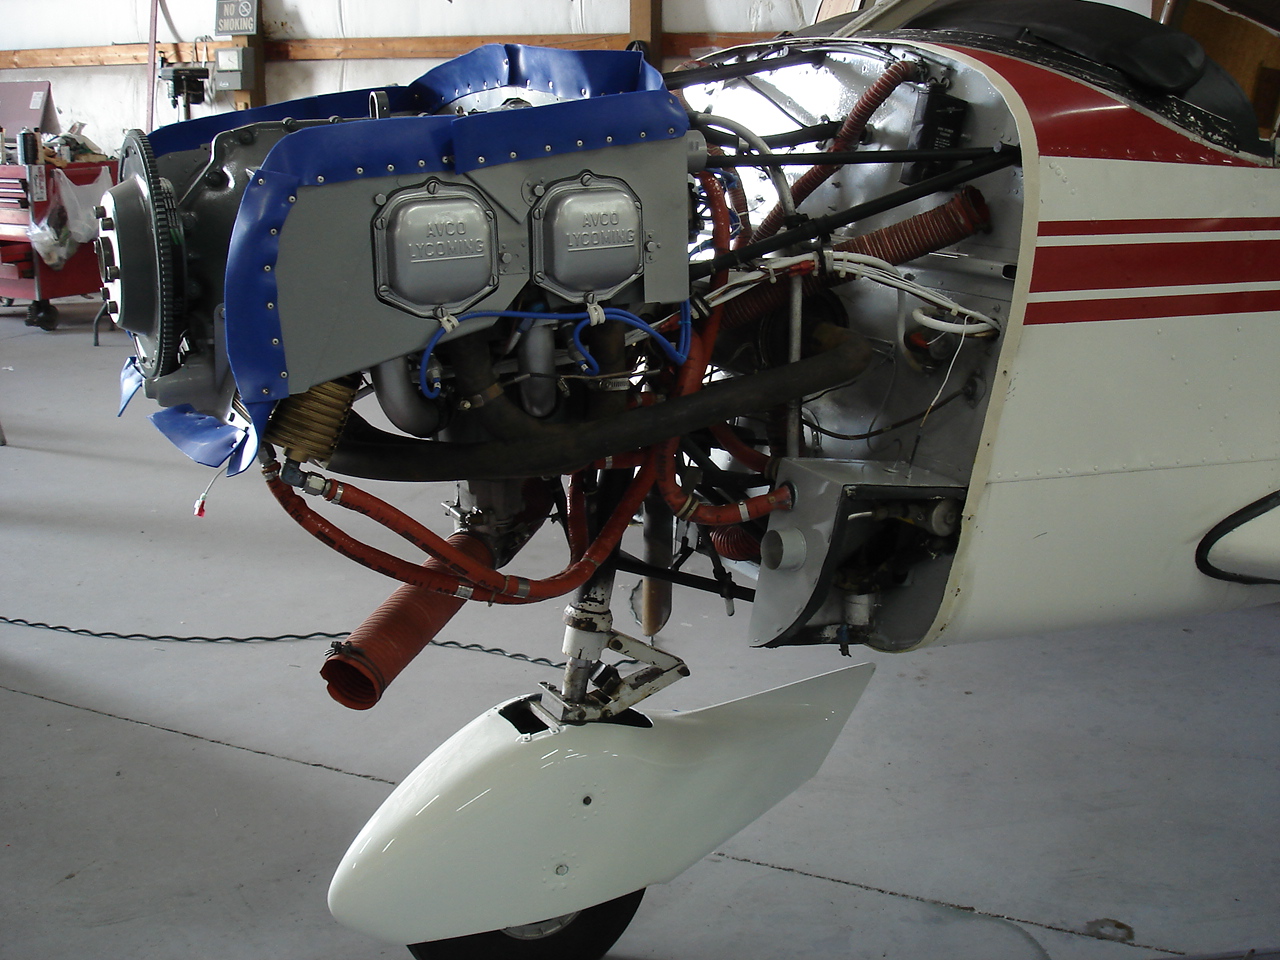
Here are the initial photos of 44S. What we'll be doing here consists of a complete interior and instrument panel renovation, an engine compartment clean-up, all new glass, and an exterior paint touch-up.
This airplane is pretty much all stock. Original paint, original interior, and original panel. The only things that have been updated in the past were the radio and the engine upgrade to 160 horsepower.
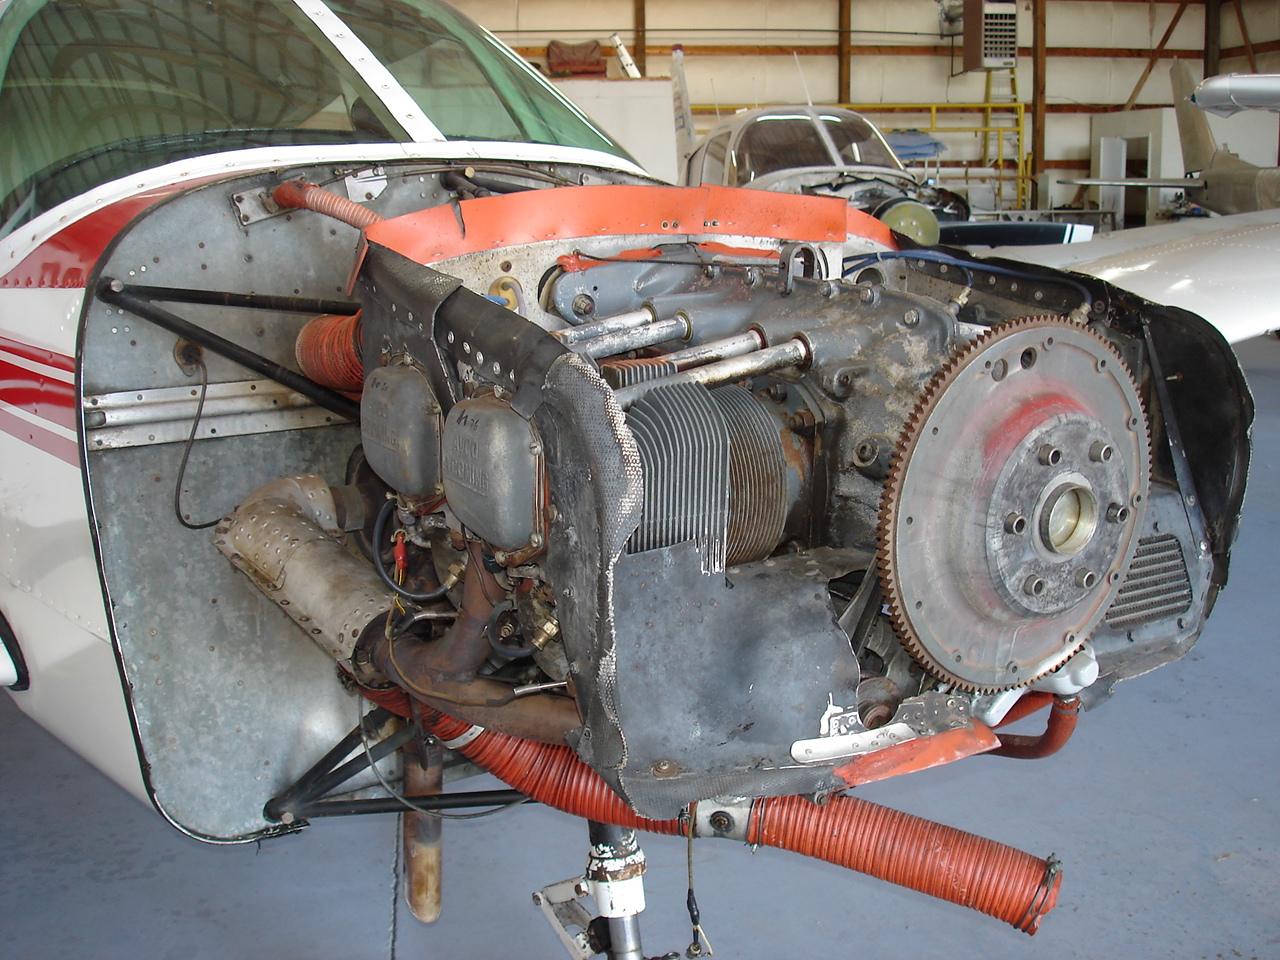
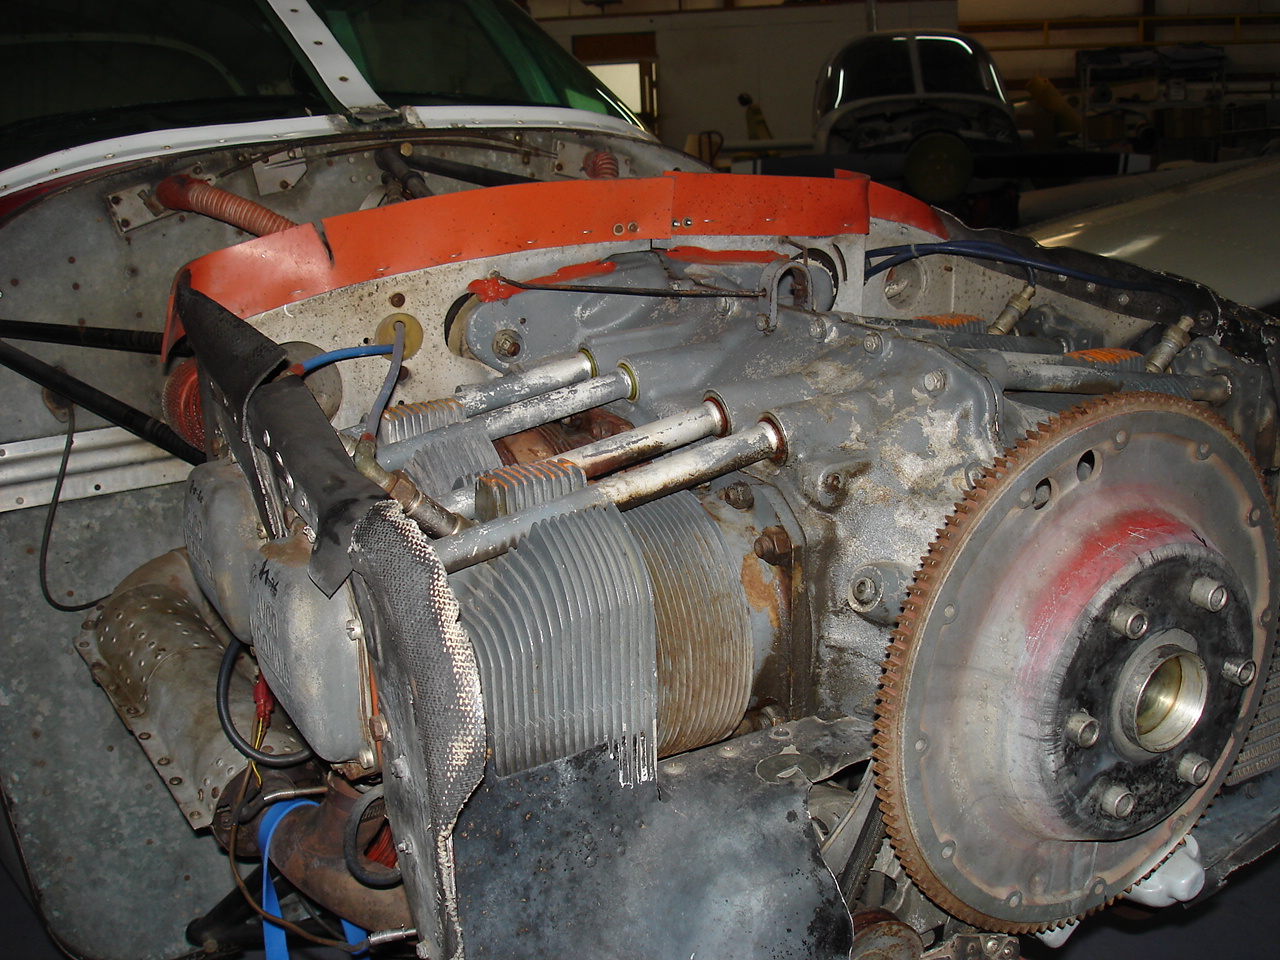
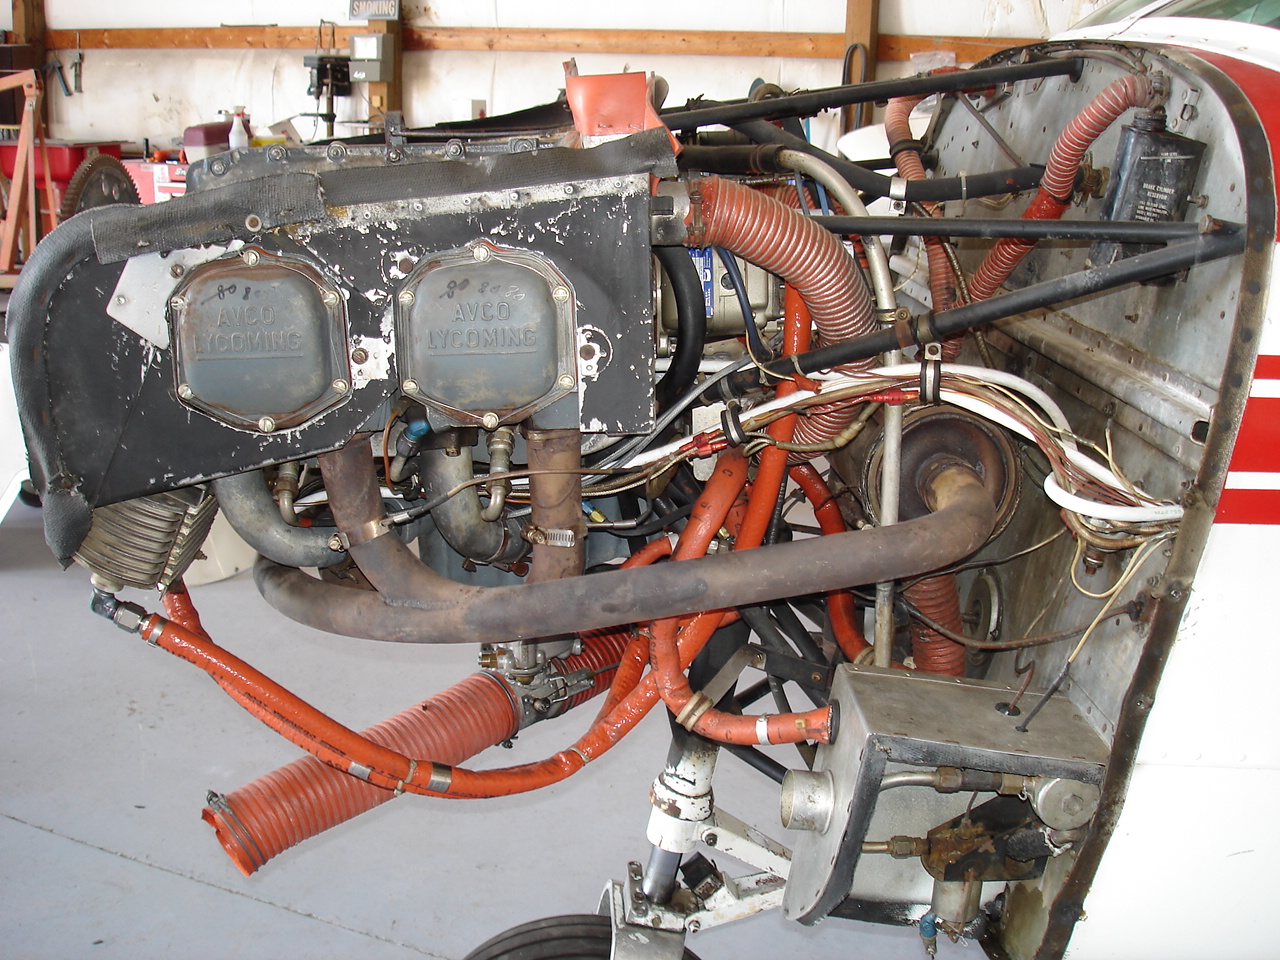
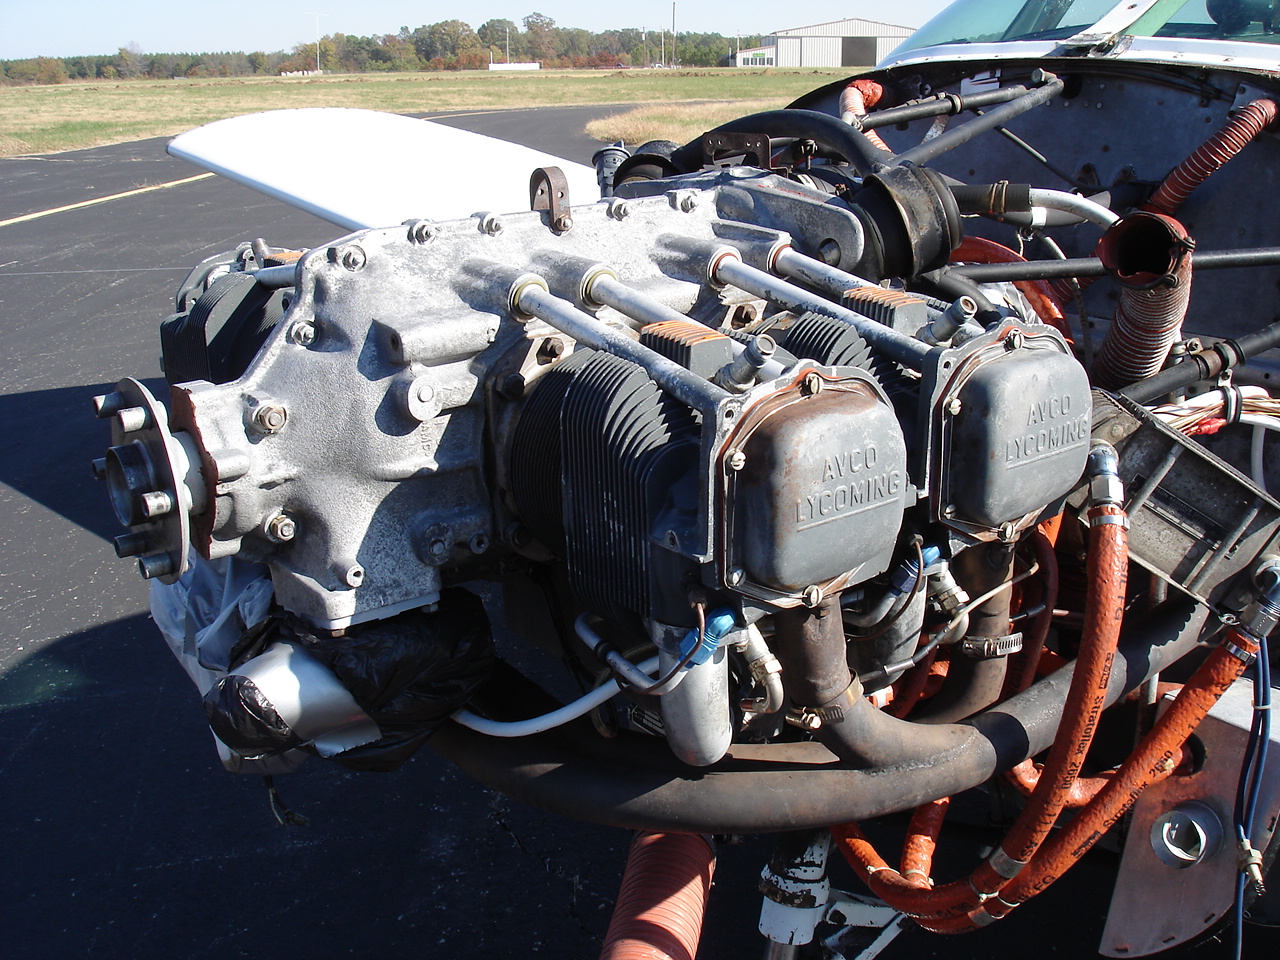
One of the first things I decided to tackle on this project was the engine compartment. Although, the engine has lots of hours left on it and it checks out fine, I'm going to go a little further and do some general housekeeping such as replacing some worn gaskets and hoses.
First thing on the list will be removing all the baffling & hoses and give it a thorough wash-down. The object is to get it as clean as we can without major disassembly.
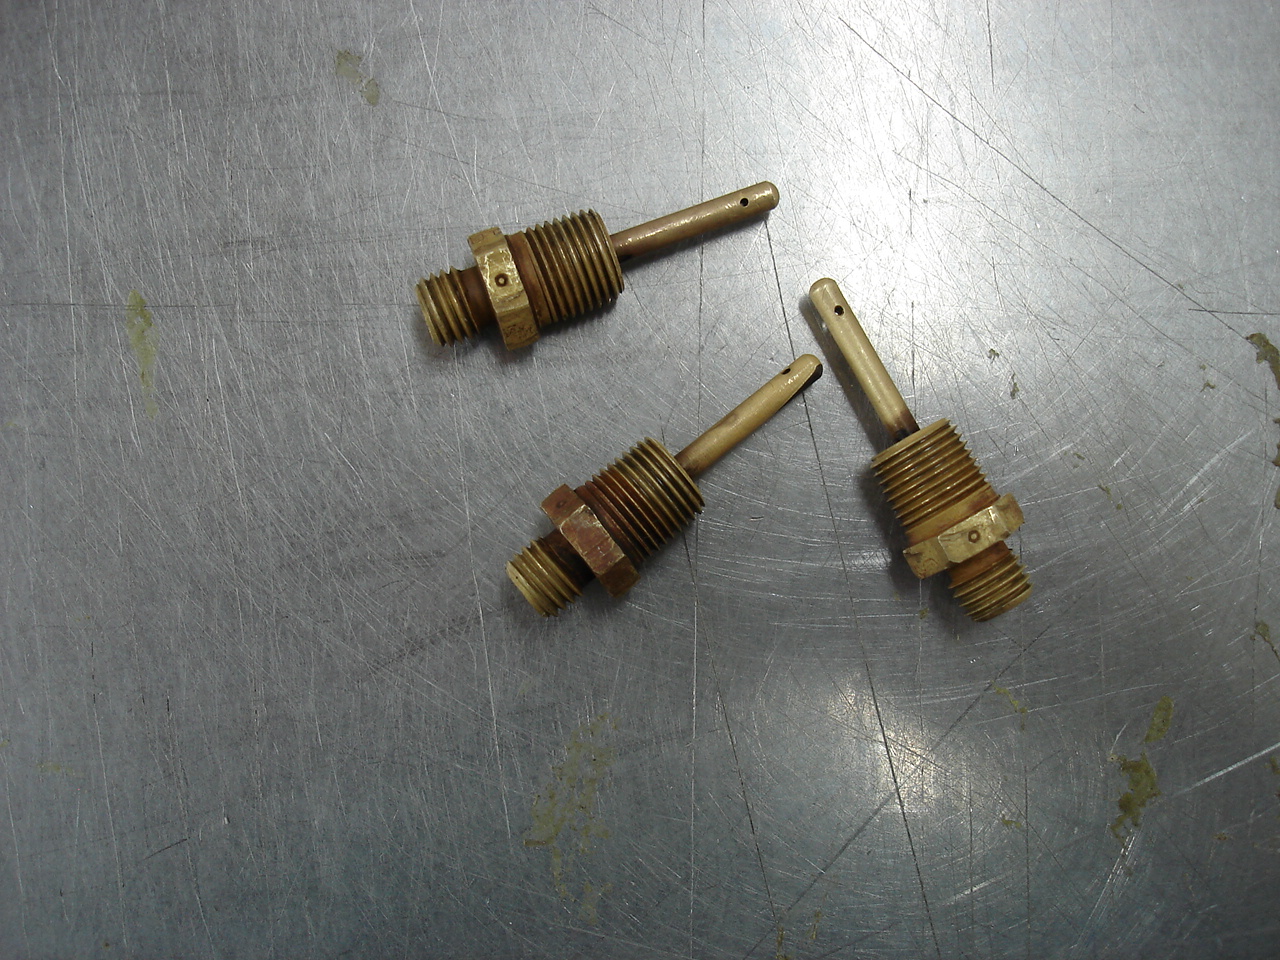
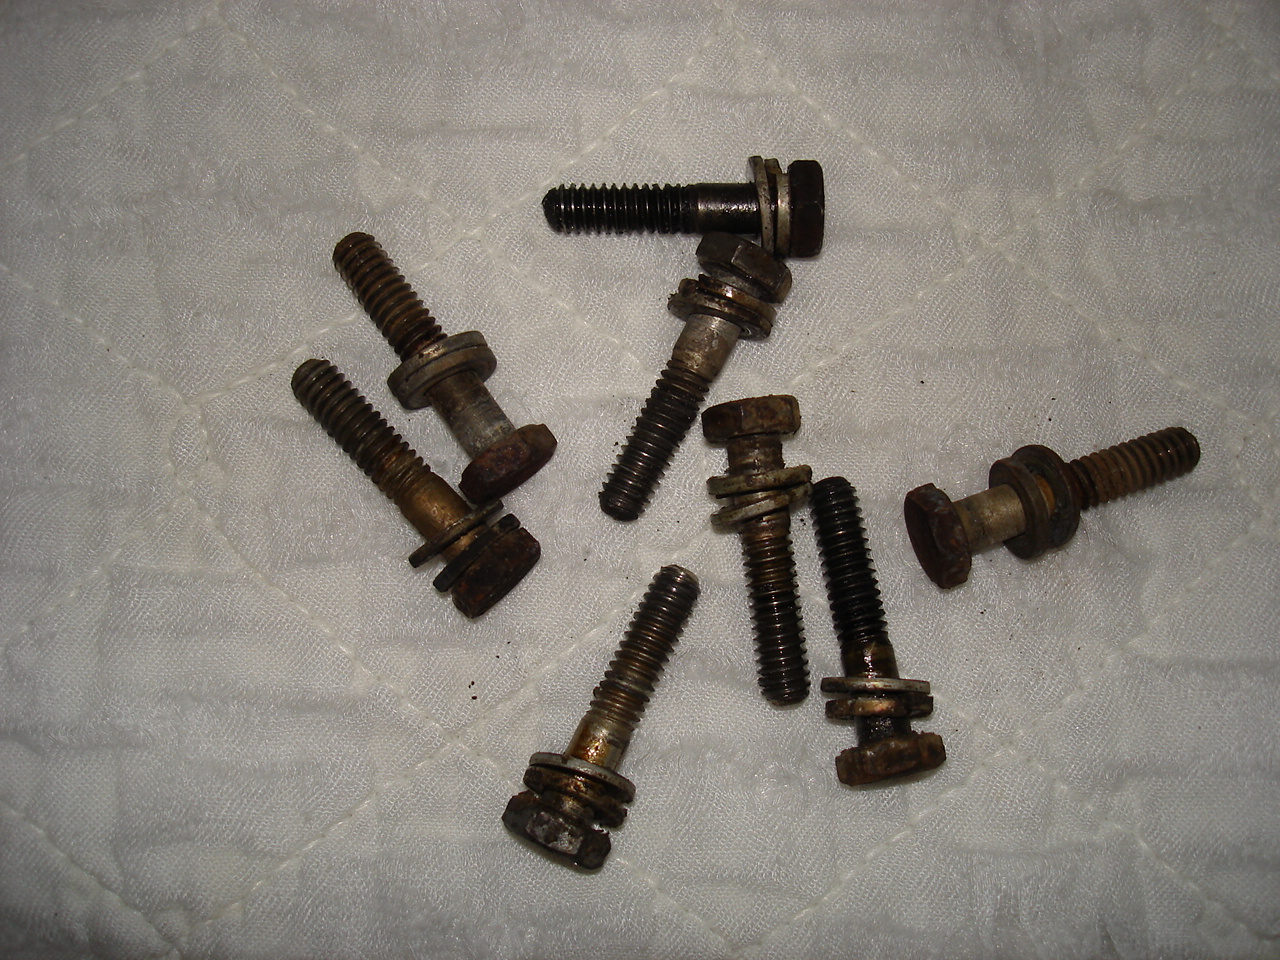
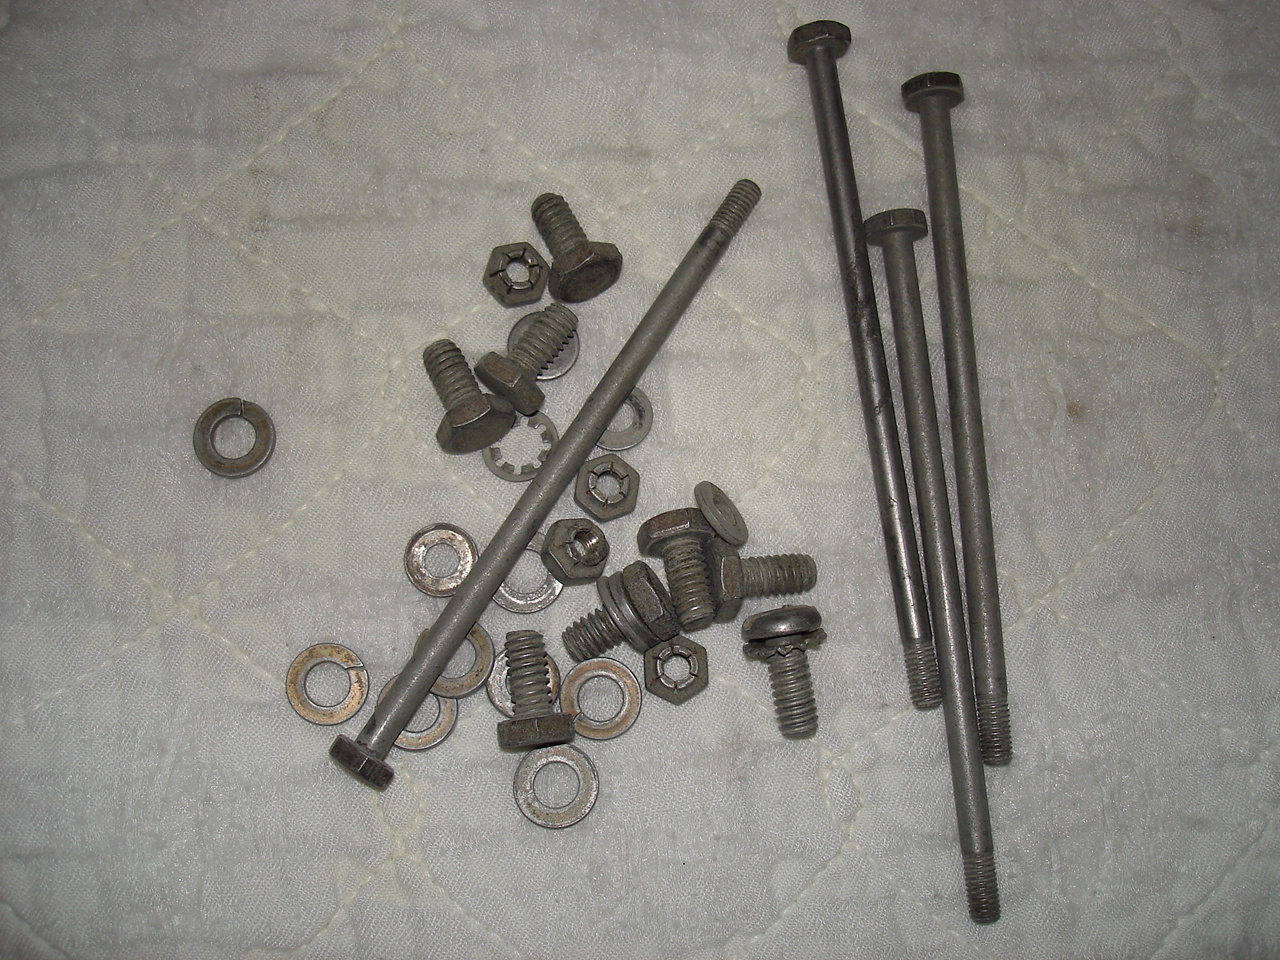
Next, comes the bits and pieces. Its a good time to check those nozzels and be sure they are open. An all night soak helps with the clean up the next day. Blow 'em out and check the flow to be sure they are all open. Also, started the clean-up of all the miscellaneous hardware.
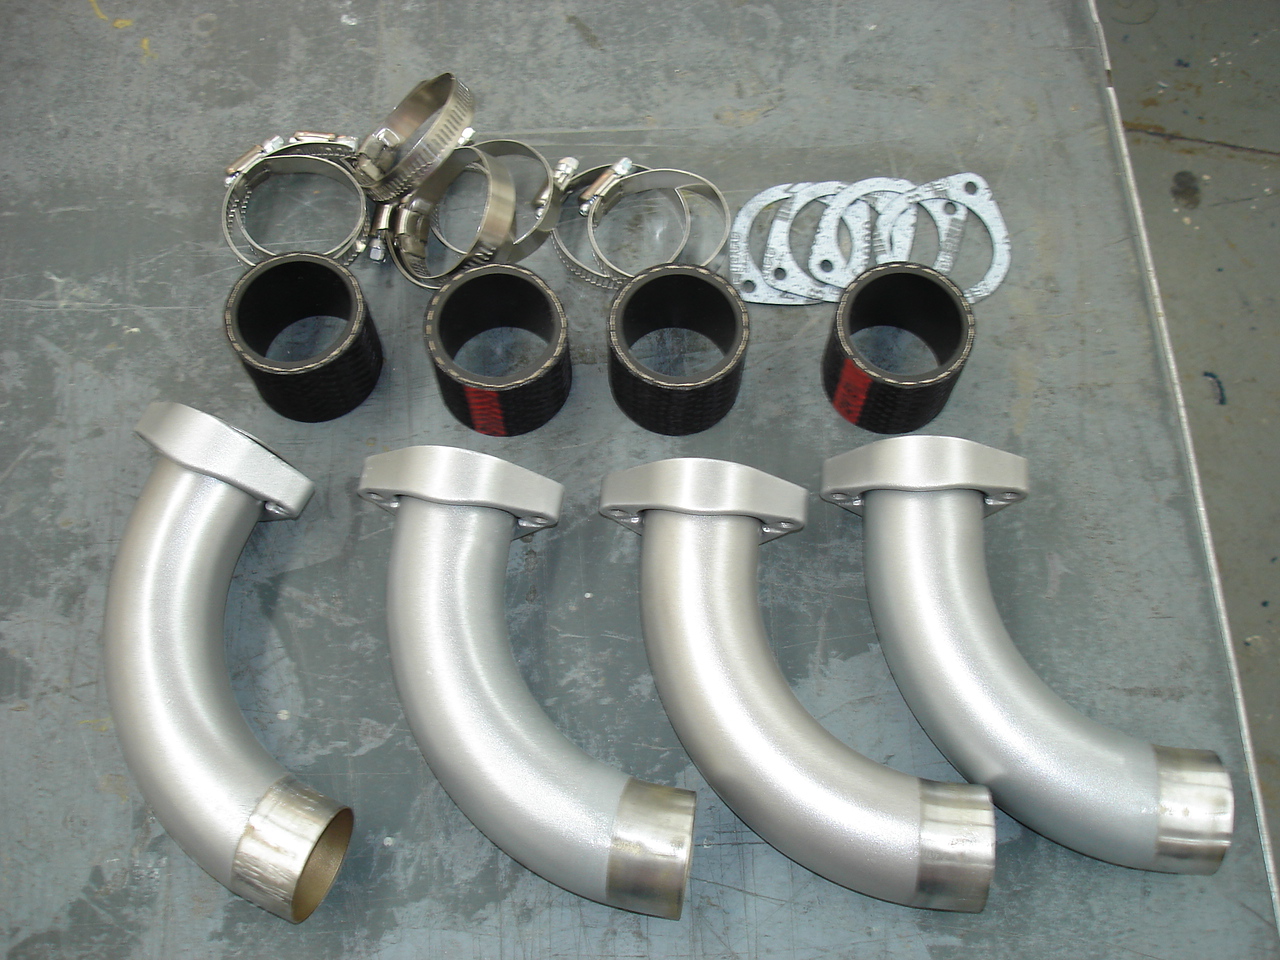
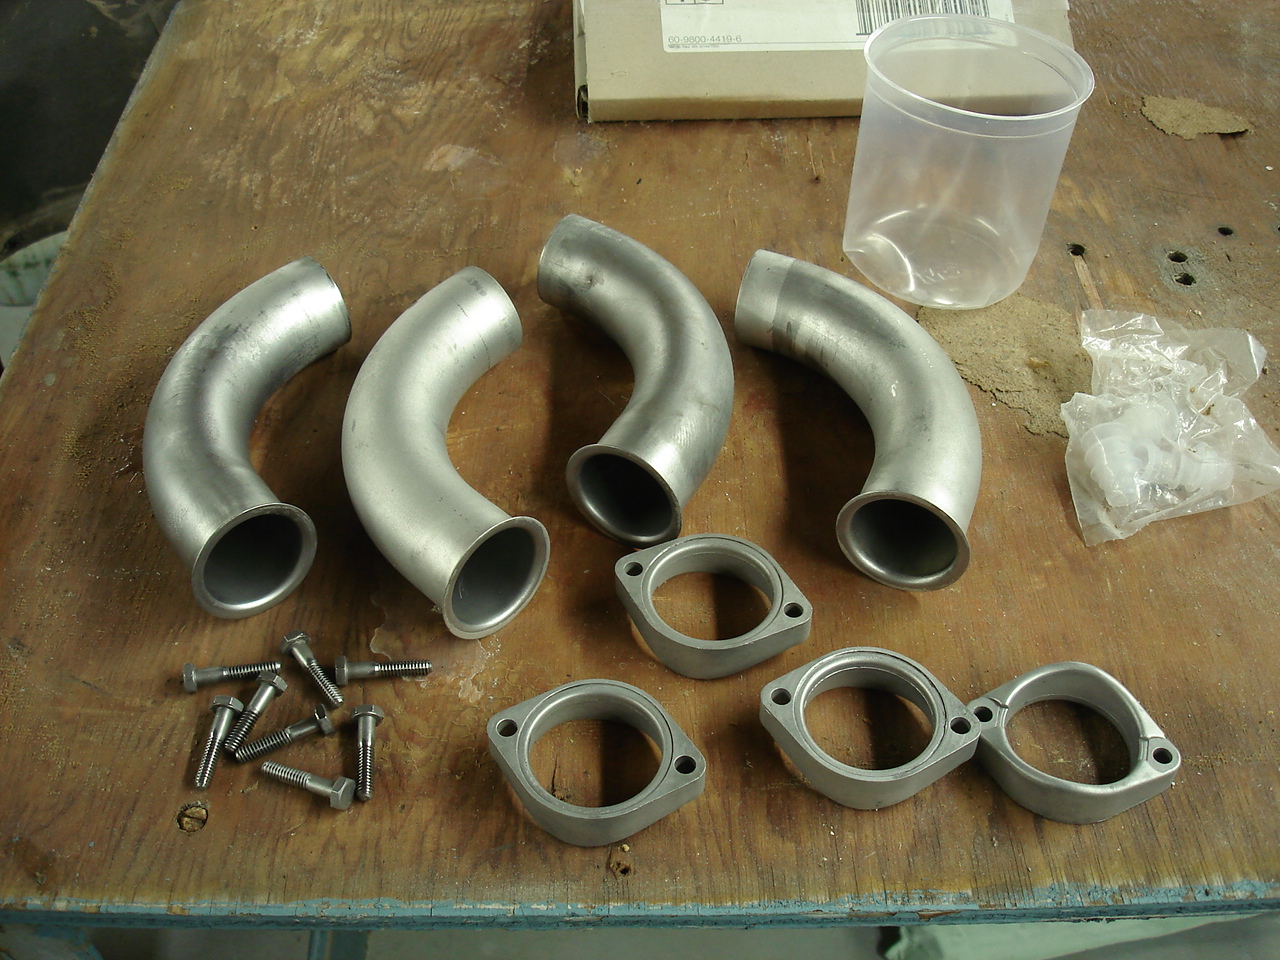
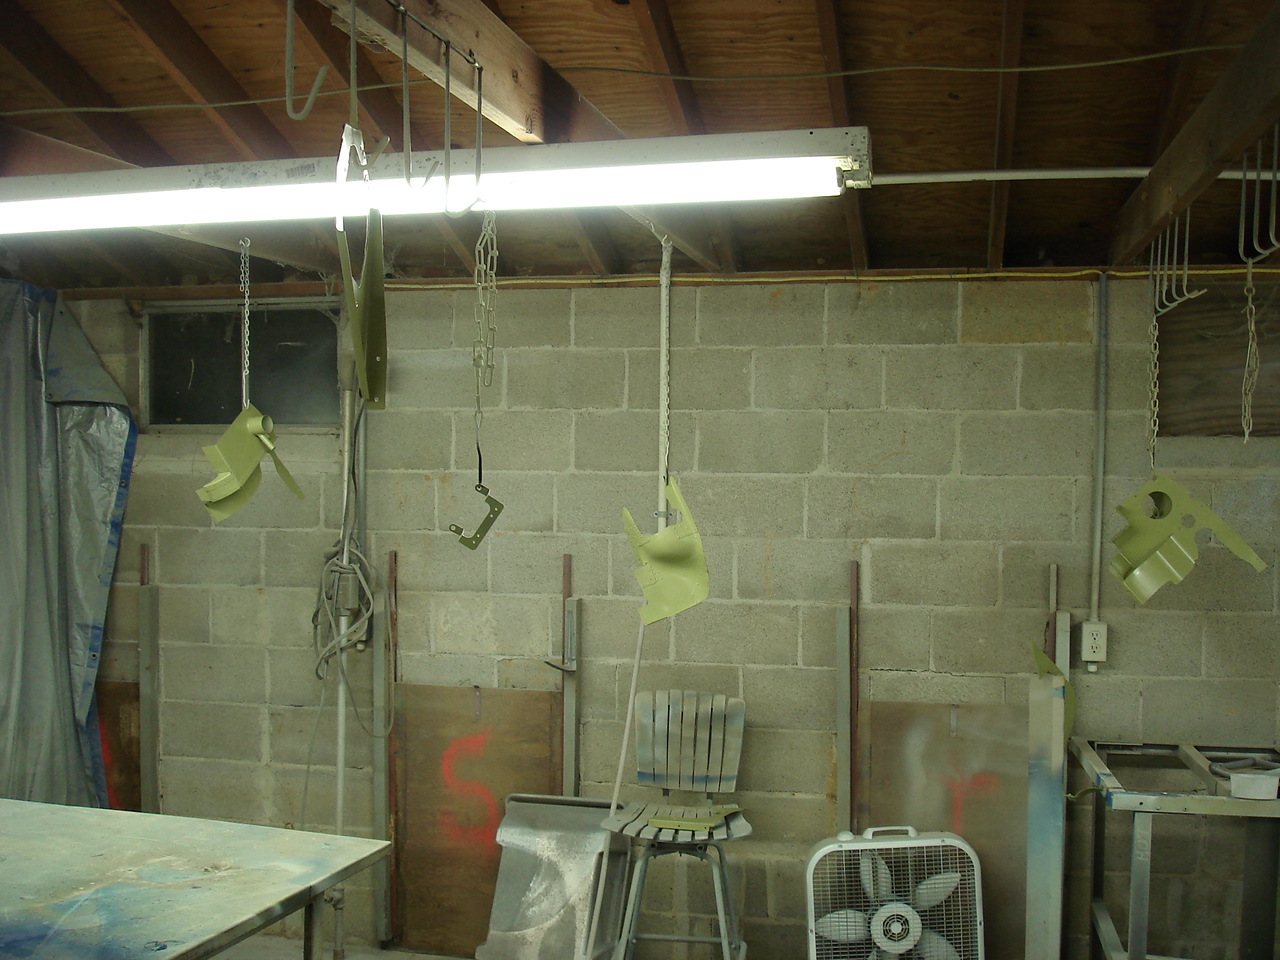
O.k., now I don't like the looks of those intake hoses and tubes. So, lets get them off and clean it up. Gaskets and hoses are not expensive and they'll do wonders for sealing the intakes and help us out with more power and smoother operation. As you can see, those hoses and gaskets are well overdue for repalcement. Might as well go ahead and powder coat the pipes in low gloss silver metallic so they'll look new. These will look nice when I get them back on.
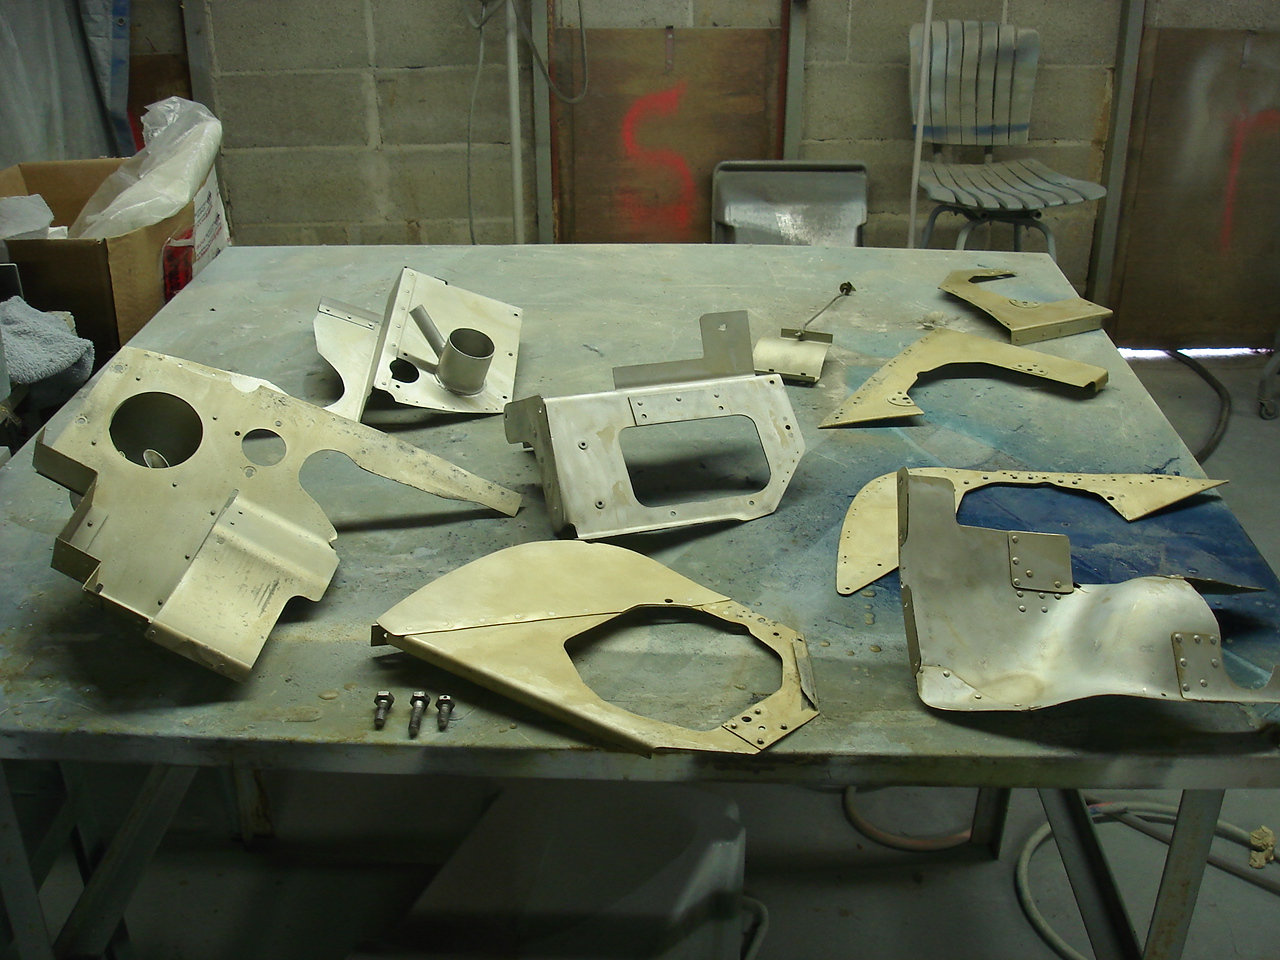
Now lets see about the baffling. They've got a hodge-podge of different colored gaskets and several years worth of patching here & there. First thing is to remove all the old gaskets and repair all the sheet metal. This took the better part of the day for just the cleaning and the metal patch work. What I hope to accomplish here is to make the baffles last as long as I can and make the patches blend in with everything nicely.
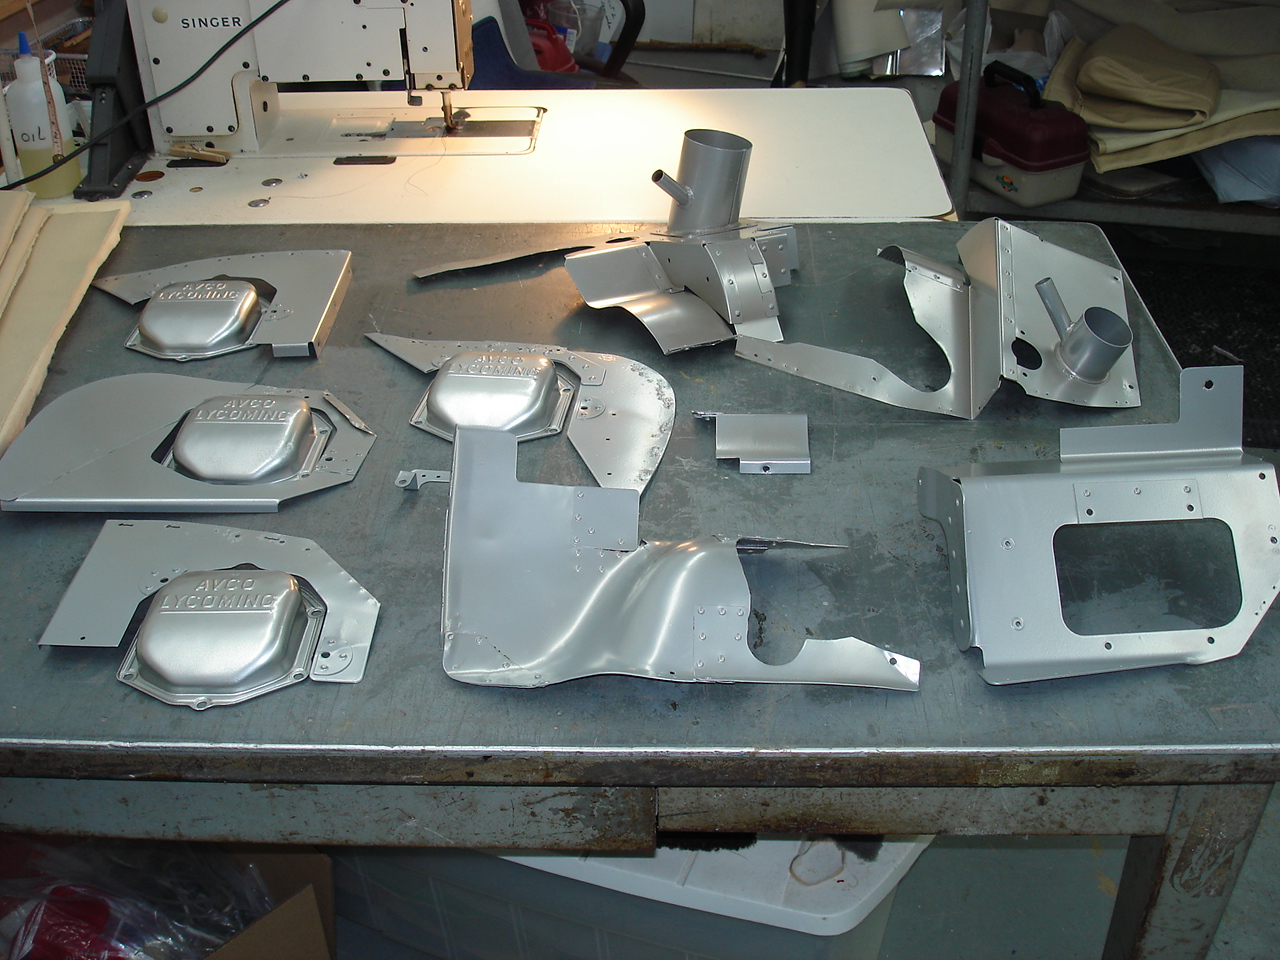
Now that the repairs are done, we can focus on the refinishing. Cleaned all the paint and surface discoloration off the baffling and soaked in acid etch. A good coat of alodyne and they are ready for primer. Primed with epoxy corrosion primer and finished with low gloss silver powder coat. Also powder coated the rocker box covers while I was at it.
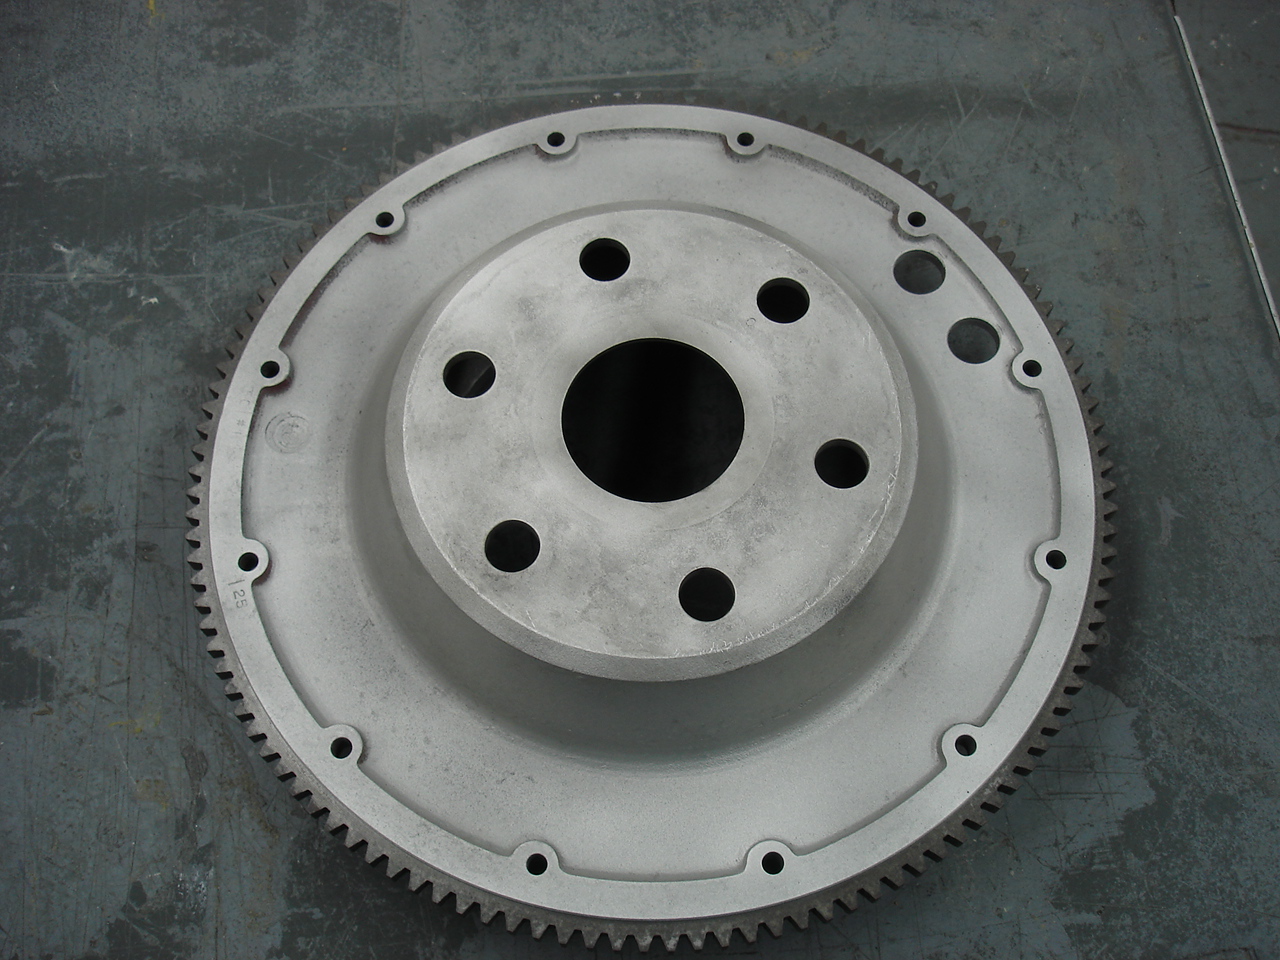
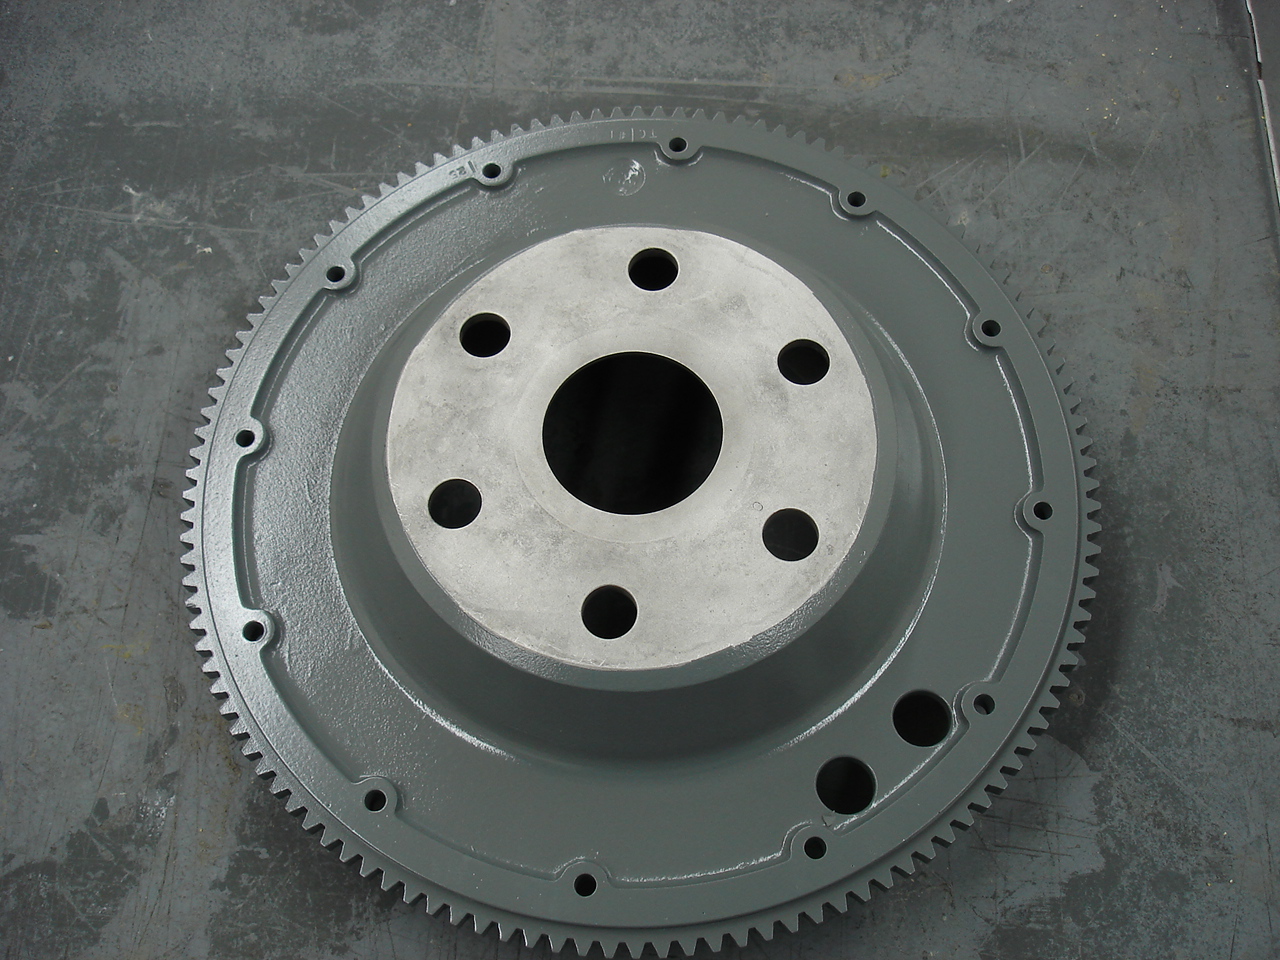
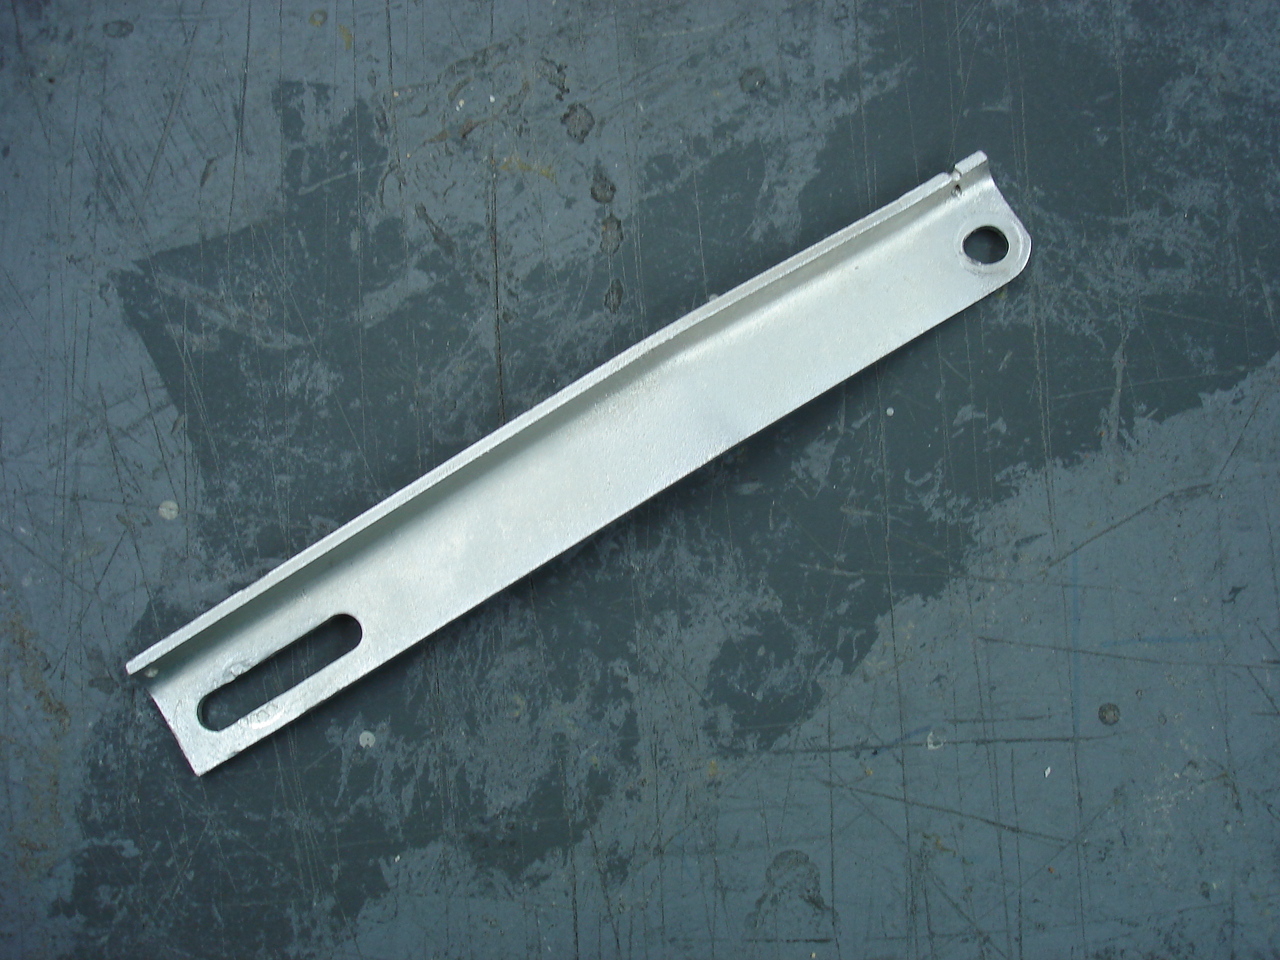
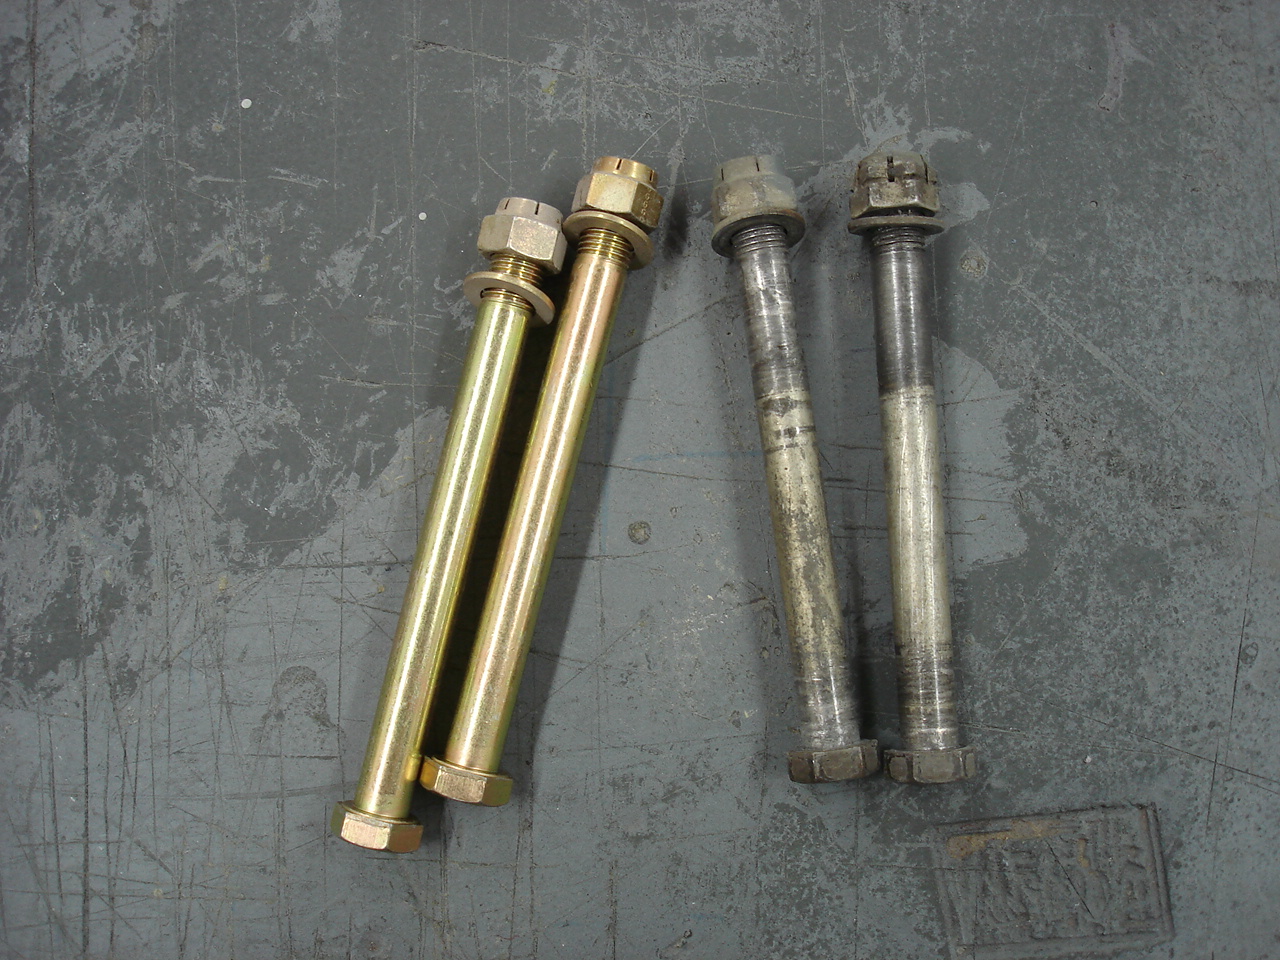
This piece work seems to never end, but it is what it is and I have a chance to make it better. Anyway, cleaned up the starter ring gear and repainted, and also cadmium plated the alternator bracket. This was my first cad-plate, but hey, I've got to learn some more new stuff out of this deal ! Also, I wasn't comfortable with the way the engine to mount bolts looked, so I replaced the bolts and nuts. I'll feel much better about these new ones holding the engine on.
Now that I've got all this done, we can see how it comes together to clean this project up. Got the engine all repainted, and new baffle gaskets installed. Also repainted the engine mount and firewall.
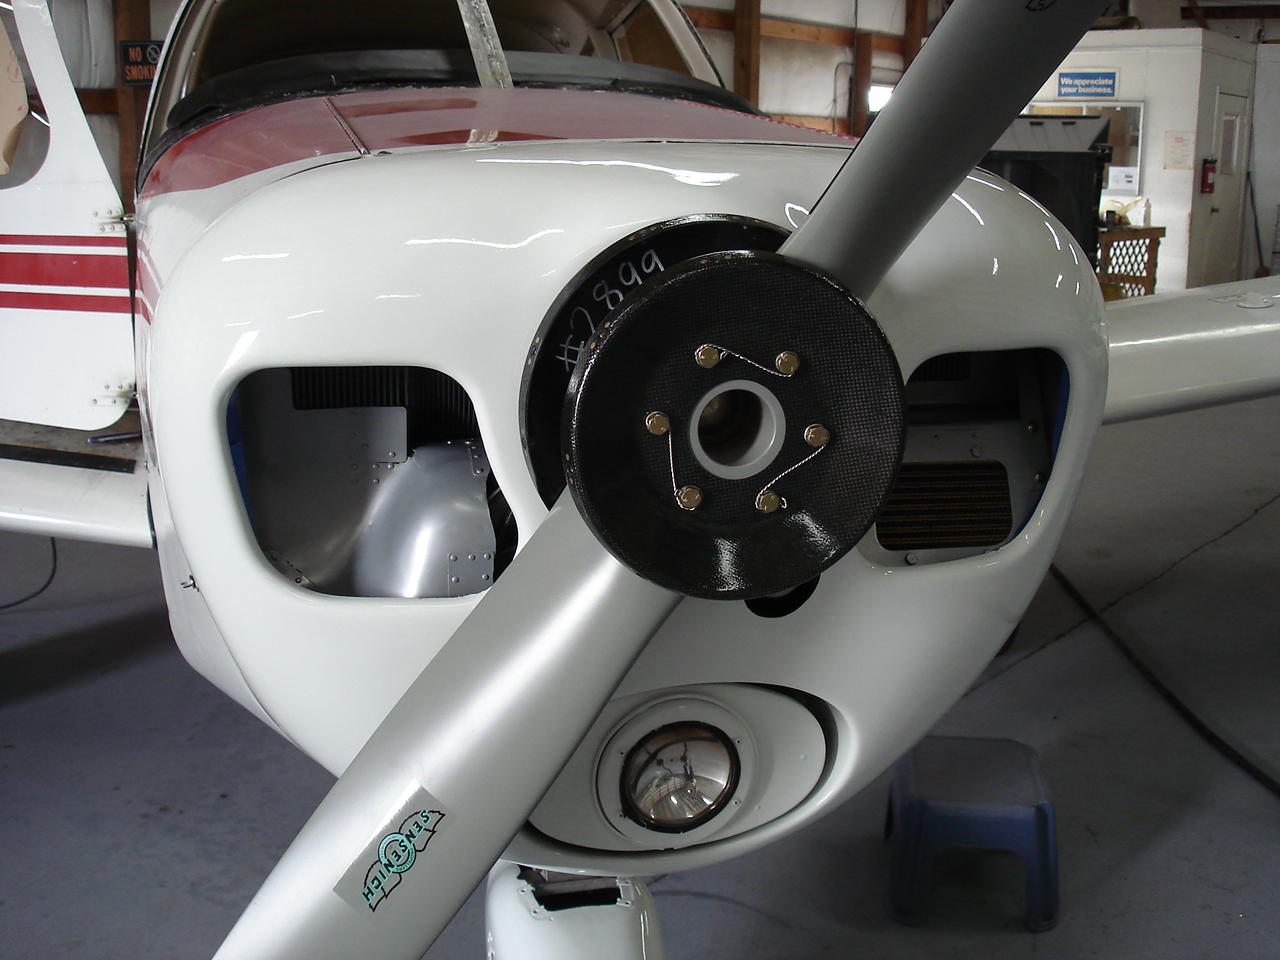
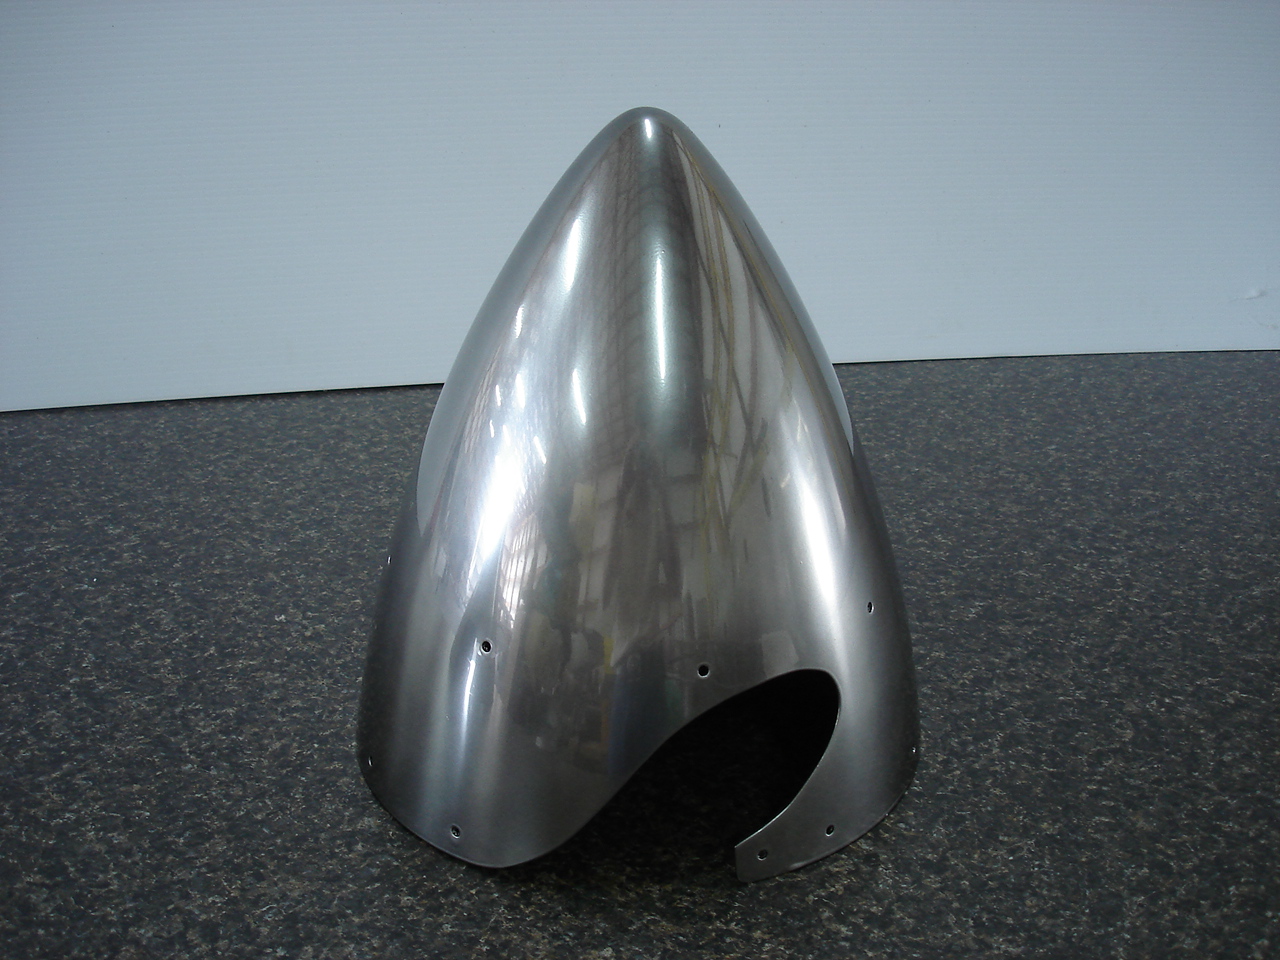
Now we're up to another item I wasn't comfortable with. The prop and spinner. The spinner dome was cracked and the backplates had some patches. After checking the specs on the prop, I found that the pitch was not correct for the 160 h.p. conversion. So I shipped the prop to a propeller repair station for overhaul and re-pitch to 160 hp specs. (60). Also installed a full set of brand new prop bolts, and complete composite spinner and composite backplate installation. Also, refinished the new spinner with a chrome effects finish and reworked the fiberglass nose bowl. Repainted the inside of the engine cowl and repaired the cowl door props.
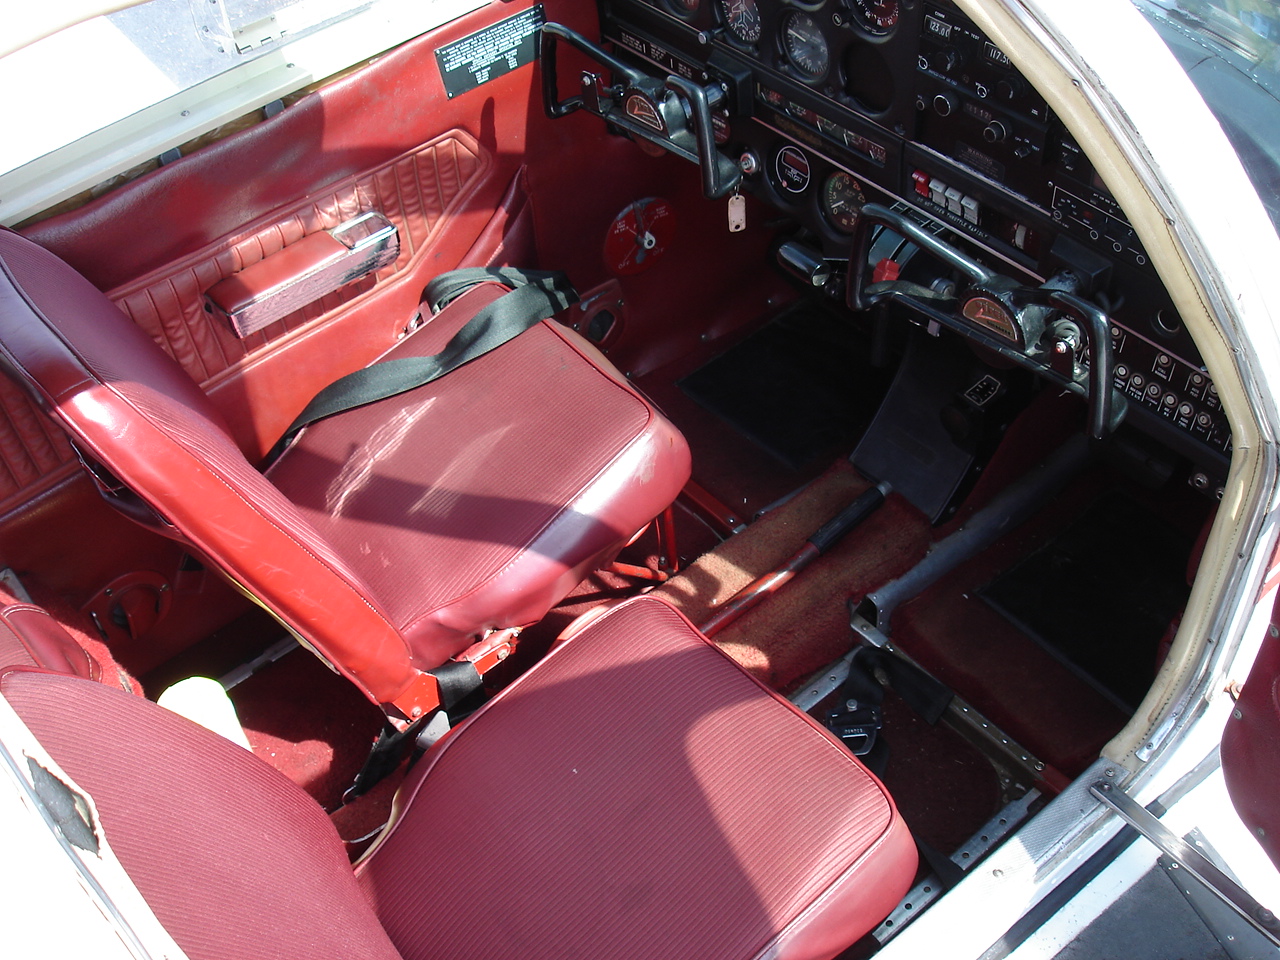
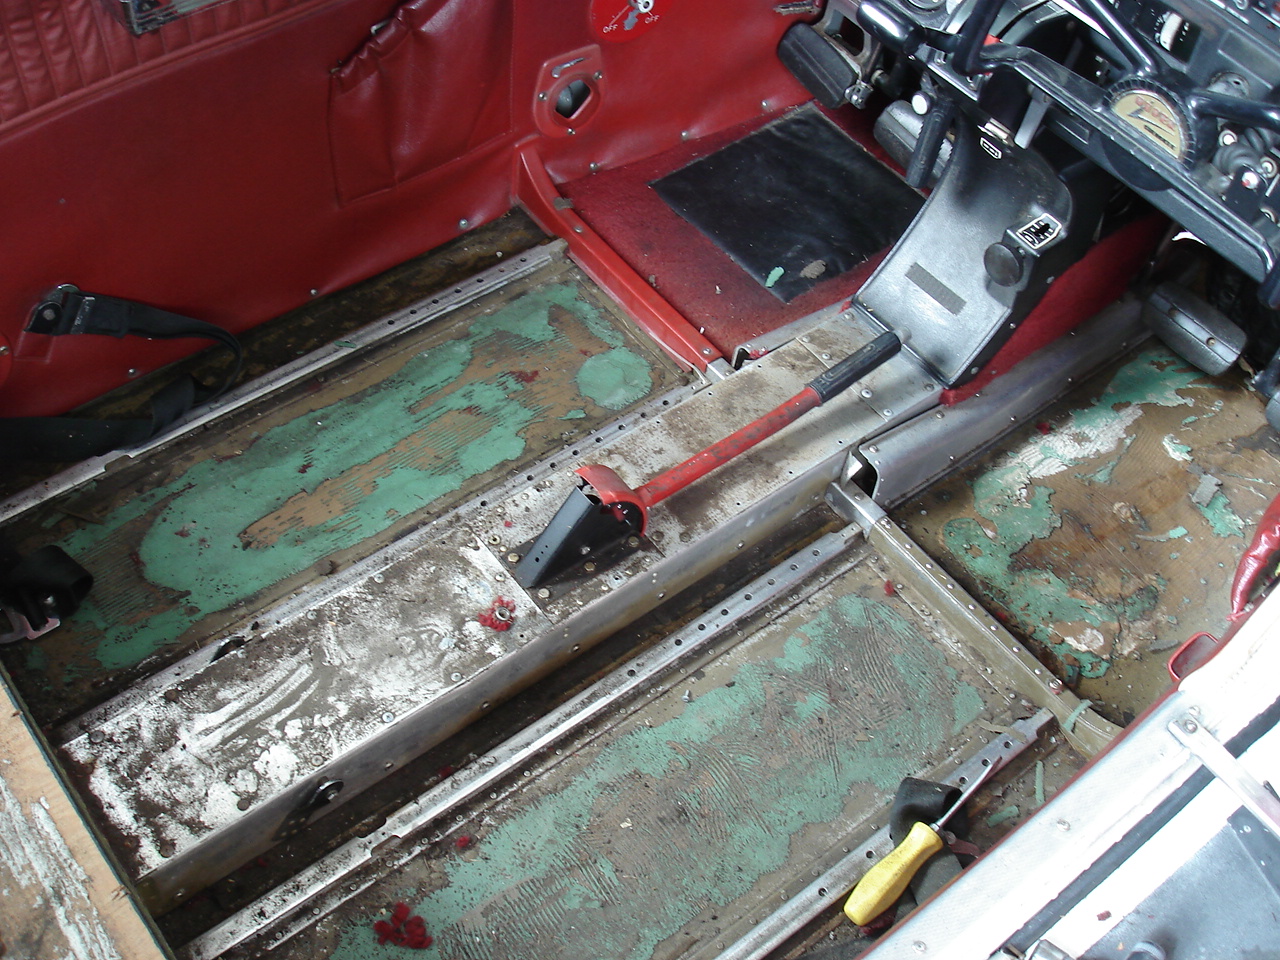
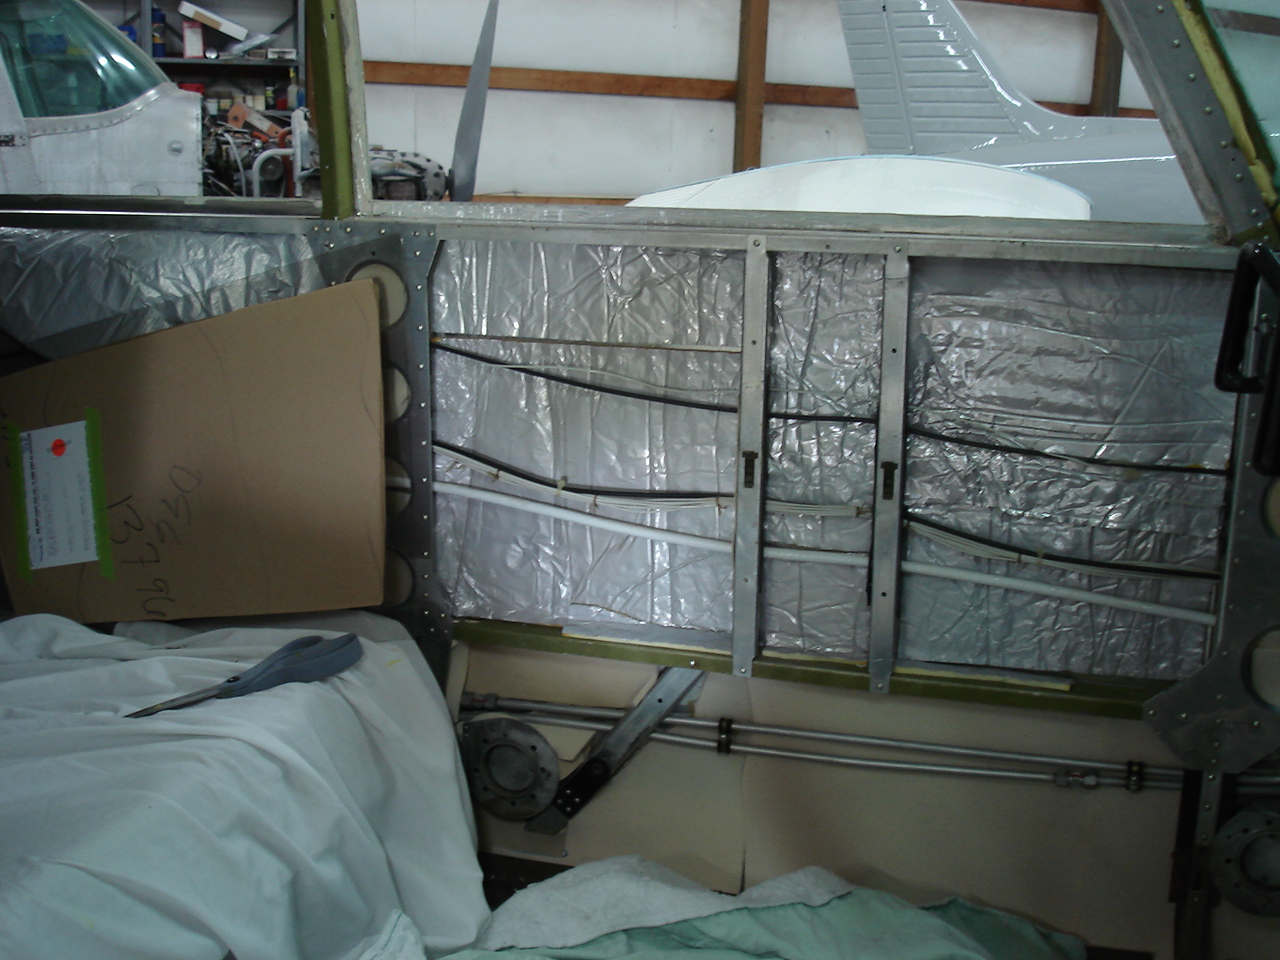
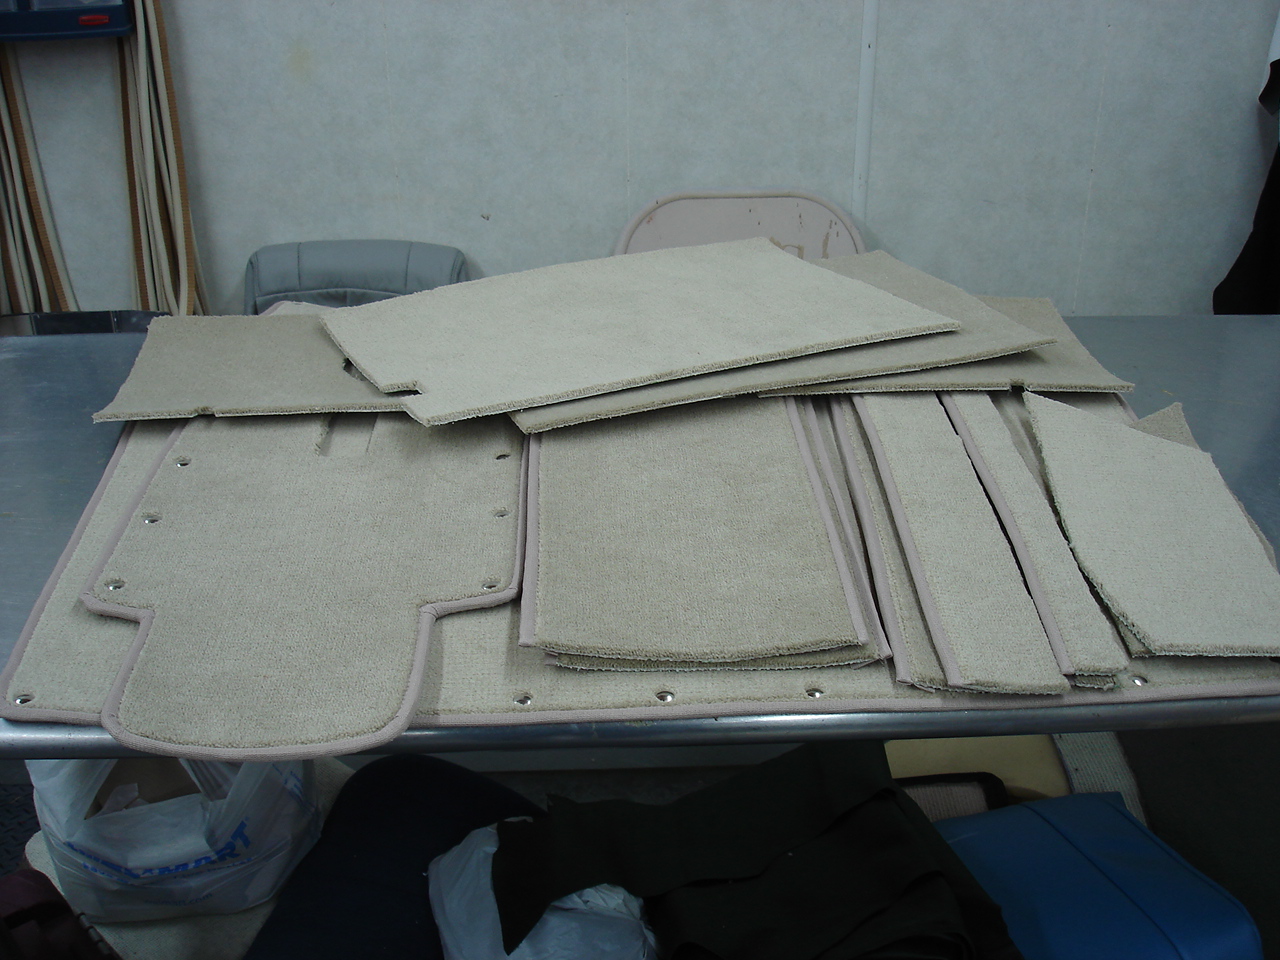
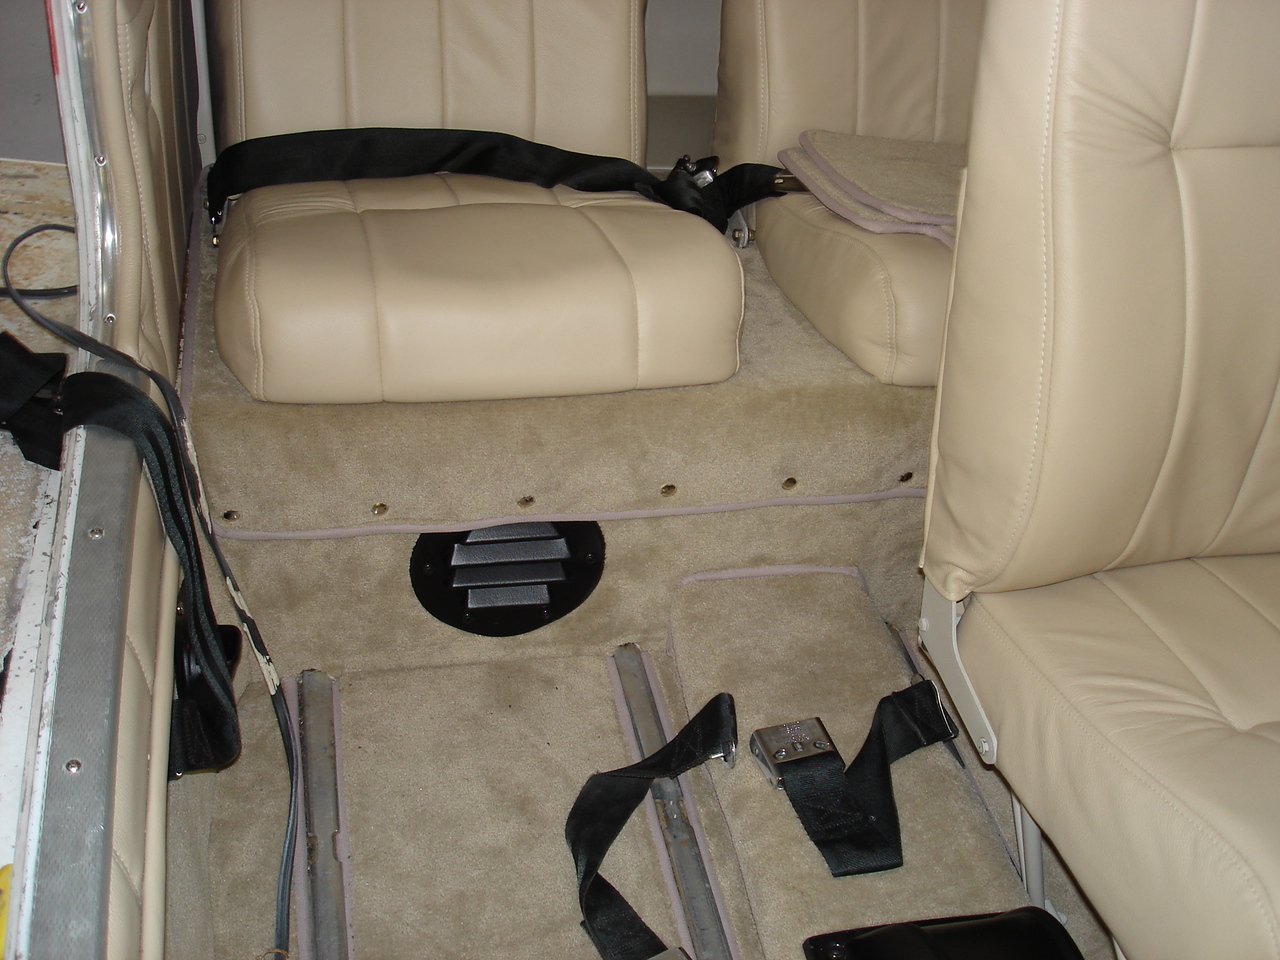
Moving on to the interior phase, I stripped out all the old interior including the foul-smelling carpet underlayment. Cleaned the floor and installed new sound dampening material to the sidewalls and roofline. Also fabricated new carpet and readied for installation.
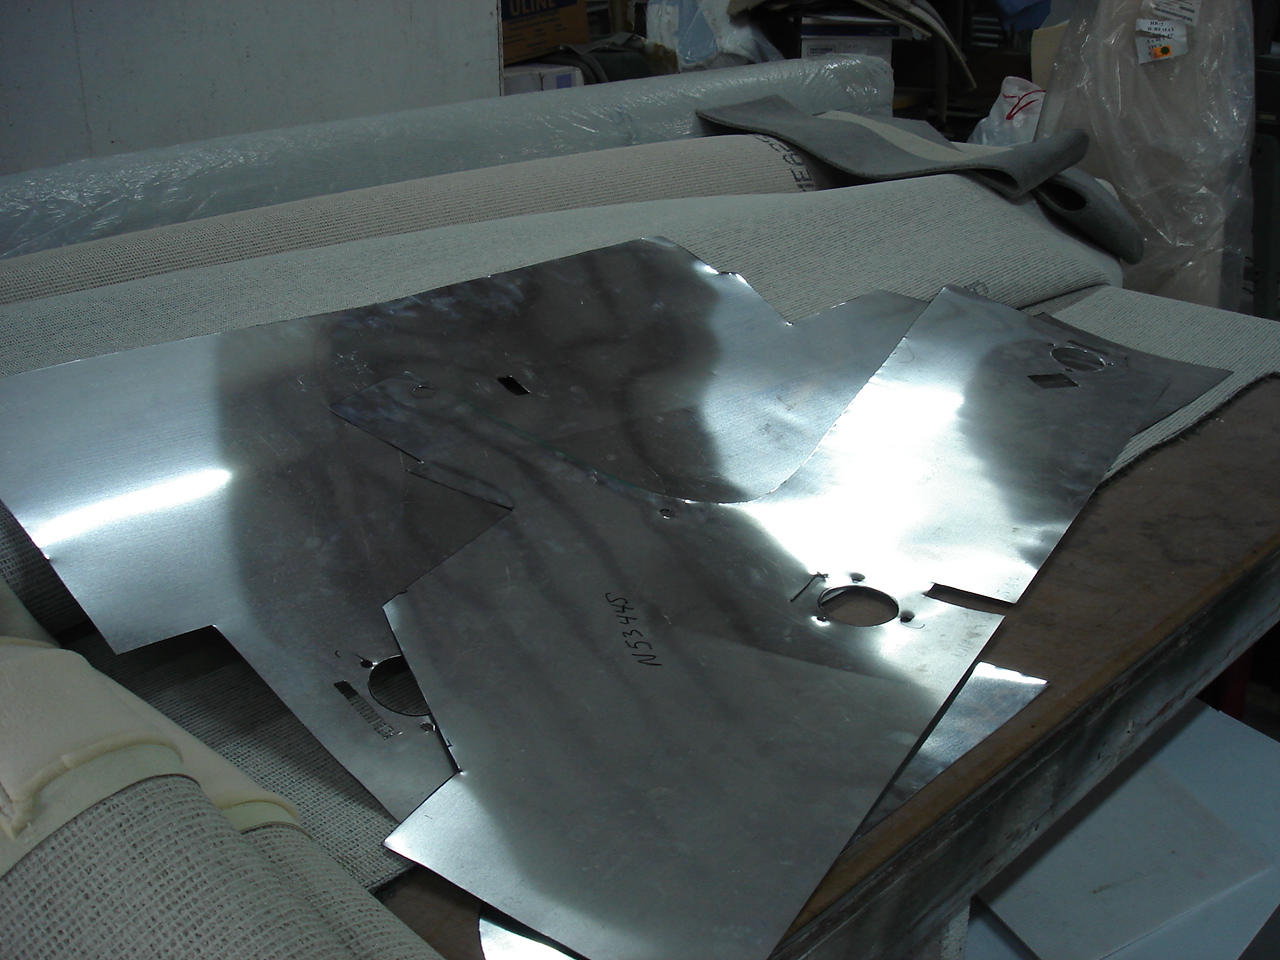
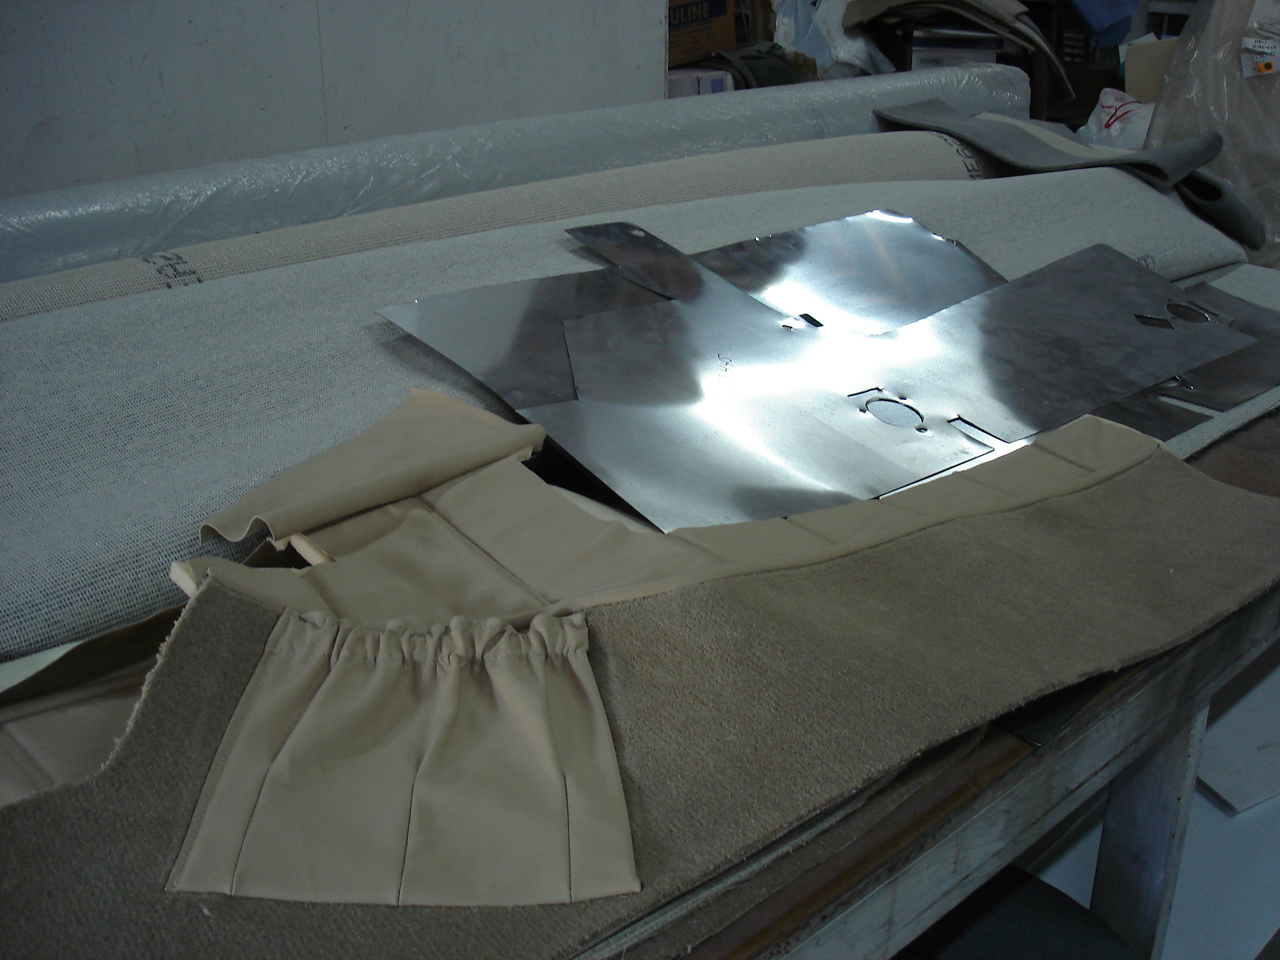
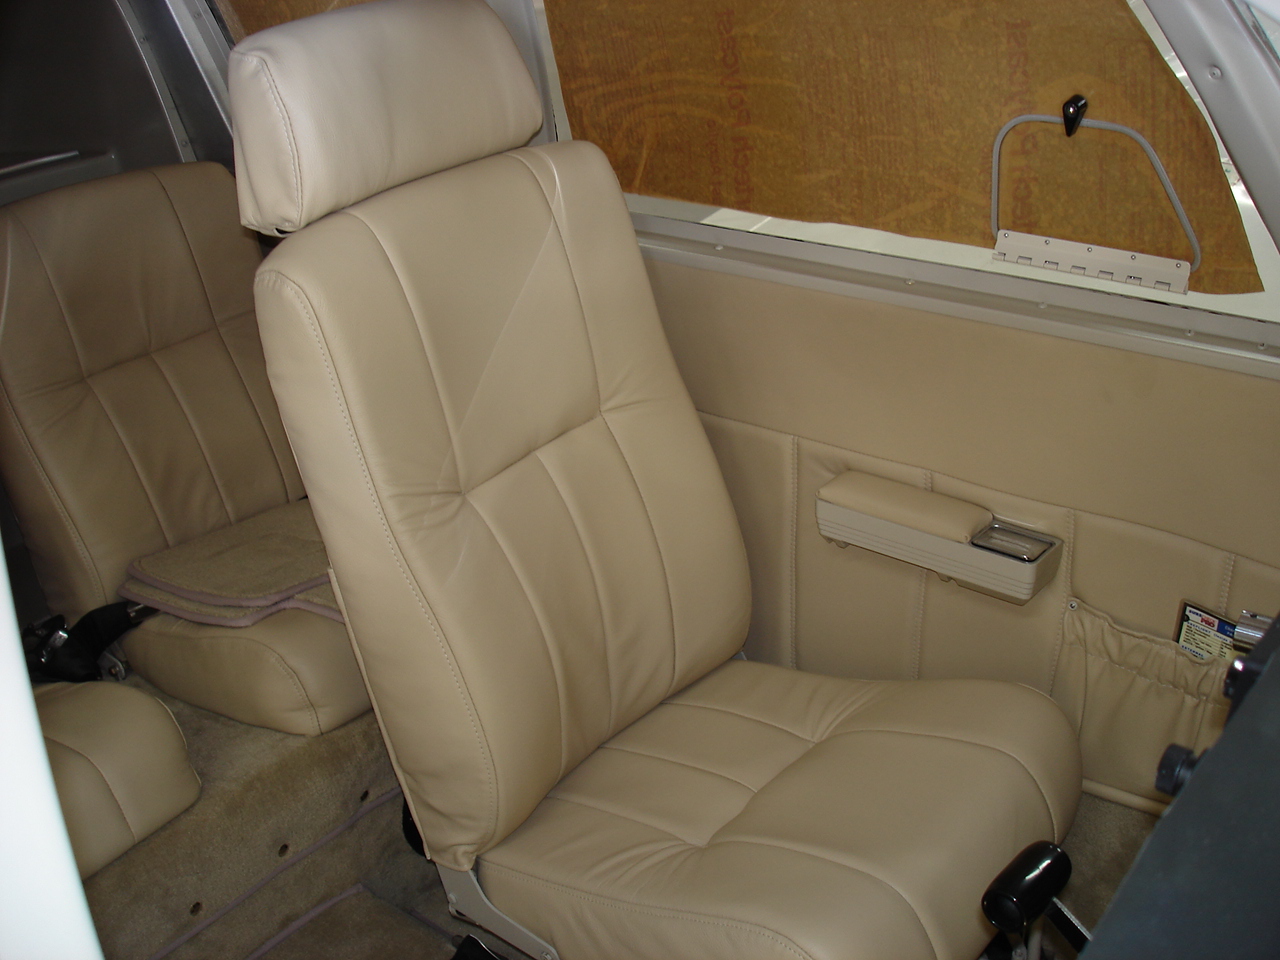
Next, I fabricated all new wall panel substrates from 2024T3 aluminum. This will alllow the new leather wall panel upholstery something smooth and yet flexible to adhere to. This is also a permanent fix as opposed to using the card board or corregated plastic. The new wall panel upholstery is now sewn, padded, and installed on the new panels and they are prepared for installation.
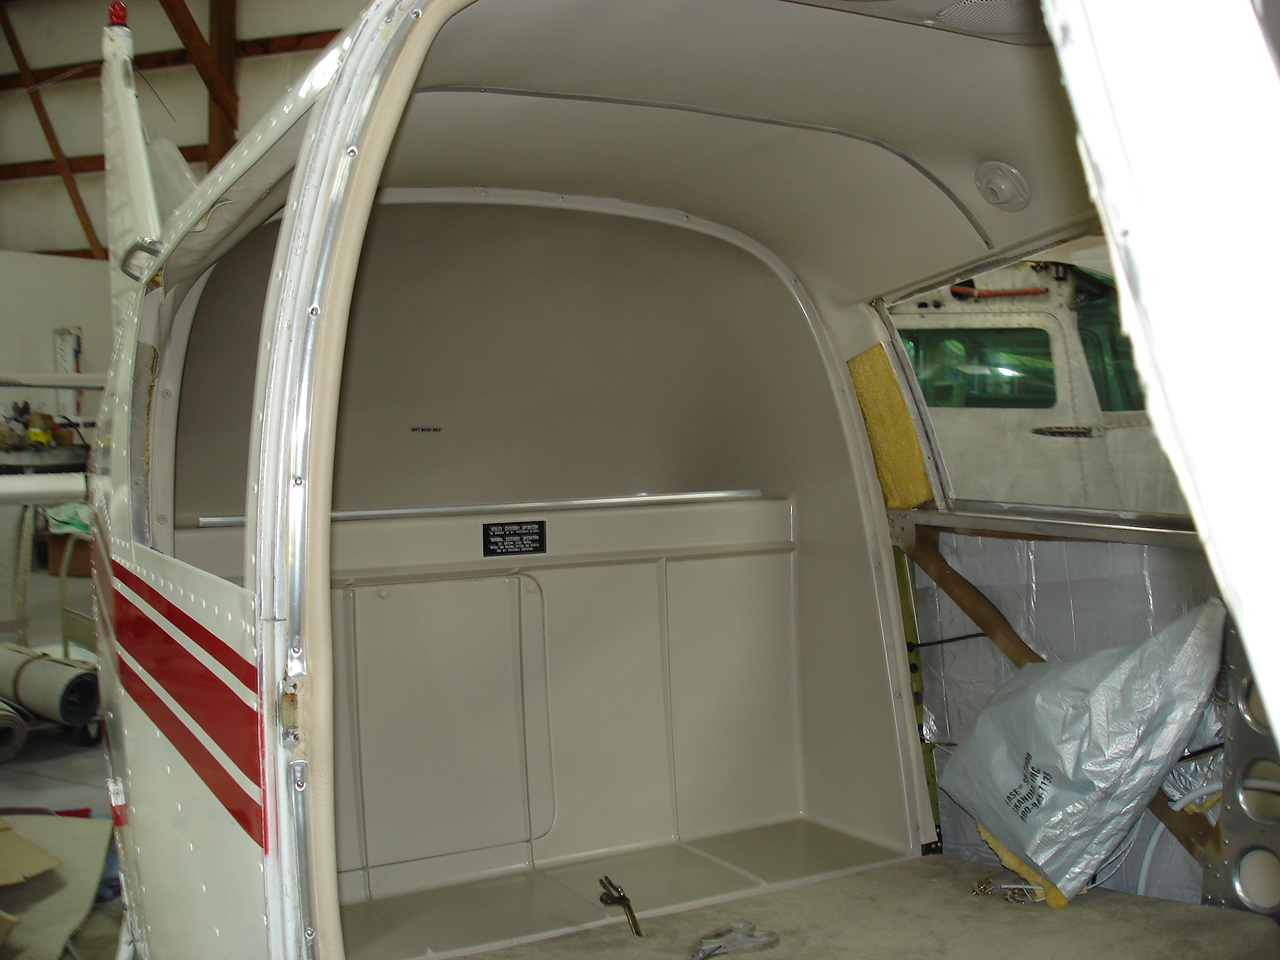
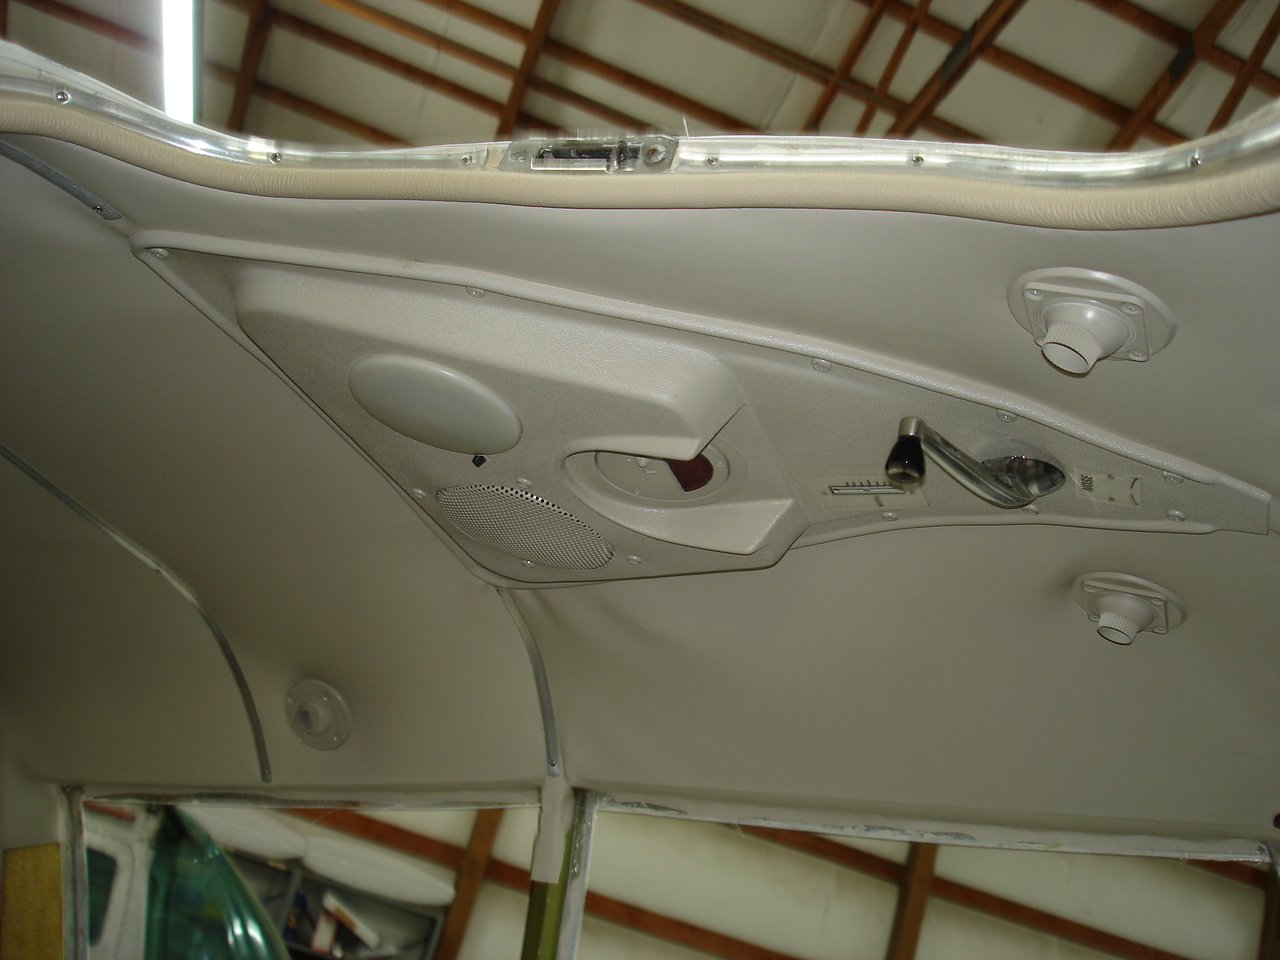
I can now finally begin the install work on the interior. Refinished the interior plastic trim, window trim and got some new tinted windows and a new windshield. The new headliner is fabricated and installed along with the new leather wind lacing. A LOT of work here to say the least.
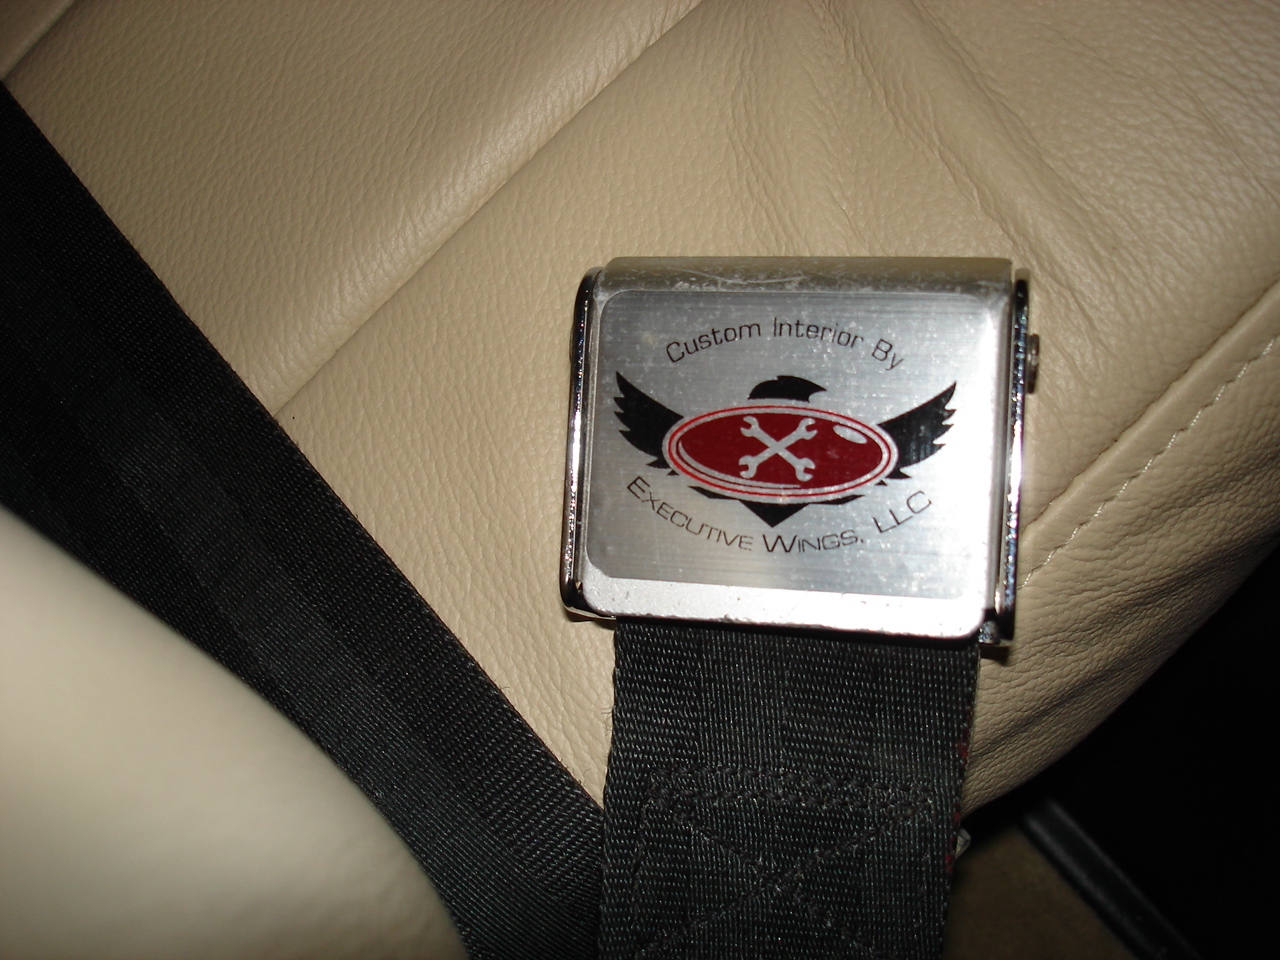
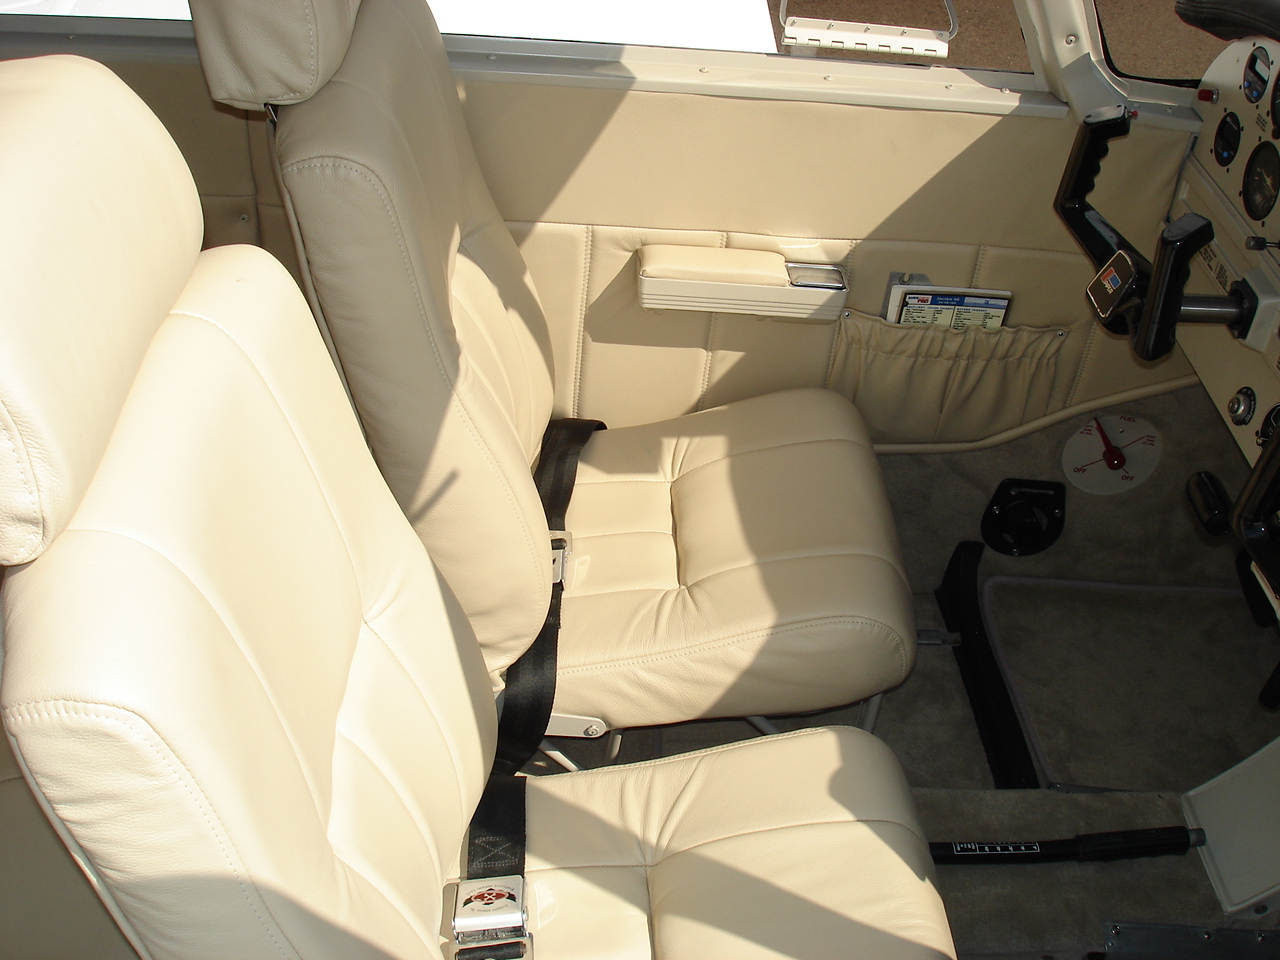
Next the new seat cushions are made in our proprietary mold. Solid core memory foam in the later Piper design. Also fabricated headrests, installed the new windows, and finished the carpet install. I made a slight modification to the rear seats that I like better. Instead of having the front flap that folds over the rear floor board, the seat bottoms fasten directly to the floor board. This means there is no flap to get torn off and the rear seat bottoms are still removable via two 1/4" screws in each side. Pretty neat and clean way to do it. Finshed out the interior with some cool black eagle logo belt buckles.
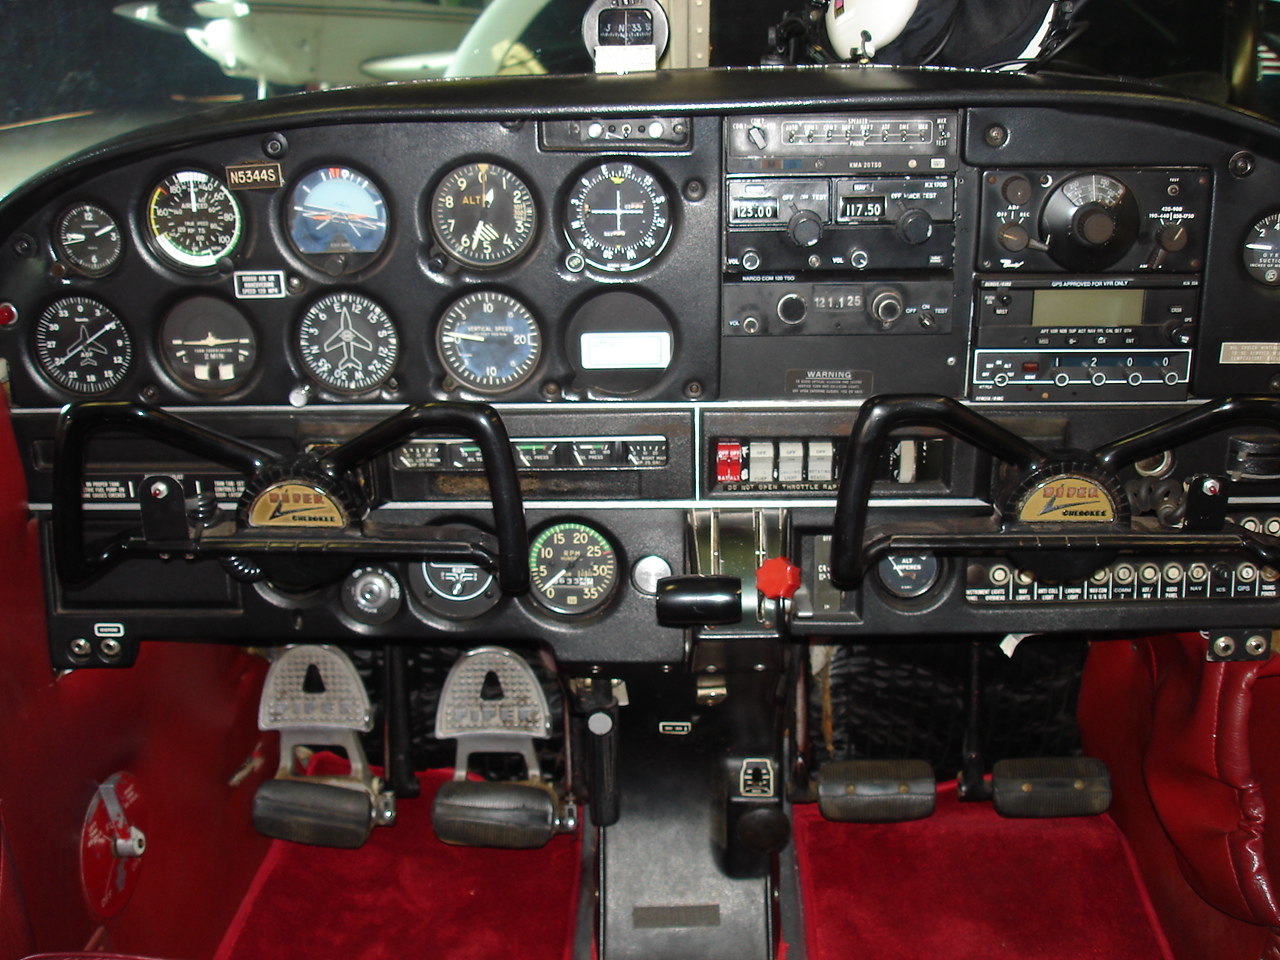
Now comes the updated instrument panel. The objective here is to get rid of the old plastic cover and update the look to a more modern fashion. Installed rear passenger intercom jacks, a digital o.a.t., and a digital clock. Also replaced the wet compass with a new vertical card compass. Since the plastic overlay and the eyebrow was one and the same, I installed a later model eyebrow (I have mold for this too) that is covered in black leather and top-stitched. Looks pretty nice, I think. Also, some jackass drilled holes in the plastic yokes (which already have a recurring A.D. on them), so I replaced these with the newer ram's horn styling and wired in new press-to-talk switches. Also, installed a panel mount for a Garmin 296, 396, or 496 series g.p.s I fabricated the new panel from 2024T3 and refinished in the same color scheme as the interior. Also used flush screws in the instrument mounts.
Down to the finish work, I gave the exterior a good cleaning and polishing. The paint is matched to the original color. Repainted the wheel pants, engine cowl, and various other places here and there. Also, replaced the super droop tips with the stock wing tips and repainted to match. Refinished the wing walk and painted the gear leg fairings. Its not a new paint job by any means, but it looks very respectable and still has a nice gloss which will last for a long time as long as its taken care of .
Now lets take a look back at the project with some before and after photos.
Before After Before After
Before After Before After
Although this was not a complete wheels-up restoration, it does show what a difference you can make with some applied labor and some nice, new materials. I hope you enjoyed this one, and we'll see you around the shop !
Home